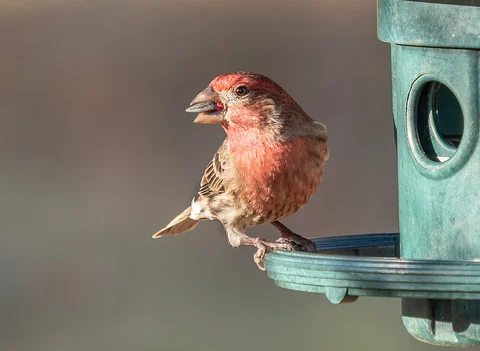
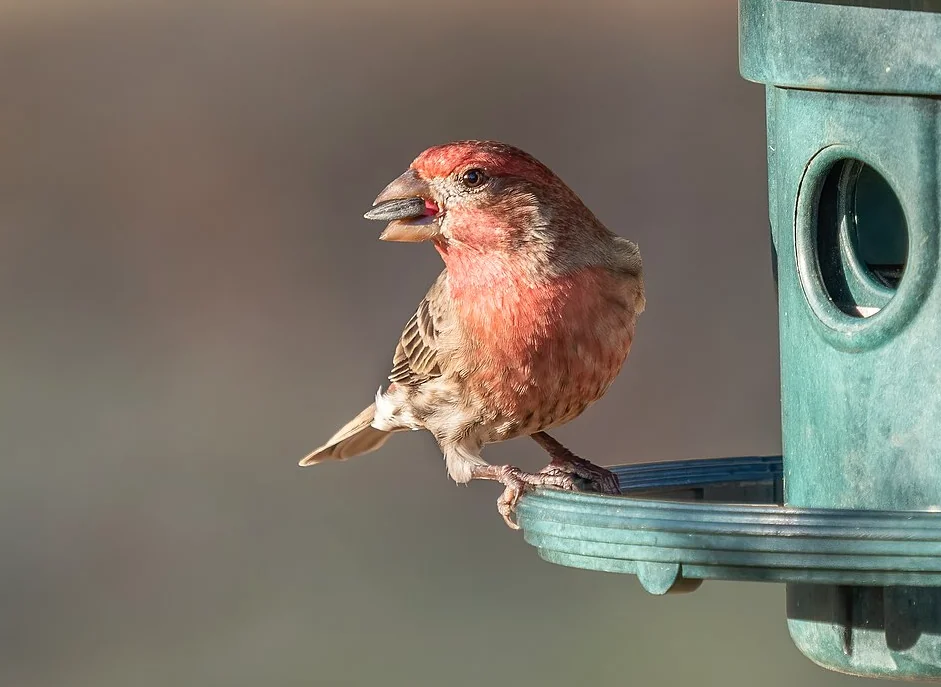
Photo: Rhododendrites · House finch (33687)2.jpg · CC BY-SA 4.0. Cropped, gently adjusted, and resized for this guide.
The short answer
Empty and disassemble the feeder, remove debris, wash, sanitize using compatible instructions, rinse thoroughly, and dry fully before refilling. Inspect between scheduled cleanings and respond sooner to wet food or local disease guidance.
A clean feeder begins before the wash
Cleaning a seed bird feeder means removing old food and debris, washing the surfaces birds use, applying an appropriate sanitation method, rinsing thoroughly, and allowing everything to dry before refilling. A quick rinse around a full seed reservoir does not reach the hidden residue. Start by taking the feeder out of service and setting up a place where dirty equipment will not mix with food preparation or clean bird supplies.
This guide covers seed feeders and their trays. Nectar reservoirs need a separate routine because they hold a perishable sugar solution; use our hummingbird feeder cleaning guide for those. Camera feeders also require extra care around electronics. In every case, the manufacturer's material and washing instructions matter. A method suitable for a simple metal cage may damage a wooden reservoir or an electronic housing.
Use a schedule and a condition check
Cornell recommends cleaning feeders about every two weeks, with more frequent attention during heavy use, wet weather, or disease concerns. Treat that interval as a starting point. It does not mean damp seed may remain until the next date on a calendar. Look at the feeding surface and food condition whenever you refill, and check the base even when the visible upper layer appears dry.
Put the routine on a reminder you already use, then add clear triggers for an earlier wash: clumped food, obvious contamination, blocked drainage, or a report that changes local feeding advice. Record the last full cleaning on a tag kept with your supplies, rather than relying on memory across several feeders. A schedule makes the task predictable; inspection catches the problems that occur between scheduled washes. Both are needed for a reliable routine.
Assemble a dedicated cleaning kit
Keep a tub, brushes, gloves, and a drying rack or tray specifically for bird equipment. Choose a long brush that reaches the reservoir and a smaller one for ports and corners. Label the kit so it does not migrate into household kitchen use. Store it where you can collect everything in one trip, including a waste container for old seed and loose debris.
Before starting, read the labels on any cleaning or disinfecting products you intend to use. Product concentration, compatible materials, contact time, and rinsing directions matter. Never combine bleach with another cleaner, acid, or ammonia. Work with ventilation and follow the label's protective instructions. This is not a reason to make feeder care elaborate; it is a reason to have a simple, repeatable method using suitable supplies rather than improvising a chemical mixture each time.
Your visual action map

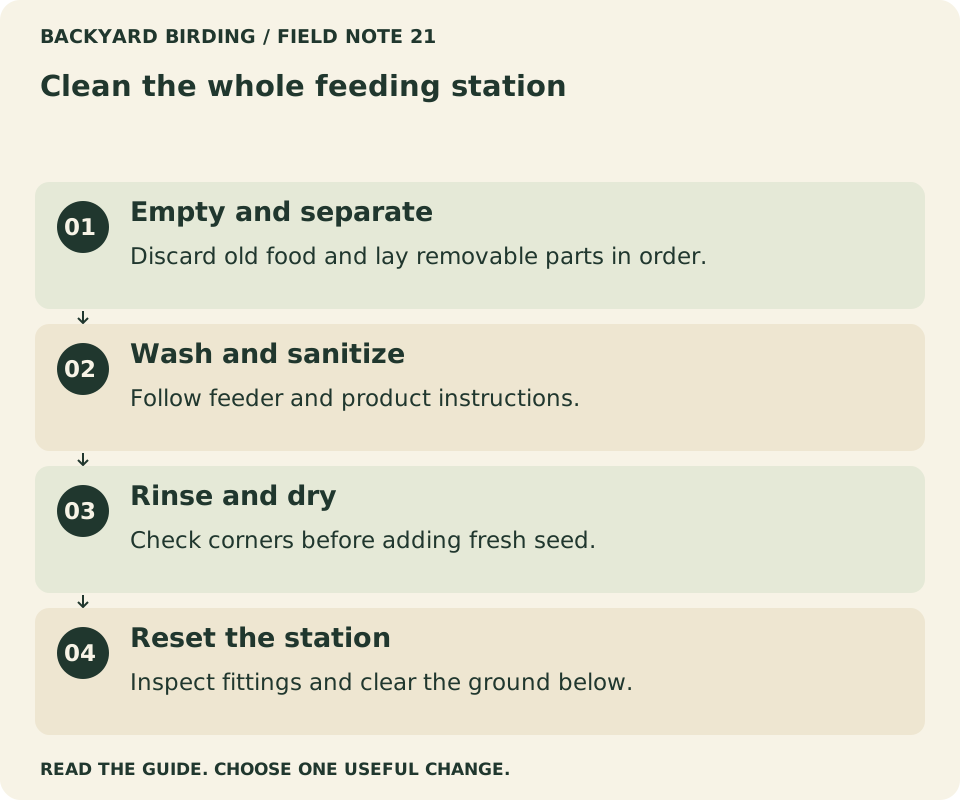
Read the visual as text
- Empty and separate. Discard old food and lay removable parts in order.
- Wash and sanitize. Follow feeder and product instructions.
- Rinse and dry. Check corners before adding fresh seed.
- Reset the station. Inspect fittings and clear the ground below.
Empty the feeder completely
Remove all remaining food, including the layer below the lowest feeding port. Do not pour old seed back into the fresh storage container. Food that has sat in the feeder has had a different exposure history, and mixing it into a new bag makes that history impossible to track. Discard damp or spoiled food in a way that keeps it inaccessible to wildlife and pets.
Tap or brush loose debris into the waste container before washing. This reduces the amount of material floating in the cleaning water and helps you see the actual surfaces. Open sliding gates and inspect any recess under a removable base. A feeder that appears empty from above may still hold a compacted pocket near a seam. Taking a minute to find that pocket is more useful than washing the accessible outside for several extra minutes.
Disassemble without losing the next step
Follow the feeder's instructions and lay parts out in the order you remove them. Photograph an unfamiliar latch or spring before separating it. Small screws, port inserts, and gaskets belong in a shallow tray, not loose on the ground or near a drain. Do not force a component that the manufacturer describes as fixed; a cracked joint can create a new problem even if it makes today's cleaning easier.
Notice which surfaces were hidden while the feeder was assembled. These are the places to inspect closely once the food is gone. If a reservoir cannot be opened enough to reach persistent residue, contact the manufacturer about the intended cleaning method or replacement parts. When choosing future equipment, this experience becomes a concrete shopping requirement: a base you can remove or a seam you can inspect, rather than a vague claim that a feeder is easy to clean.
Wash away the material you can see
Scrub the food chamber, ports, perches, tray, lid underside, and removable base using a method compatible with the feeder. Washing removes the debris that can shelter contamination and obstruct later sanitation. Pay attention to corners and the junction between a perch and a port, where a broad brush may slide past without touching the surface. Change visibly dirty wash water rather than circulating grit over cleaned parts.
Do not assume a clear reservoir is clean because light passes through it. Turn it and inspect the lower edge, where a film may be visible only at an angle. A dedicated small brush can help around a fitting, but avoid abrasives that scratch surfaces unnecessarily. Scratches and damage can make later inspection harder. The goal is to remove the residue while keeping the equipment sound, not to make worn materials look artificially new.
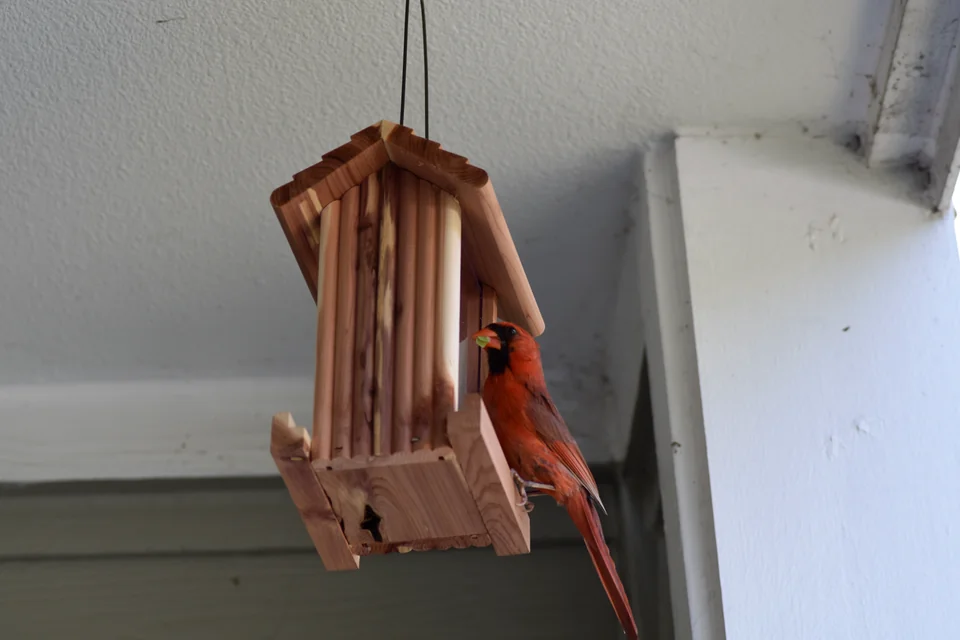
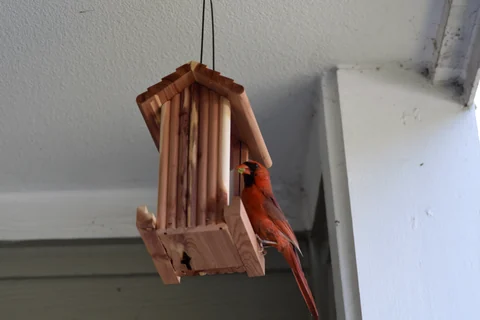
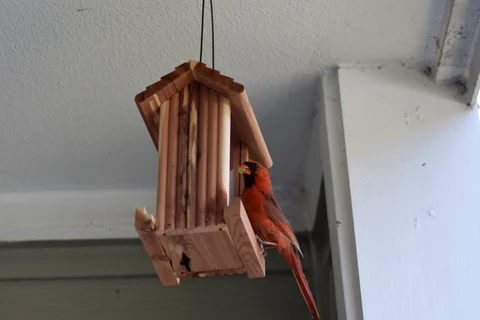
Photo: Slakshmin · A Northern Cardinal using a seed feeder. · CC BY-SA 4.0. Cropped, gently adjusted, and resized for this guide.
“A clean reservoir over dirty ground is an unfinished cleaning job.”
Backyard Birding — editorial takeaway
Sanitize with a compatible, labeled method
After removing debris, use the sanitation method recommended for the equipment and the product you have. Cornell describes a dilute bleach approach of no more than one part bleach to nine parts water, but bleach products vary in strength and formulation. Do not treat a ratio copied from an article as a substitute for the label's use directions, contact time, or material restrictions.
A dishwasher may be an option only when the manufacturer says the relevant parts are dishwasher safe. Electronics, some finishes, wood, and glued assemblies require different handling. If instructions conflict or you are uncertain about a material, ask the manufacturer before applying heat or chemicals. Keep washing and disinfecting as distinct stages in your routine, and never add disinfectant directly to a feeder holding food. A clean-looking surface is not proof that an improvised process has sanitized it.
Rinse every food-contact surface
Rinse thoroughly with clean water, reaching the same corners you scrubbed. Open any channels or moving parts that might retain cleaning solution. Pouring water through the top alone can leave pockets in an inverted lip or removable base. Turn the components and inspect where water collects, especially around narrow ports and the underside of a feeding ledge.
Use the rinse as a second opportunity to inspect the hardware. A loose screw, sharp edge, or damaged coating is easier to notice on a clean, empty part than behind seed. Set questionable components aside rather than reassembling them automatically. If the feeder still has an unexplained film or trapped residue, return to the appropriate cleaning step. Masking an odor or adding fresh food does not resolve a surface you have not been able to clean adequately.
Dry before the seed goes back
Allow all parts to dry fully before refilling. Pay particular attention to the lower chamber, port inserts, and overlapping seams. The outside can feel dry while water remains in a recess that will contact the first handful of seed. Arrange parts so trapped water can drain and air can reach both sides. Use a clean drying surface that is separate from the dirty equipment awaiting washing.
Do not rush the process simply because birds are waiting nearby. A temporary empty feeding position is preferable to putting fresh seed into a wet reservoir. If the drying time repeatedly conflicts with your routine, consider a second simple feeder that can rotate into service, provided you can maintain both. The benefit is scheduling flexibility, not permission to skip inspection. Label or arrange the equipment so a clean, dry spare cannot be confused with one just brought in.
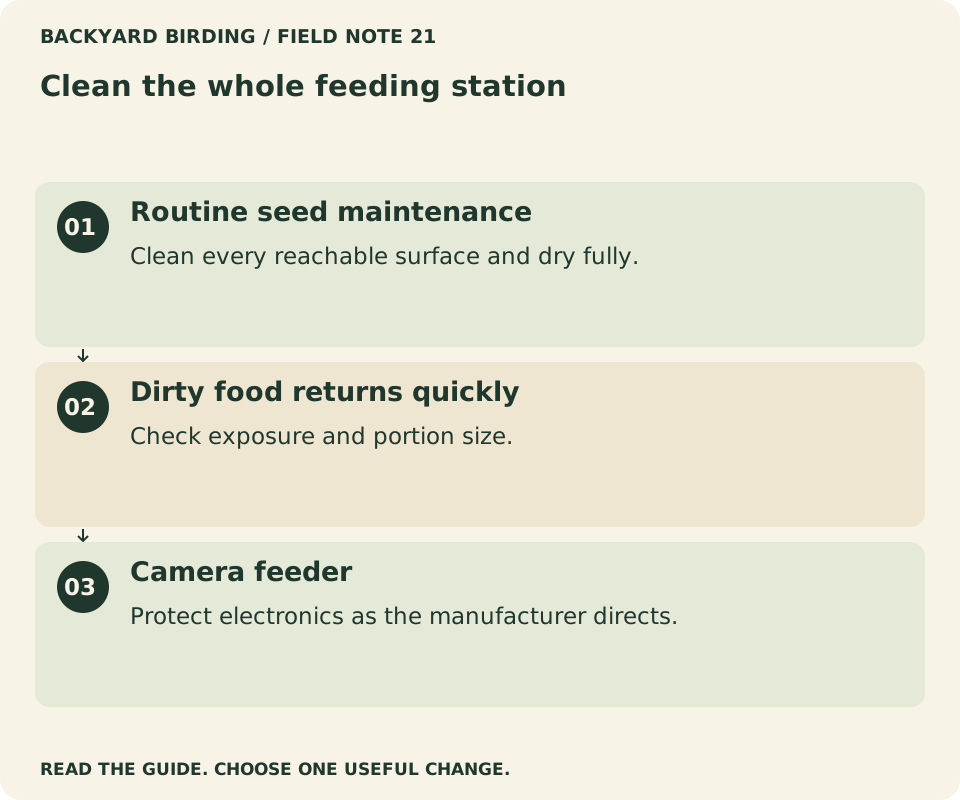
Find your situation

Read the visual as text
- Routine seed maintenance. Clean every reachable surface and dry fully.
- Dirty food returns quickly. Check exposure and portion size.
- Camera feeder. Protect electronics as the manufacturer directs.
Clean the tray and the ground as one job
Food waste below the feeder is part of the station's maintenance. Remove accumulated hulls and dropped food, and inspect the area after wet weather. A spotless reservoir over a persistent layer of spoiled material is an incomplete cleaning job. Choose tools suited to the surface so you can collect debris without spreading it through adjacent planting beds.
Catch trays need their own wash and drainage check. If a tray is holding water or becoming crowded with food, reduce the amount offered and reassess its size and position. On a deck or balcony, inspect gaps and ledges where waste can fall out of sight. If these are inaccessible, change the arrangement rather than accepting an accumulating problem. Our guide to feeder placement treats cleanup access as a requirement before the first fill.
Reassemble with an empty-feeder check
Put the dry components together in the correct order, checking each latch and fastener. Confirm that a removable base is seated, drainage openings remain clear, and perches are secure. Lift the feeder gently over your work surface before carrying it outside; this is a better time to discover a loose bottom than after adding a full reservoir of seed.
Check food flow with a modest fill appropriate to the design. A port insert installed backward or a misaligned inner tube can prevent feeding even when the exterior looks correct. If you photographed disassembly, compare the result now. Keep spare parts and the instructions with the cleaning kit so future maintenance does not become a search through drawers. Reliable reassembly is part of cleaning because birds need a functional, secure feeder as well as clean surfaces.
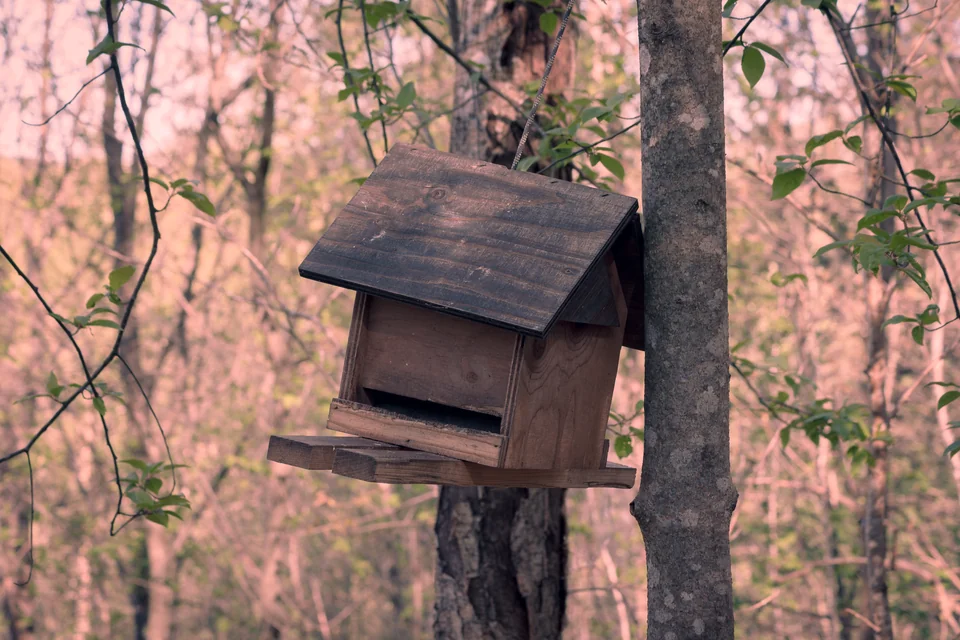
Photo: Sanzzu · Bird feeder in a forest.jpg · CC BY-SA 4.0. Cropped, gently adjusted, and resized for this guide.
Handle camera feeders in separate parts
A camera does not reduce the amount of food residue that a feeding tray collects. Remove or protect the electronic module exactly as instructed before washing the food-contact components. Do not immerse a camera, battery, cable connection, or solar controller unless the manufacturer explicitly allows that method. A weather-resistance claim is not the same as permission for soaking or high-pressure washing.
Keep the clean food tray separate from the camera while it dries, and inspect the connector area before reassembly. If a design makes cleaning awkward, document which step causes the problem. That is useful evidence when deciding whether an accessory or replacement part would help. It is also a reason to compare maintenance access before buying the next model. Our smart feeder guide explains how the food system and electronics create two overlapping care routines.
Respond to sick birds without guessing a diagnosis
If you see a sick bird or unusual mortality, stop routine refilling and consult current local wildlife guidance. Several conditions can produce similar visible signs, so a feeder-side photograph is not enough to diagnose the cause. Local authorities or a qualified wildlife rehabilitator can advise on reporting, feeding pauses, and handling precautions appropriate to the situation.
Do not move an affected feeder to another part of the yard and continue using it. Keep pets away from sick or dead wildlife, avoid bare-handed contact, and follow professional advice. Clean the feeding equipment and surrounding area as directed before considering a restart. The duration of any pause should follow the relevant guidance, not an invented universal countdown. A maintenance checklist is useful, but it should not override a disease advisory or encourage you to treat an unwell bird yourself.
Troubleshoot recurring dirt at its source
If the same feeder is dirty again immediately, look beyond the washing technique. A blocked drain, oversized fill, food channel exposed to rain, or crowded tray can recreate the problem quickly. Record where residue first appears. A wet lower corner suggests a different cause from a feeding ledge covered in hulls after a busy morning.
| Recurring problem | What to inspect | A practical adjustment |
|---|---|---|
| Seed sticks at the base | Retained rinse water or rain entry | Improve drying and weather exposure |
| Tray fills with hulls | Portion size and ground routine | Offer less and clear waste sooner |
| Corners remain coated | Brush reach and removable parts | Use the intended access method |
| Assembly becomes loose | Worn clips or damaged threads | Replace the part before refilling |
Solve the specific cause and check whether it recurs. Repeatedly applying stronger cleaners to the same design problem can damage the feeder without improving the station.
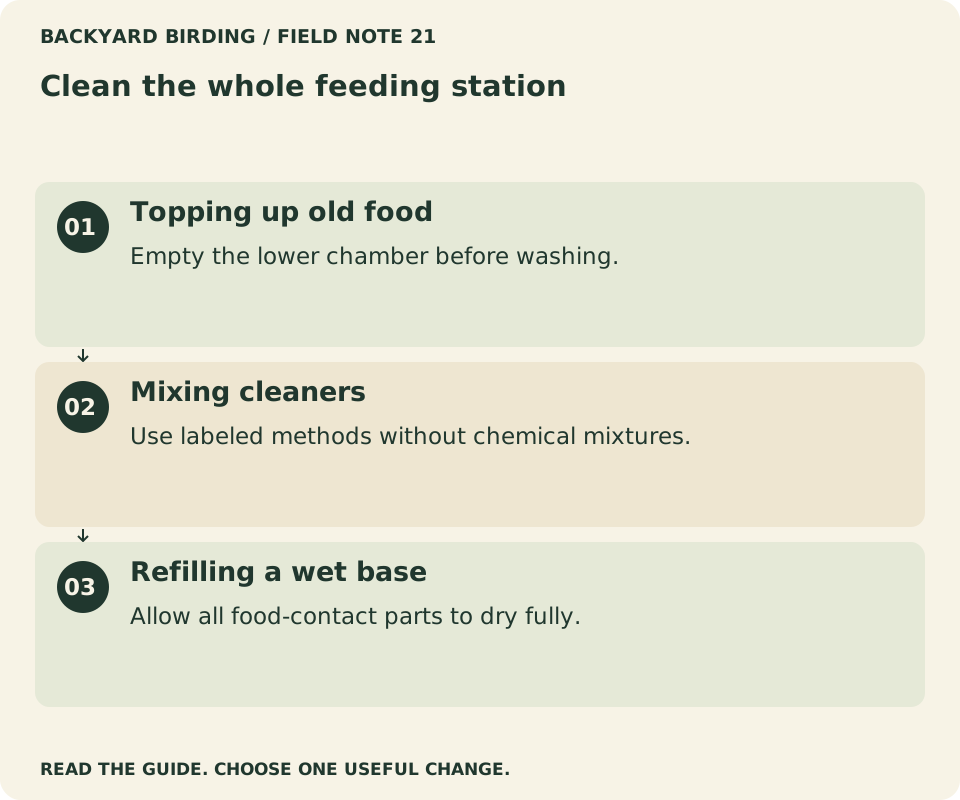
Small mistakes. Better moves.

Read the visual as text
- Topping up old food. Empty the lower chamber before washing.
- Mixing cleaners. Use labeled methods without chemical mixtures.
- Refilling a wet base. Allow all food-contact parts to dry fully.
Make the routine easy to hand over
Write a short instruction card for anyone who may care for the feeder while you are away. Include which food belongs in it, where the dedicated cleaning tools live, how the base opens, and what conditions mean it should remain empty. Link the manufacturer's instructions rather than relying on a remembered chemical recipe. Leave a clean spare only if the helper understands which parts are ready to use.
Use a small log with the date, condition found, work completed, and next planned check. You do not need a laboratory record. The purpose is to prevent a full reservoir from being mistaken for a recently maintained one. A note such as “base still drying; do not refill” is more useful than a general reminder to look after the birds. Clear handovers protect the routine during the weeks when life is less predictable.
Your complete cleaning sequence
Finish by checking the sequence from beginning to end: remove the feeder, discard old food, disassemble, wash away debris, sanitize appropriately, rinse, dry, inspect, reassemble, and refill modestly. Then clear the ground and clean the tools. Each stage has a job; extra effort at one stage does not automatically replace another. In particular, more disinfectant cannot compensate for trapped seed, and fresh food cannot compensate for retained moisture.
If a cleaning session keeps stalling at the same step, note the obstacle before buying more equipment. A base that cannot be reached, a latch that needs excessive force, and parts with nowhere to dry call for different changes. A removable base or a dedicated drying tray may solve the problem; a feeder that remains inaccessible may need replacing. Keep the revised routine simple enough to follow when weather or local wildlife advice requires an extra cleaning.
For a camera-equipped setup, read Smart Bird Feeder Care: Cleaning, Charging, and Solar Maintenance.
For a related next step, read Sick Bird at Your Feeder? A Safe, Practical Response.
Watch it. Then try it.
Review the steps and common mistakes in two short, silent animations. Each has a complete text transcript below.
Your four-step action map
Read the complete video transcript
Clean the whole feeding station.
- Empty and separate. Discard old food and lay removable parts in order.
- Wash and sanitize. Follow feeder and product instructions.
- Rinse and dry. Check corners before adding fresh seed.
- Reset the station. Inspect fittings and clear the ground below.
Try the steps, then note any problem that still needs attention.
Three mistakes to avoid
Read the complete video transcript
Clean the whole feeding station.
- Topping up old food. Empty the lower chamber before washing.
- Mixing cleaners. Use labeled methods without chemical mixtures.
- Refilling a wet base. Allow all food-contact parts to dry fully.
Try the steps, then note any problem that still needs attention.
Both animations use this real photograph by Rhododendrites. Photo source · CC BY-SA 4.0. The photo is adapted into original educational animations, not recordings of a field test.
At a glance
| Before your next step | Your practical check |
|---|---|
| Routine seed maintenance | Clean every reachable surface and dry fully. |
| Dirty food returns quickly | Check exposure and portion size. |
| Camera feeder | Protect electronics as the manufacturer directs. |
Sources & evidence
- Cornell Lab: How to clean your bird feeder
- Audubon: How to feed birds safely in winter
- Project FeederWatch: Feeder types
Our standard: real evidence before ratings. Corrections follow our editorial process.
Our verdict & your next actions
Choose the row that describes your setup, then follow the suggested check or adjustment.
| Your situation | Our verdict | Your next action |
|---|---|---|
| Routine seed maintenance | Clean every reachable surface and dry fully. | Follow the full sequence. |
| Dirty food returns quickly | Check exposure and portion size. | Reassess the feeder position. |
| Camera feeder | Protect electronics as the manufacturer directs. | Understand the two care systems. |
Your pocket field checklist
Tick off the steps as you go.
0 of 4 steps completed
Keep building your knowledge in bird feeders, or search the full backyard library.