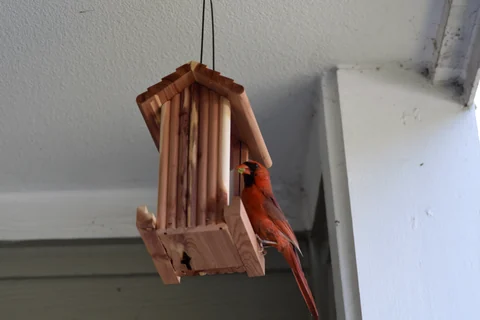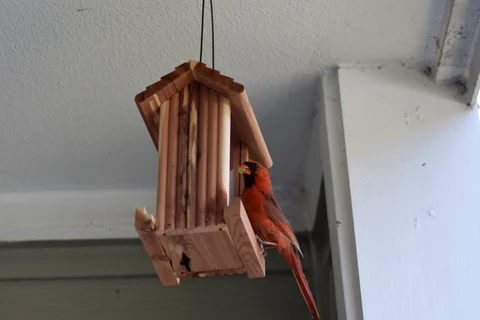
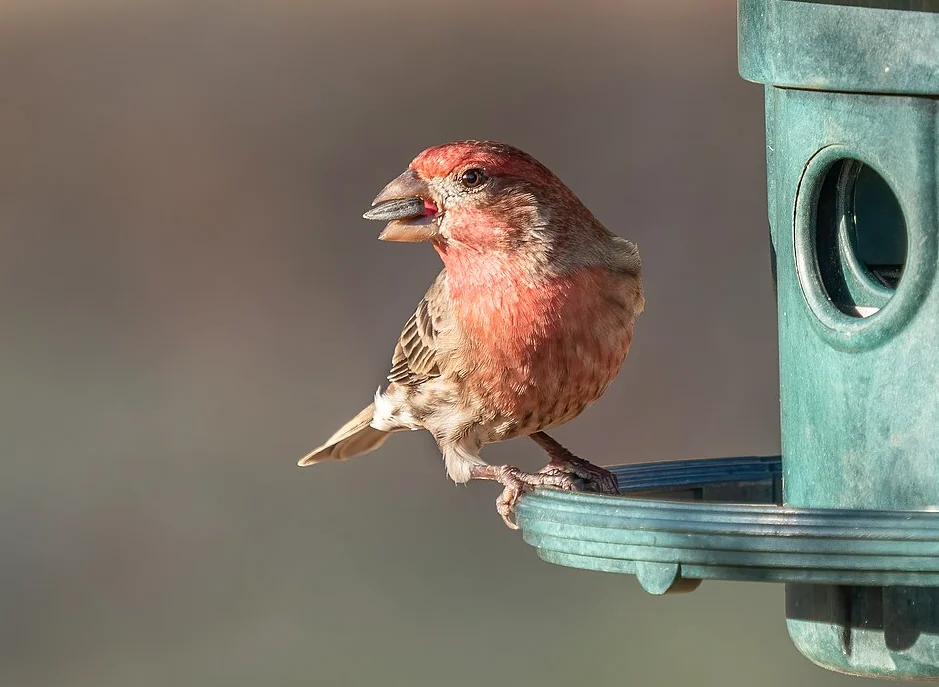
Photo: Rhododendrites · House finch (33687)2.jpg · CC BY-SA 4.0. Cropped, gently adjusted, and resized for this guide.
The short answer
A tube can suit a compact feeding station; a hopper offers a broader landing area. The better purchase is the one whose access, weather protection, and cleaning design match your setting.
What changes when you choose a tube or a hopper?
Both designs store seed and release it as birds eat. The difference is in the feeding surface. A tube usually offers several individual ports around a cylinder; a hopper usually delivers seed onto a broader ledge beneath a reservoir. That affects the birds' landing space, the food you see, and the parts you need to clean.
Neither name tells you everything. A tube with a large tray can provide more standing room than a small hopper. A hopper with a removable floor may clean more easily than a sealed tube. Treat the category as a starting point, then inspect the exact model. The useful comparison is between two real feeders, not two idealized silhouettes.
Compare landing space before capacity
Look closely at the perch-to-port distance on a tube. Can your intended visitors reach the opening comfortably? Short perches favor smaller birds, while rings and trays change access. If cardinals are your main interest, a broad landing surface deserves consideration; a tiny perch should not be chosen simply because the packaging shows a red bird.
A hopper's ledge gives birds room to stand, but that room is also available to larger visitors. Decide whether you want broad access or a more selective feeding arrangement. It is reasonable to prefer either. Problems begin when a shopper expects an open ledge to welcome cardinals while somehow excluding every other bird of similar size.
Understand where rain and old seed collect
A tube encloses most of its supply, but ports, joints, and condensation can still expose food to moisture. Inspect the lowest section regularly. A full-looking cylinder can hide a stale layer underneath seed that still appears fresh. Refilling from the top without emptying the base keeps that layer out of sight.
In a hopper, examine the ledge and the narrow channel where food leaves the reservoir. Wind-driven rain can reach beneath a roof. If seed clumps in the channel, the upper supply may stop moving even though the feeder looks full. A deeper roof is useful only if the overall design also lets water escape and gives you access to the affected areas.
| Question | Tube feeder | Hopper feeder |
|---|---|---|
| Where do birds stand? | Individual perches, sometimes a ring | A ledge or platform |
| What needs close inspection? | Base below the lowest ports | Food channel and ledge corners |
| How easy is food to see? | Often visible through the cylinder | Depends on reservoir panels and roof |
| What can complicate cleaning? | Fixed ports and narrow openings | Nonremovable floors and joints |
| What changes access? | Perch length and added tray | Ledge size and opening arrangement |
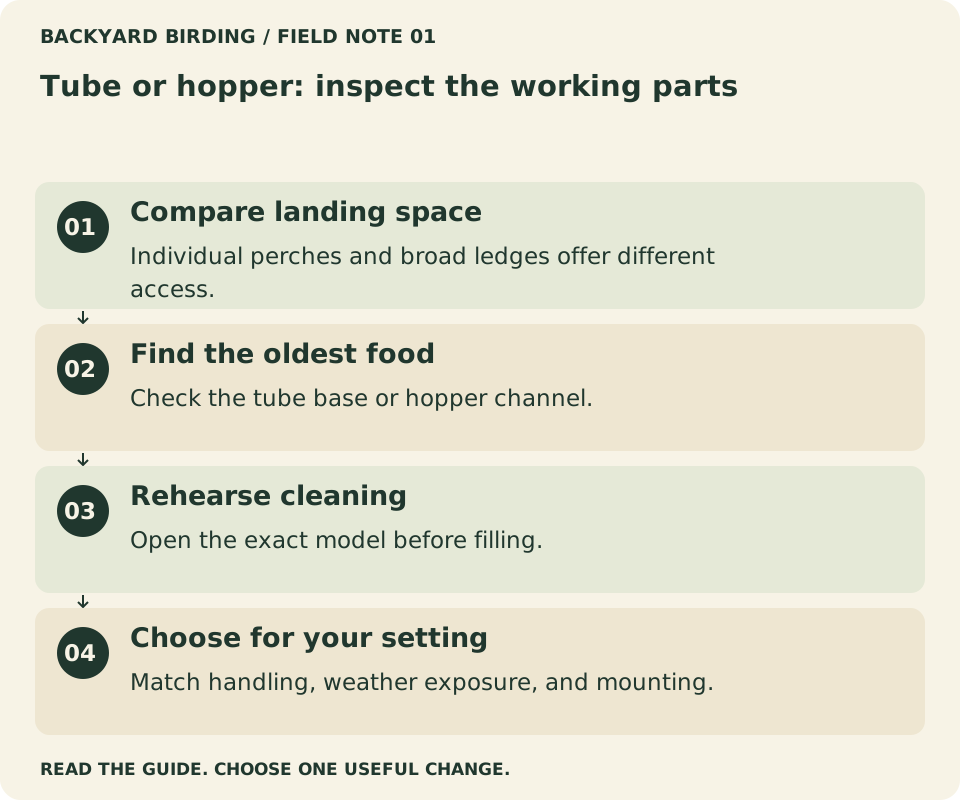
Your visual action map

Read the visual as text
- Compare landing space. Individual perches and broad ledges offer different access.
- Find the oldest food. Check the tube base or hopper channel.
- Rehearse cleaning. Open the exact model before filling.
- Choose for your setting. Match handling, weather exposure, and mounting.
Test food compatibility with a small fill
Read the recommended food list for the specific feeder. Standard seed ports and tiny nyjer ports are not interchangeable. Also consider whether a mix contains pieces with very different sizes. Food that bridges an opening, spills too freely, or remains in an inaccessible pocket will make the feeding routine harder.
Start with enough food to observe the dispensing action without committing a whole bag. Watch a few visits, then examine the surface underneath. Distinguish empty shells from uneaten kernels. If whole seeds are pouring out, check the assembly and compatibility before concluding that the birds are being wasteful. The feeder and food should be evaluated together.
Run a realistic cleaning comparison
If you are choosing in a shop, ask to see how the base or floor releases. If shopping online, look for the manual or an assembly video. A photograph of the feeder hanging neatly in a tree is not a substitute for seeing the parts separated.
Write down the practical steps for each candidate. Does either need a screwdriver? Will parts fit in your washing container? Can wet pieces drain completely? Will you have to thread a small nut onto a pole while standing outdoors? These details may seem minor at checkout, but they determine whether maintenance remains straightforward months later.
Choose by setting, not by a universal winner
For a compact patio, a modest tube can be convenient if its mounting and cleanup requirements fit the space. For a yard where you want a broad landing ledge, an accessible hopper is worth considering. In a rainy location, favor whichever actual model gives you better inspection and drainage rather than relying on the category label.
Where squirrels are persistent, compare the whole installation. A conventional tube is not squirrel-resistant merely because it is narrow. A hopper is not automatically vulnerable if its mounting system prevents easy access. A baffle or weight mechanism must be compatible with the chosen model and installed without a route around it.
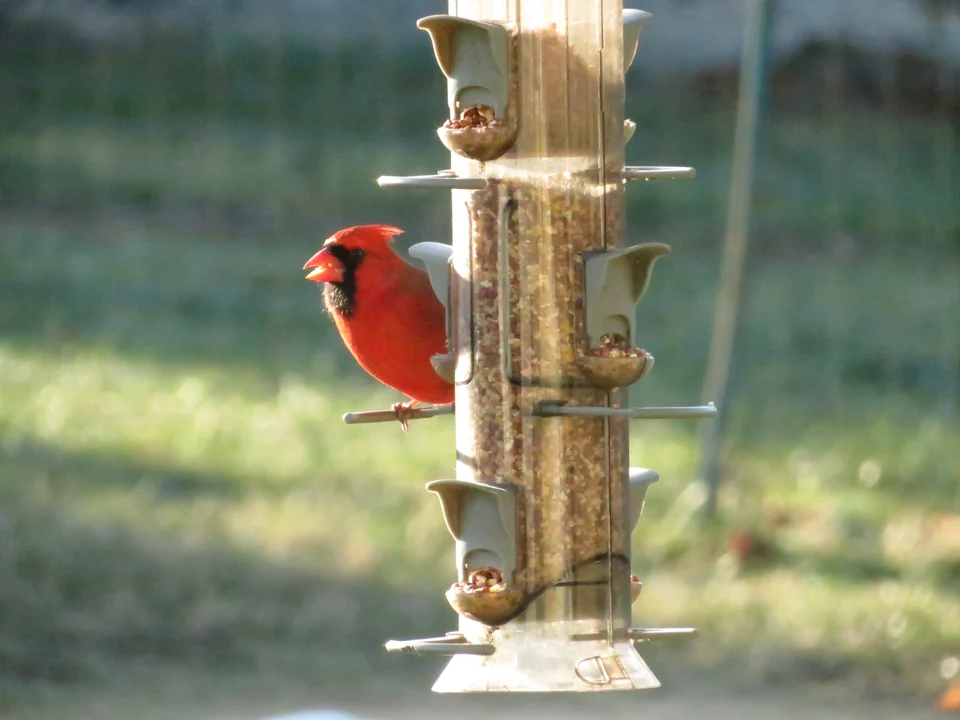
Photo: Joe Myers · Cardinal at Bird Feeder.jpg · CC BY-SA 4.0. Cropped, gently adjusted, and resized for this guide.
Compare two real models with the same questions
Create a short side-by-side note for the specific tube and hopper you are considering. Include the exact model, recommended food, mounting method, removable parts, and supplied accessories. Keep unknown information visible rather than filling gaps with assumptions based on the category.
Then compare the tasks you will perform: filling, checking after rain, emptying old food, cleaning, drying, and reinstalling. A product may be excellent at one and awkward at another. The useful result is not a single unexplained score but a clear account of which routine fits your space and preferences. You can reasonably choose either model when that account supports it.
What a removable base changes on a tube
A removable base gives you access to the lowest area, where food may otherwise remain after the usable supply is gone. Check how the release works and whether it can be operated comfortably. A twist fitting that requires an awkward grip may be harder to use with wet hands than it appears in a diagram.
Inspect the ports separately. A removable base does not guarantee that every port, perch joint, or internal corner is reachable. Look at the whole cylinder with the parts separated. Confirm that you can reassemble it without cross-threading, forcing a latch, or losing a small component each time. Those repeated handling details are part of the comparison.
What a removable floor changes on a hopper
A hopper floor often includes the feeding ledge and the area beneath the reserve. When it comes out cleanly, you can see and reach parts that might otherwise remain under walls or corners. Check whether removing it requires dismantling the roof, sides, and mount, or whether the process is straightforward.
Look at how the floor fits back into place. Gaps or misalignment can affect dispensing and drainage. Read the care instructions for joints and finishes rather than assuming a wooden or metal structure tolerates every cleaning method. The best access is useful only when repeated cleaning can be performed without damaging the assembly.
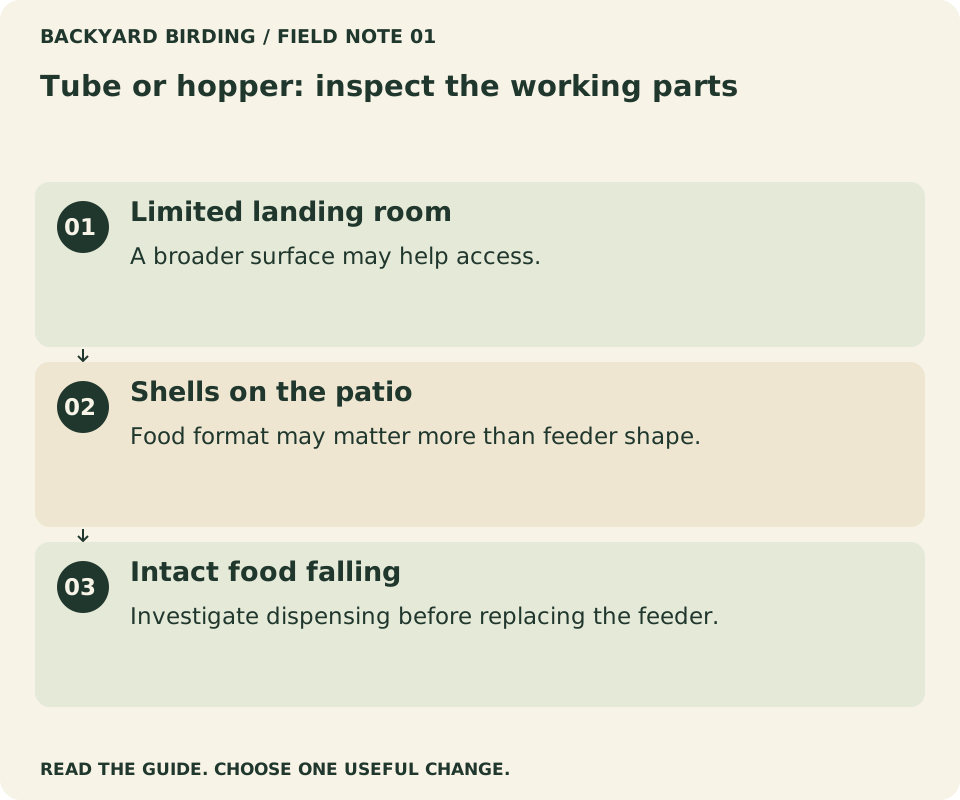
Find your situation

Read the visual as text
- Limited landing room. A broader surface may help access.
- Shells on the patio. Food format may matter more than feeder shape.
- Intact food falling. Investigate dispensing before replacing the feeder.
Examine trays as an optional change, not a neutral extra
Adding a tray to a tube can change standing space, catch falling material, and alter how other animals approach. A hopper already has a feeding ledge, but an added catcher can extend that surface further. Treat the accessory as a design change with consequences, not simply an automatic improvement.
Ask whether it drains, detaches, and fits the exact model. Check that it does not interfere with a weight-sensitive mechanism or create a bypass around a squirrel barrier. Consider whether the larger footprint still fits your location. If the main goal is reducing shell debris, comparing a compatible hulled food may be worth doing before adding another surface.
Evaluate a rainy-yard scenario
Imagine two feeders exposed to wind-driven rain. The tube protects most of its reserve but develops damp food at the bottom; the hopper shelters its reserve while the ledge becomes wet. Neither observation can be resolved by saying that one style has a roof and the other does not.
The better choice may be the model whose affected areas are visible and easy to empty. Consider a more sheltered suitable location as well, without creating a squirrel bridge or a glass hazard. Record which part gets wet and how quickly you can deal with it. A practical weather comparison concerns the full cycle of exposure, inspection, and cleaning.
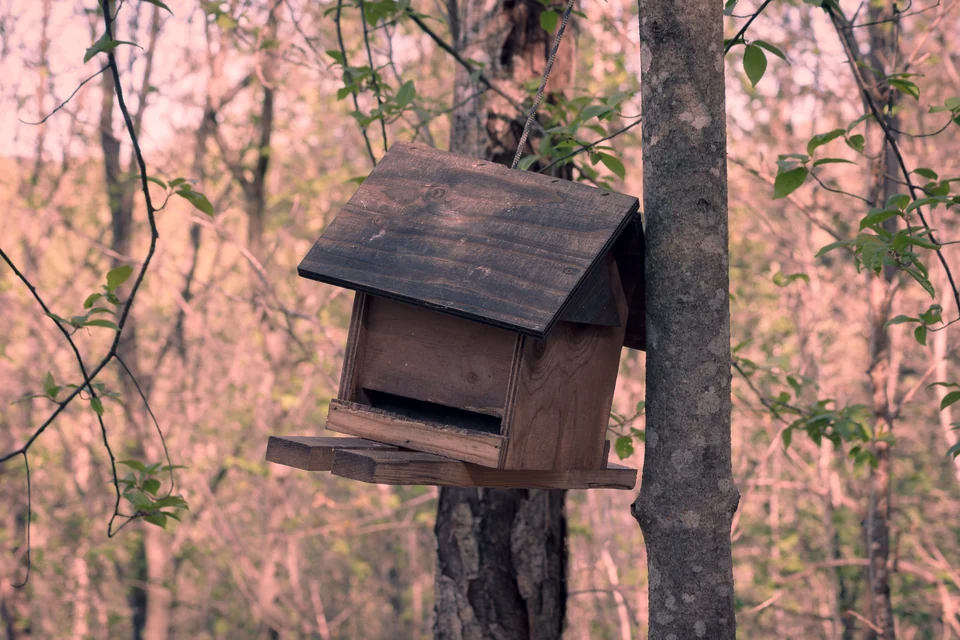
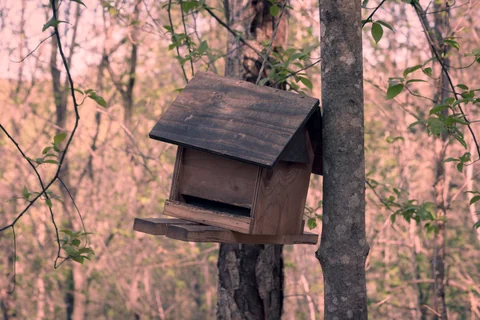
Photo: Sanzzu · Bird feeder in a forest.jpg · CC BY-SA 4.0. Cropped, gently adjusted, and resized for this guide.
Evaluate a household with limited lifting ability
Compare the filled weight and the way each feeder comes off its support. A hopper with generous capacity may require two hands; a tall tube may be lighter but awkward to maneuver under a low hook. Dimensions and grip points can matter as much as the empty weight listed online.
Try the removal process before filling. Choose a height and support that allow comfortable handling without overreaching. If the reservoir is larger than you need, use an appropriate partial fill rather than carrying maximum capacity unnecessarily. The suitable feeder is the one the actual caretaker can manage, not the one that looks easiest in another person's video.
What to do if a switch creates a new problem
Suppose you replace a tube with a hopper to provide more landing room, then notice greater accumulation on the ledge. That does not mean the original goal was wrong. It means the new feeding surface introduced a maintenance requirement you must assess alongside the improved access.
Review the quantity offered, drainage, and cleaning frequency. If the routine becomes impractical, consider another model with the needed landing space and better floor access. Keep the observed advantage and disadvantage separate. A replacement should solve the full combination rather than sending you back and forth between category labels without learning anything.
Avoid interpreting one busy day as a product verdict
A change in feeder style may coincide with weather, local food availability, or a flock passing through. Record the installation date and the conditions, then observe over multiple comparable periods. Do not count every refill as proof of more birds without checking spillage and other animals.
Your notes can still support a useful household choice. You may find one model easier to clean, more comfortable to refill, or better suited to the birds you actually see. Those are meaningful outcomes. They do not require turning a backyard comparison into an unsupported claim about all tube and hopper feeders.
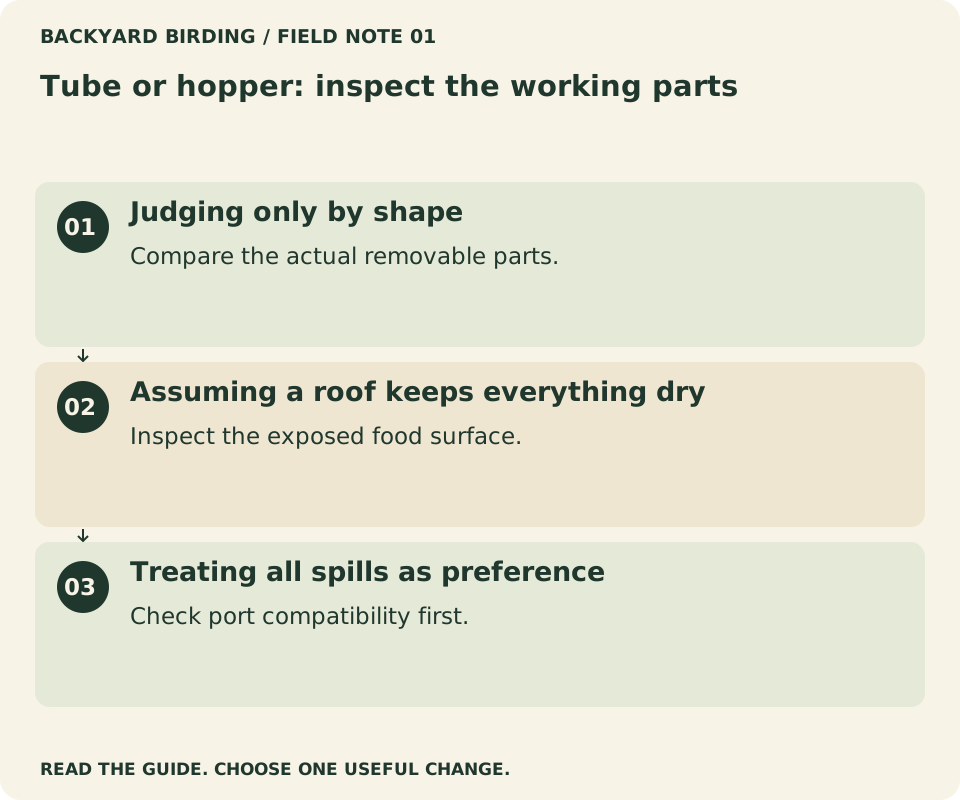
Small mistakes. Better moves.

Read the visual as text
- Judging only by shape. Compare the actual removable parts.
- Assuming a roof keeps everything dry. Inspect the exposed food surface.
- Treating all spills as preference. Check port compatibility first.
Keep a clear decision record
Finish your comparison with three short statements: the feature you need, the model that provides it, and the maintenance trade-off you accept. For example, you may choose a broad hopper ledge because access matters, while accepting that the ledge needs frequent inspection. Another household may choose a compact tube because space is limited, while prioritizing a removable base.
Store that note with the manual. When you consider an accessory later, you can check whether it supports the original purpose or undermines it. A clear decision record helps you avoid spending money to reverse a choice that was already sensible for your yard.
Store the parts so cleaning stays repeatable
Keep the manual and any small removable components together while each feeder dries. A tube may have ports or perches that need a particular orientation; a hopper may have a floor or roof fitting that looks reversible but is not. Follow the diagram instead of relying on memory after the first assembly.
If more than one person provides care, demonstrate the release and closure. Ask them to check the empty feeder before filling so a misplaced part is easier to notice. The comparison between designs includes how readily the routine can be shared, not only how convenient it feels to the person who chose the product.
Once reassembled, inspect food flow with an appropriate modest fill. A clean feeder that was put together incorrectly can create a new spill or access problem. This final check closes the maintenance cycle and gives the next observation a clear starting condition.
Frequently asked questions
Will switching designs bring more birds?
It may change access, but there is no guaranteed increase. Food, nearby habitat, season, disturbance, and local bird populations still matter. If your existing feeder works mechanically, identify the missing feature before replacing it.
Which one is less messy?
The answer depends on the food and the feeding surface. A tray can catch shells but also collect wet material. Hulled food reduces shell debris without eliminating droppings or dropped kernels. Judge mess by what accumulates underneath your own setup, not by a product photograph.
Is a large reservoir worth paying for?
Only if turnover and cleaning keep pace. Extra capacity is useful when birds use the food promptly and you can handle the filled feeder safely. For a new station, a smaller initial fill gives you more useful information than a fully packed container.
Before ordering, check the dimensions of the complete setup, including any tray and hanging hardware. Ask for the disassembly instructions if the base or floor is not shown. These last checks can settle a close choice between a tube and a hopper without relying on reservoir size alone.
For the next part of your setup, read How to Clean Bird Feeders: Seed, Trays, and Hidden Corners.
Watch it. Then try it.
Review the steps and common mistakes in two short, silent animations. Each has a complete text transcript below.
Your four-step action map
Read the complete video transcript
Tube or hopper: inspect the working parts.
- Compare landing space. Individual perches and broad ledges offer different access.
- Find the oldest food. Check the tube base or hopper channel.
- Rehearse cleaning. Open the exact model before filling.
- Choose for your setting. Match handling, weather exposure, and mounting.
Try the steps, then note any problem that still needs attention.
Three mistakes to avoid
Read the complete video transcript
Tube or hopper: inspect the working parts.
- Judging only by shape. Compare the actual removable parts.
- Assuming a roof keeps everything dry. Inspect the exposed food surface.
- Treating all spills as preference. Check port compatibility first.
Try the steps, then note any problem that still needs attention.
Both animations use this real photograph by Rhododendrites. Photo source · CC BY-SA 4.0. The photo is adapted into original educational animations, not recordings of a field test.
At a glance
| Consideration | Tube | Hopper |
|---|---|---|
| Landing space | Usually separate perches | Usually a ledge or tray |
| Food visibility | Often a transparent column | Varies by design |
| Inspection priority | Base and ports | Corners and exposed tray |
| Best decision rule | Choose accessible parts | Choose accessible parts |
Sources & evidence
- Project FeederWatch: Feeder types
- Project FeederWatch: Food types
- Cornell Lab: How to clean your bird feeder
Our standard: real evidence before ratings. Corrections follow our editorial process.
Our verdict & your next actions
Choose the row that describes your setup, then follow the suggested check or adjustment.
| Your situation | Our verdict | Your next action |
|---|---|---|
| Limited landing room | A broader surface may help access. | Review the feeder-style guide. |
| Shells on the patio | Food format may matter more than feeder shape. | Compare sunflower options. |
| Intact food falling | Investigate dispensing before replacing the feeder. | Work through the waste checklist. |
Your pocket field checklist
Tick off the steps as you go.
0 of 4 steps completed
Keep building your knowledge in bird feeders, or search the full backyard library.