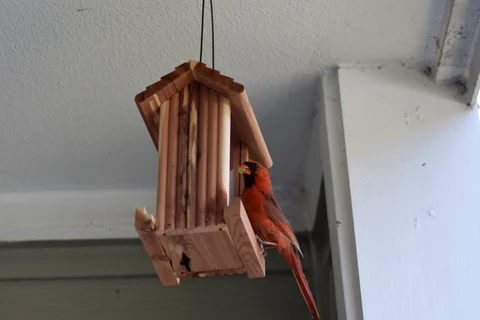
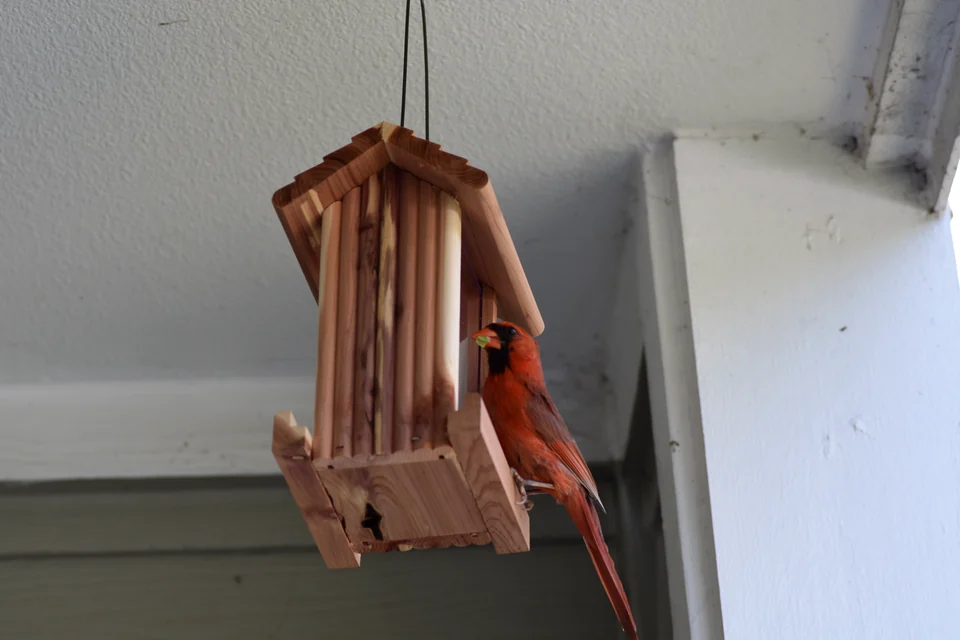
Photo: Slakshmin · A Northern Cardinal using a seed feeder. · CC BY-SA 4.0. Cropped, gently adjusted, and resized for this guide.
The short answer
Choose a feeder around the birds you want to welcome and the cleaning you will realistically do. Capacity comes later. A small, easy-to-maintain feeder is a better starting point than a large one that is difficult to empty.
Start with the birds, not the shape of the feeder
A bird feeder is a way of presenting food. Its shape determines where a bird can land, how it reaches the food, and what happens to that food when rain arrives. A beautifully made feeder can still be the wrong purchase if its openings do not match your seed or its feeding ledge is awkward for the birds you want to watch.
Before shopping, spend a few mornings looking at your yard and the surrounding neighborhood. Note which birds use trees, which search the ground, and which already visit nearby feeders. You do not need a complete species list. Distinguishing small perching birds from larger ground-feeding birds is enough to make your first choice more deliberate. Then work through the feeder styles below.
Tube feeders: a compact place for small perching birds
A tube feeder holds seed in a vertical cylinder and presents it through individual ports. Short perches suit birds that can settle comfortably beside those openings. Some designs include a larger ring or tray, changing which birds can use them. Look at the actual perch arrangement rather than assuming every tube attracts the same visitors.
The important shopping detail is the bottom. Seed can sit below the lowest opening, where you may not notice that it has become damp. Prefer a base you can remove and ports you can reach with a brush. A narrow fill opening is inconvenient; an inaccessible dirty base is a more serious design weakness. Check that replacement ports, perches, and bases are available if a part breaks.
Hopper feeders: accessible ledges with a sheltered supply
A hopper holds a reserve of seed above a feeding surface. Food drops toward the openings as birds remove it. Its broad ledge can be useful when you want to offer a stable landing area, but the ledge also collects hulls and other debris. A roof provides shelter; it does not make the exposed feeding surface waterproof.
When comparing hoppers, lift the roof and imagine emptying the last handful of seed. Are there hidden corners? Does the floor come out? Can you see the food channel without dismantling the whole structure? A large reservoir makes sense only when the food is used while still in good condition. For a new station, partially filling an easy-clean model is often a more manageable experiment than buying maximum capacity.
Your visual action map

Read the visual as text
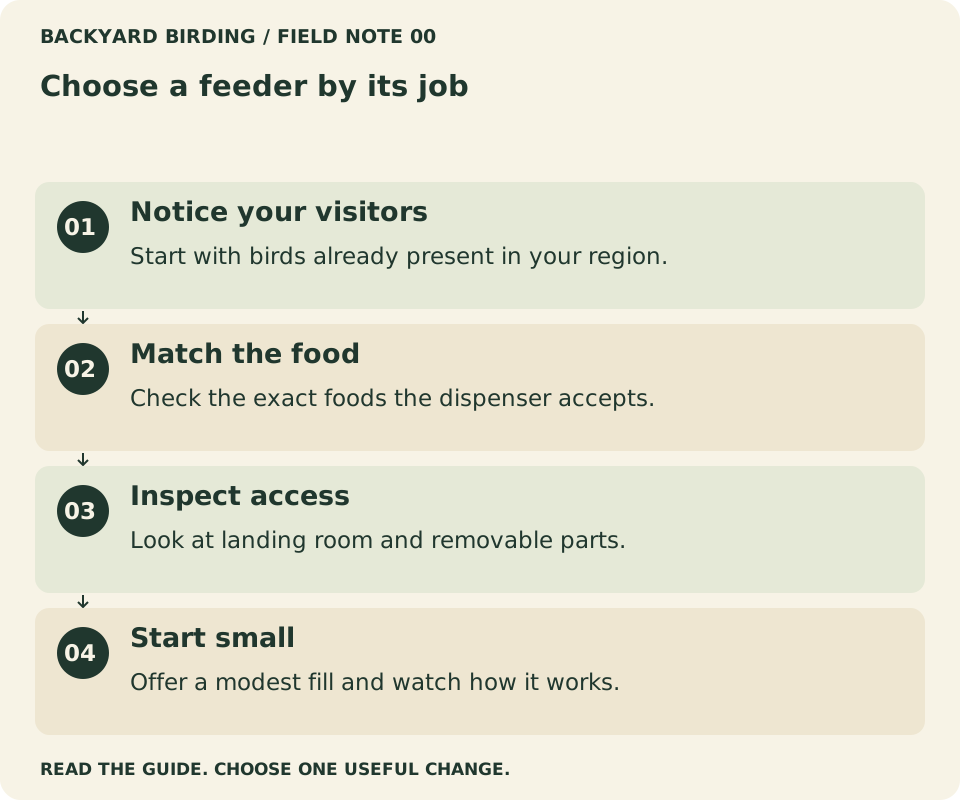
- Notice your visitors. Start with birds already present in your region.
- Match the food. Check the exact foods the dispenser accepts.
- Inspect access. Look at landing room and removable parts.
- Start small. Offer a modest fill and watch how it works.
Platforms: versatile feeding surfaces that need attention
A platform is an open tray. Its appeal is easy to understand: birds can see the food, approach from several directions, and stand on a broad surface. You can also inspect the food without looking through a cylinder. A removable mesh floor or effective drainage holes help keep water from collecting.
That openness comes with a trade-off. Food is exposed to weather, and birds can walk through it. Offer small amounts you can inspect and replace, especially in unsettled weather. A roof may help, but a covered platform still needs cleaning. Before placing one on a balcony, consider where shells and wash water will go, whether feeding is allowed, and whether you can maintain the surface below without affecting neighbors.
Specialty feeders: use them for a defined purpose
Nyjer feeders have small openings suited to that tiny seed. An ordinary large seed port may release it too freely. Suet cages hold a solid food cake for clinging birds; check the closure and choose a cake appropriate to the conditions and manufacturer instructions. A cage is not an excuse to use loose mesh bags or improvise a closure that could trap a bird.
Nectar feeders belong to a different care routine altogether. They hold a liquid sugar solution, so cleaning access and timely replacement matter more than the number of ports. A camera feeder adds electronics to a feeding station; it does not remove the need to empty and scrub the food compartment. A window feeder changes the viewing position, making a careful glass-safety assessment part of installation.
| Your starting point | Design worth considering | Detail to inspect |
|---|---|---|
| Small birds taking sunflower | Tube | Reachable base and compatible ports |
| A generous landing ledge | Hopper | Removable floor and protected food channel |
| Easily visible, small portions | Platform | Drainage and access for daily inspection |
| Tiny nyjer seed | Dedicated nyjer feeder | Port size specified for the seed |
| A suet cake | Secure suet cage | Safe closure and cleanable corners |
| Hummingbird nectar | Easy-open nectar feeder | Every reservoir surface and port |
Give a prospective feeder a cleaning rehearsal
Before filling it, take the feeder apart on a tray. Follow the instructions and keep small pieces together. Try your brush against the corners, underside, and feeding openings. If you cannot reach a surface while the feeder is new and empty, it will not become easier once food residue dries there.
Think through the entire job: carrying it inside, emptying it, washing it, drying it, and putting it back. A feeder that requires a ladder for every refill may be inconvenient even if the body cleans beautifully. Keep a dedicated brush and a place for parts to dry. Check the manufacturer's material-specific instructions before using heat or a cleaning chemical.
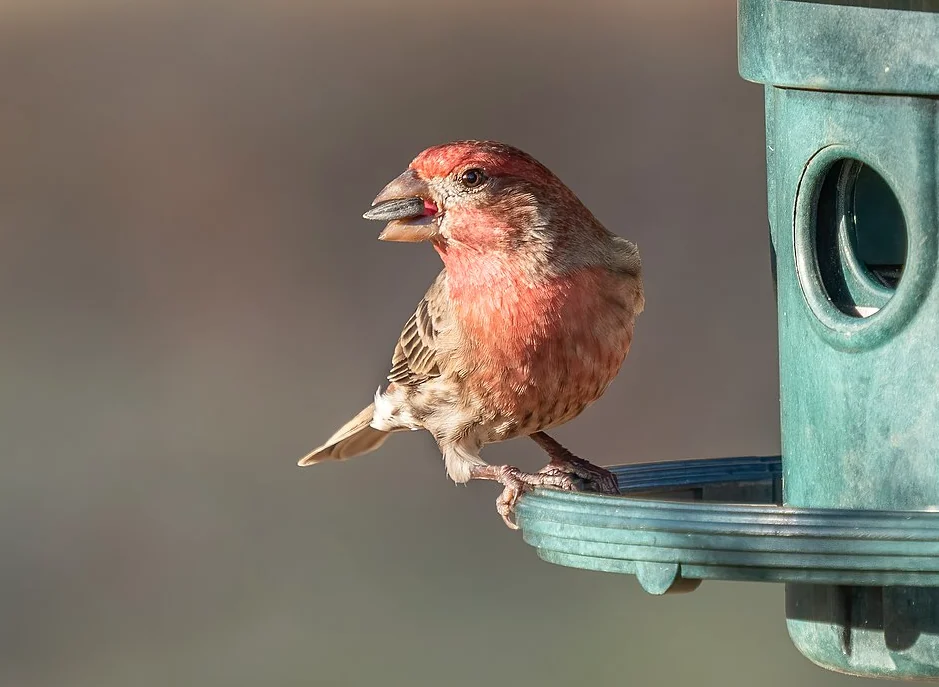
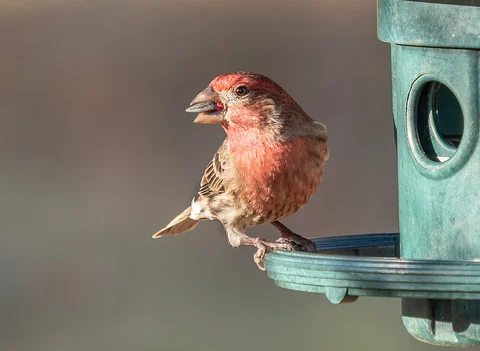
Photo: Rhododendrites · House finch (33687)2.jpg · CC BY-SA 4.0. Cropped, gently adjusted, and resized for this guide.
“Feeders are not “one size fits all””
Project FeederWatch
Match the mounting location to the design
Stand at the proposed location before buying mounting hardware. Look for a stable support, a comfortable refilling height, and a clear view of the feeding surface. Notice branches or rails that could give squirrels a route around a baffle. Look at nearby glass from outside, where reflected sky and vegetation can be misleading to birds.
Do not trade an accessible, safer position for the prettiest view from the kitchen. Exterior window treatments and sensible placement should be planned together. If the only available spot is difficult to reach or maintain, begin with native plants and a birdwatching routine while you reconsider the equipment.
Read the feeder's anatomy in a product photograph
Follow the food from the place you pour it to the place a bird removes it. The fill opening, storage chamber, channel, port, and landing surface form one connected system. A weakness at any point can affect the rest. An easy-open roof is helpful, for example, but it does not compensate for a permanently sealed food channel below it.
Next trace the cleaning route in reverse. Can the oldest food be removed completely? Can the underside of a port be reached? Is the base designed to drain, and can you inspect it after rain? Product photographs that show only the front may leave these questions unanswered. Look for a manual, an exploded-parts diagram, or a clear view of the disassembled model before deciding.
Finally, examine the connection to the support. A hook, clamp, pole socket, or suction cup is part of the working design. Check what is included and which surfaces or pole sizes it is intended to fit. A good feeder body on an unsuitable mount is still an unsuitable installation.
Consider a window feeder as a viewing system
A window feeder can provide a close view without a distant pole, but its mounting surface and the surrounding glass require deliberate attention. Follow the attachment instructions, inspect the support regularly, and account for the weight when filled. Do not assume that a small-looking reservoir is harmless if the attachment fails.
Treat nearby glass for bird visibility using current guidance. The presence of a feeder against one section does not make every adjacent pane obvious to a bird. Look outside at reflections and sight lines through the building. Choose a cleaning method and access arrangement that do not require unsafe leaning from an upper window. If the safe access is poor, a different feeder location may be more practical.
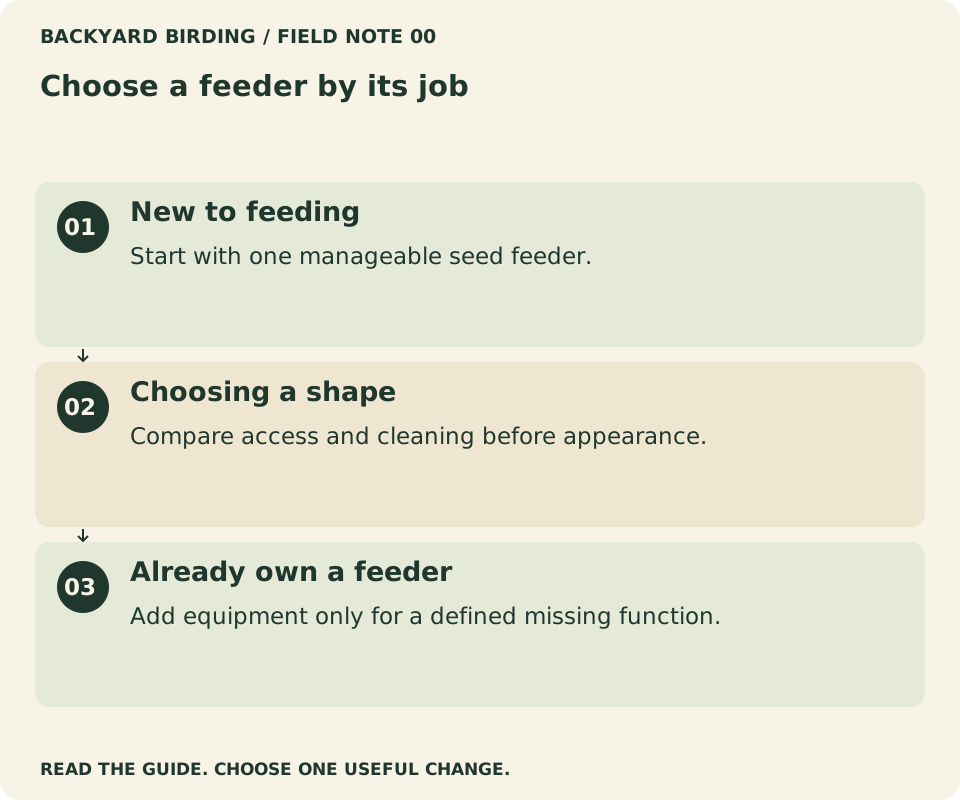
Find your situation

Read the visual as text
- New to feeding. Start with one manageable seed feeder.
- Choosing a shape. Compare access and cleaning before appearance.
- Already own a feeder. Add equipment only for a defined missing function.
A platform is not always the same as feeding on the ground
Height and surroundings change how a broad surface is used. A raised tray on a pole, a low removable platform, and scattered food directly on soil create different inspection and cleanup tasks. A removable surface may make it easier to see and clear food, but it still needs appropriate drainage and attention.
If you are interested in ground-foraging species, research the local birds and the setting before scattering seed. Think about pets, other animals, and how wet or uneaten material will be removed. Food presentation should remain something you can manage deliberately. A pile left beneath another feeder is not automatically a well-planned ground station.
Decide whether a combination feeder helps
Some products combine seed reservoirs, suet holders, trays, or camera mounts. The convenience is real only if each part remains accessible and the combined arrangement serves your purpose. Check whether one component blocks the lid, complicates removal, or places food where another part collects debris.
Compare a combination unit with two simpler items on paper before buying either. One unit may need fewer supports, while separate feeders may be easier to service independently. There is no requirement to maximize the number of foods offered from one object. Choose the arrangement whose maintenance you can explain clearly and whose components match the foods you plan to use.
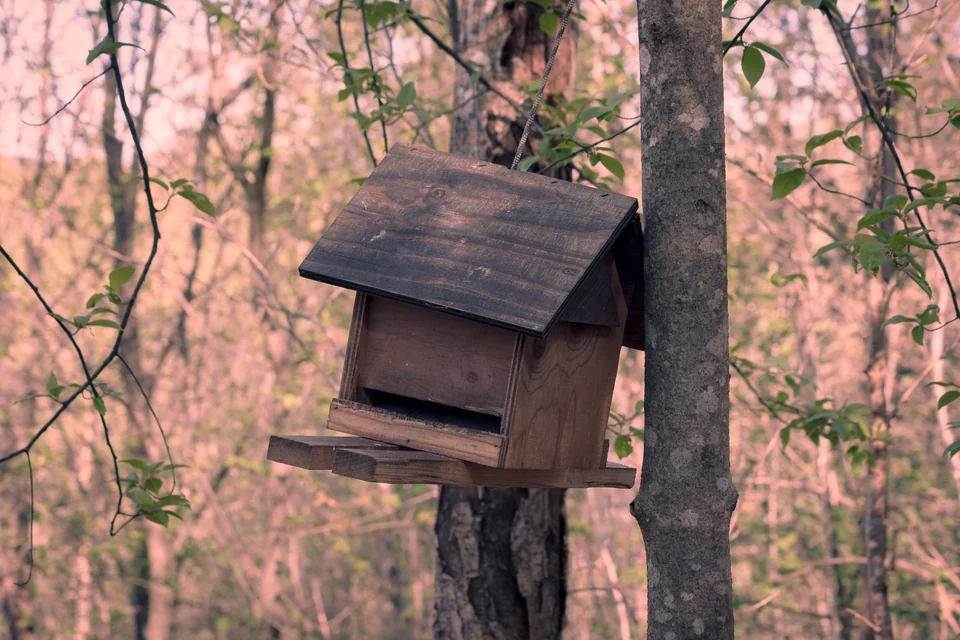
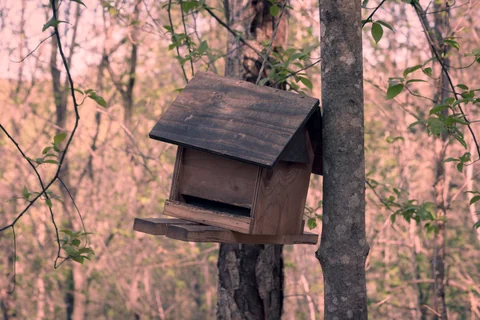
Photo: Sanzzu · Bird feeder in a forest.jpg · CC BY-SA 4.0. Cropped, gently adjusted, and resized for this guide.
Match your choice to three common settings
For a small paved yard, start with the cleanup surface. A compact compatible feeder and a manageable food supply can make observation pleasant without creating a large debris problem. Check whether a tray genuinely helps or simply adds another hard-to-reach surface. Keep the mounting point comfortably accessible.
For a garden with established shrubs and a suitable pole location, a tube or hopper may both fit. Compare landing access and cleaning, then assess squirrel routes around the support. Preserve useful vegetation where possible while avoiding direct contact that bypasses a barrier.
For someone who can visit the yard only occasionally, equipment requiring frequent attention may be a poor fit. Do not choose a large nectar reservoir as a workaround. A simpler seasonal setup with reliable care, or a focus on suitable plants, may better match the available time. The caretaker's routine is part of the selection criteria.
Understand the difference between inspection and testing
You can evaluate many practical features before making any performance claim. Reading a manual, opening a feeder, and checking whether your brush reaches the base are inspections. Recording actual bird use, leakage under defined conditions, or durability over time requires observations and a method.
Keep those categories separate when reading buying guides. A writer can reasonably describe an accessible-looking design from documentation, but that is not the same as having cleaned it repeatedly. Look for clear statements of evidence and limitations. An unexplained score should not outweigh a useful photograph of the parts you will handle every week.
Plan a second feeder only after the first has a role
Once the first station works, identify the gap you want to fill. Perhaps you want to offer suet separately, provide an appropriate nyjer dispenser, or create another accessible feeding point. Write down how the new item changes the food or access rather than merely adding capacity.
Include the extra cleaning and storage in the decision. Keep supplies labeled so the correct food reaches each feeder. If the new item has different care requirements, make them visible in the routine. Expanding thoughtfully keeps the yard enjoyable; expanding without a purpose can turn a simple hobby into a collection of partly maintained equipment.
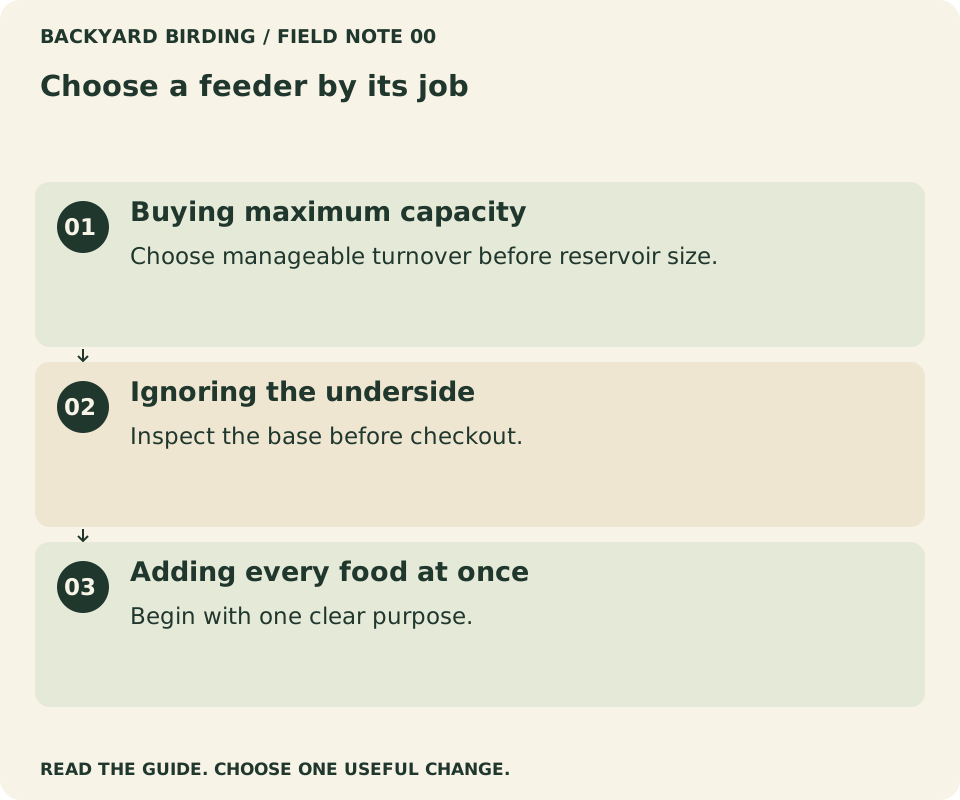
Small mistakes. Better moves.

Read the visual as text
- Buying maximum capacity. Choose manageable turnover before reservoir size.
- Ignoring the underside. Inspect the base before checkout.
- Adding every food at once. Begin with one clear purpose.
Know what to leave out of the shortlist
Set aside a product if its safe mounting cannot be achieved in your space, its food chamber cannot be inspected, or its recommended food is not what you intend to offer. These are meaningful mismatches, not small imperfections to ignore because the finish is appealing.
Also be cautious with claims that depend on conditions the listing does not explain. Ask for the missing instructions. A clear answer can bring a model back onto the shortlist; continued uncertainty can be a valid reason to choose a simpler alternative. Good selection is partly the ability to reject a feature you cannot use or maintain.
Questions to settle before checkout
Is one feeder enough?
Yes. One well-maintained feeder can be a useful starting point. Add a second when you can identify its purpose, such as offering a different food or reducing crowding. Two nearly identical feeders do not automatically create a better feeding station.
Should I buy a mixed-seed feeder?
Only after checking the actual mixture and the feeder's recommended foods. A large opening may dispense some ingredients freely while others collect. Buy a small quantity first and inspect what birds eat and what remains.
Which material lasts longest?
Material alone cannot answer that. Seams, coatings, replaceable parts, exposure, and cleaning methods all matter. Compare the care instructions and spare-part availability instead of treating metal, wood, or plastic as a guarantee.
Choose the feeder style, then check the exact model's food list, removable parts, and mounting instructions. Set it up empty and rehearse taking it down for cleaning. If that works comfortably, begin with a modest fill and inspect the food and ground after the first visits.
For the next part of your setup, read Where to Place a Bird Feeder: A Practical Yard Layout Guide.
Watch it. Then try it.
Review the steps and common mistakes in two short, silent animations. Each has a complete text transcript below.
Your four-step action map
Read the complete video transcript
Choose a feeder by its job.
- Notice your visitors. Start with birds already present in your region.
- Match the food. Check the exact foods the dispenser accepts.
- Inspect access. Look at landing room and removable parts.
- Start small. Offer a modest fill and watch how it works.
Try the steps, then note any problem that still needs attention.
Three mistakes to avoid
Read the complete video transcript
Choose a feeder by its job.
- Buying maximum capacity. Choose manageable turnover before reservoir size.
- Ignoring the underside. Inspect the base before checkout.
- Adding every food at once. Begin with one clear purpose.
Try the steps, then note any problem that still needs attention.
Both animations use this real photograph by Slakshmin. Photo source · CC BY-SA 4.0. The photo is adapted into original educational animations, not recordings of a field test.
At a glance
| Style | Useful starting point | Check before buying |
|---|---|---|
| Tube | Small perching seed eaters | Removable base and suitable seed ports |
| Hopper | A roomy feeding ledge | Drainage and access to corners |
| Platform | An open feeding surface | Weather exposure and easy removal |
| Suet cage | Presenting a suet cake | Safe closure and easy scrubbing |
| Nectar | Hummingbird feeding | Accessible ports and reservoir |
Sources & evidence
- Project FeederWatch: Feeder types
- Project FeederWatch: Food types
- Cornell Lab: How to clean your bird feeder
- Cornell Lab: Preventing window collisions
Our standard: real evidence before ratings. Corrections follow our editorial process.
Our verdict & your next actions
Choose the row that describes your setup, then follow the suggested check or adjustment.
| Your situation | Our verdict | Your next action |
|---|---|---|
| New to feeding | Start with one manageable seed feeder. | Use the beginner setup checklist. |
| Choosing a shape | Compare access and cleaning before appearance. | Compare tube and hopper designs. |
| Already own a feeder | Add equipment only for a defined missing function. | Review the buying framework. |
Your pocket field checklist
Tick off the steps as you go.
0 of 4 steps completed
Keep building your knowledge in bird feeders, or search the full backyard library.