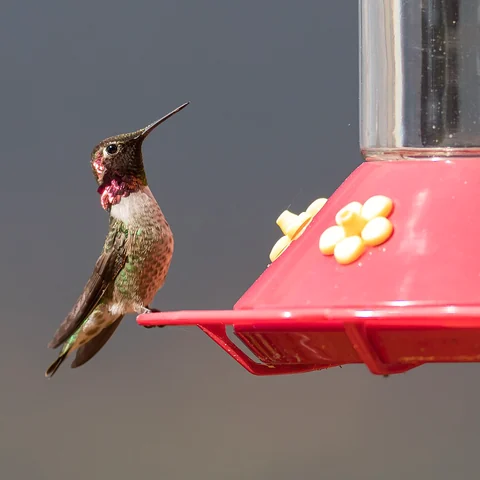
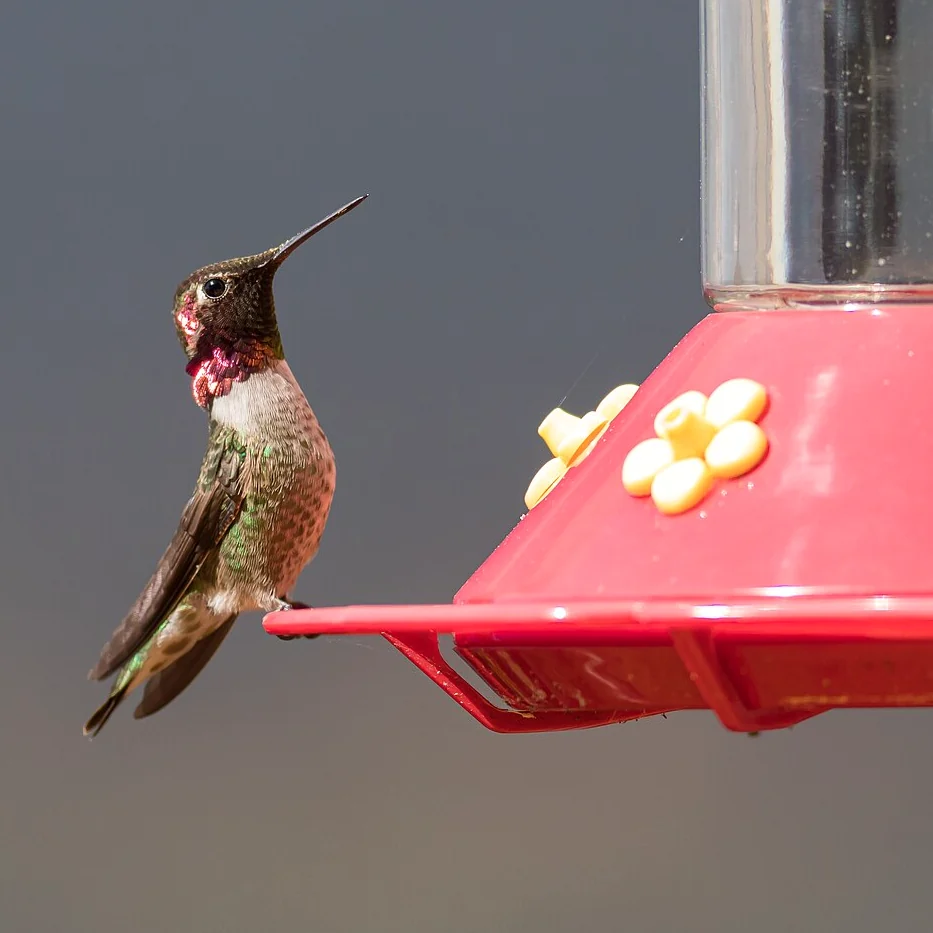
Photo: Frank Schulenburg · Anna’s Hummingbird at a bird feeder in Sea Ranch, California.jpg · CC BY-SA 4.0. Cropped, gently adjusted, and resized for this guide.
The short answer
Empty the feeder, open it fully, clean the reservoir and ports, rinse thoroughly, and inspect it before refilling. Follow the model’s care instructions and current local bird-feeding guidance.
Clean the feeder, not just the nectar you can see
A clear reservoir can hide residue beneath the lid or around a feeding port. Replacing the liquid without opening the feeder leaves those surfaces untouched. The aim of cleaning is to reach the places nectar contacts, remove residue, rinse thoroughly, and return a correctly assembled feeder to service.
Choose a time when you can finish the job without rushing. Set out a dedicated brush, a small port brush, a container for loose parts, and the manufacturer's care instructions. If the feeder includes delicate seals or decorative flowers, check how they detach before pulling. Broken tabs and lost gaskets can turn a routine wash into a leaking feeder.
A practical cleaning sequence
- Take the feeder down carefully and discard the remaining nectar. Do not save used nectar for another feeder.
- Open the reservoir and remove the parts designed to come off. Keep the small pieces together.
- Rinse away loose residue, then scrub accessible surfaces with hot water and appropriate brushes.
- Work around each feeding port, the underside of the lid, threads, seams, and the moat if one is fitted.
- Rinse every piece thoroughly. Inspect in good light and repeat cleaning where residue remains.
- Follow the care instructions for drying and reassembly, then fill with a fresh, cooled batch of nectar.
Cornell's feeder-cleaning guidance recommends hot water and a bottle brush for routine hummingbird-feeder cleaning and advises against soap or detergent. Use the manufacturer's instructions to determine which parts tolerate heat and how components should be handled. Do not assume a plastic lid is dishwasher-safe because a glass reservoir is.
Pay extra attention to ports and hidden surfaces
Turn the lid over and examine it from the nectar side. A flower-shaped port may look clean from above while its underside holds residue. Use a brush that reaches the opening without forcing or enlarging it. Inspect seals and threaded joints separately rather than relying on water swirled through the assembled feeder.
A small flashlight can help you see inside an opaque base. If you cannot verify that a surface is clean, reconsider whether the feeder is suitable for regular use. Attractive narrow-necked bottles can be awkward when the brush cannot reach the shoulders. Access is a functional requirement, not merely a convenience.
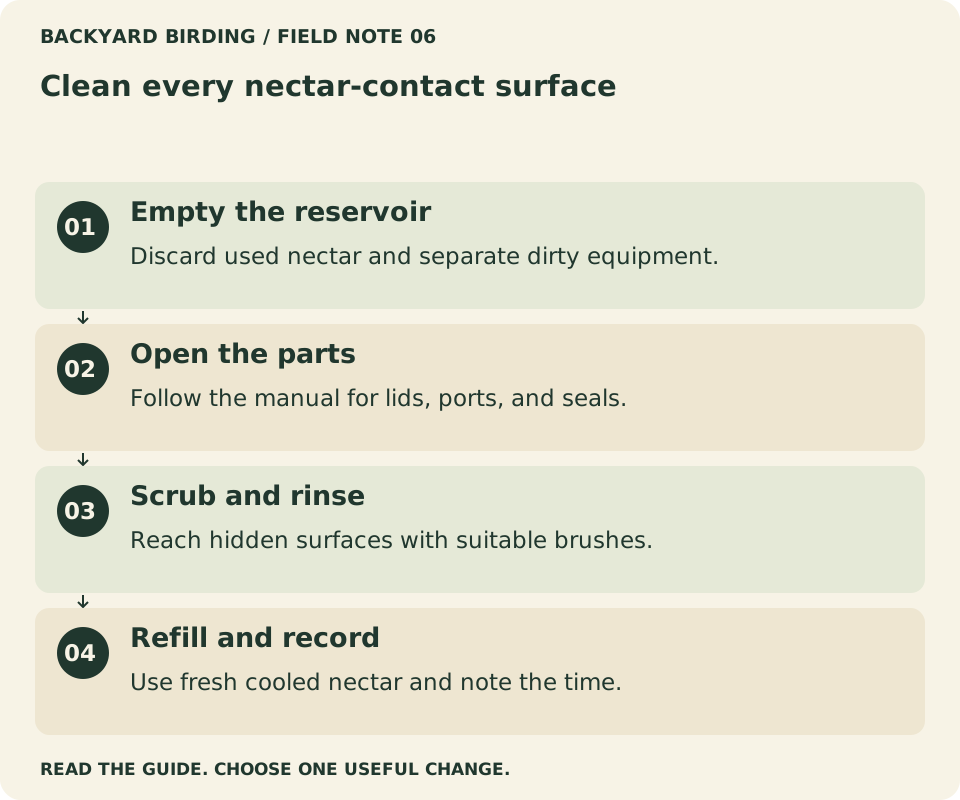
Your visual action map

Read the visual as text
- Empty the reservoir. Discard used nectar and separate dirty equipment.
- Open the parts. Follow the manual for lids, ports, and seals.
- Scrub and rinse. Reach hidden surfaces with suitable brushes.
- Refill and record. Use fresh cooled nectar and note the time.
What to do when you find mold or stubborn residue
Take the feeder out of service while you deal with contamination. A quick rinse and a fresh fill are not a complete response to visible growth. Consult the manufacturer and the linked Cornell cleaning guidance for an appropriate disinfection procedure, including dilution, contact time, rinsing, and drying requirements.
Never combine cleaning products. In particular, bleach must not be mixed with vinegar, ammonia, or other cleaners. Keep cleaning chemicals away from nectar preparation supplies and follow their labels. If a component remains inaccessible, damaged, or persistently contaminated after proper cleaning, replace the component or choose a feeder you can reliably maintain.
| Area | What to look for | How to improve the routine |
|---|---|---|
| Reservoir walls | Film, cloudiness, inaccessible corners | Open fully and use a suitable brush |
| Feeding ports | Residue underneath decorative parts | Inspect from both sides |
| Threads and seals | Trapped material or damaged fittings | Separate as directed and check before reassembly |
| Ant moat | Debris, residue, low water | Empty and clean it separately |
| Exterior | Sticky drips or leaks | Clean the surface and identify the cause |
Connect cleaning to your nectar-change schedule
Do not use a calendar reminder as permission to ignore a feeder that needs attention sooner. Check the feeder daily and clean it whenever contamination is apparent. An easy routine is to inspect and wash the accessible parts whenever you replace the nectar, rather than repeatedly topping up a partly used reservoir.
Published maintenance intervals vary with the guidance and conditions. Our separate nectar-schedule guide explains the conservative routine used here, including daily replacement in very hot weather. Whatever schedule you choose, a visibly dirty feeder needs action immediately. Shade and a smaller fill can make care more manageable, but neither eliminates cleaning.
Prepare the refill away from the dirty equipment
Use clean utensils and a separate clean container for fresh nectar. A standard starting mixture is one part plain white sugar to four parts water, measured by volume. Let any heated mixture cool before filling. Do not add red dye, honey, or artificial sweetener.
Measure a modest amount rather than automatically filling to capacity. If you consistently discard most of it, reduce the next fill while keeping the feeding ports supplied as the design requires. That adjustment reduces unnecessary waste without extending the time old nectar remains outside. Record the refill time where the person doing the next check can find it.
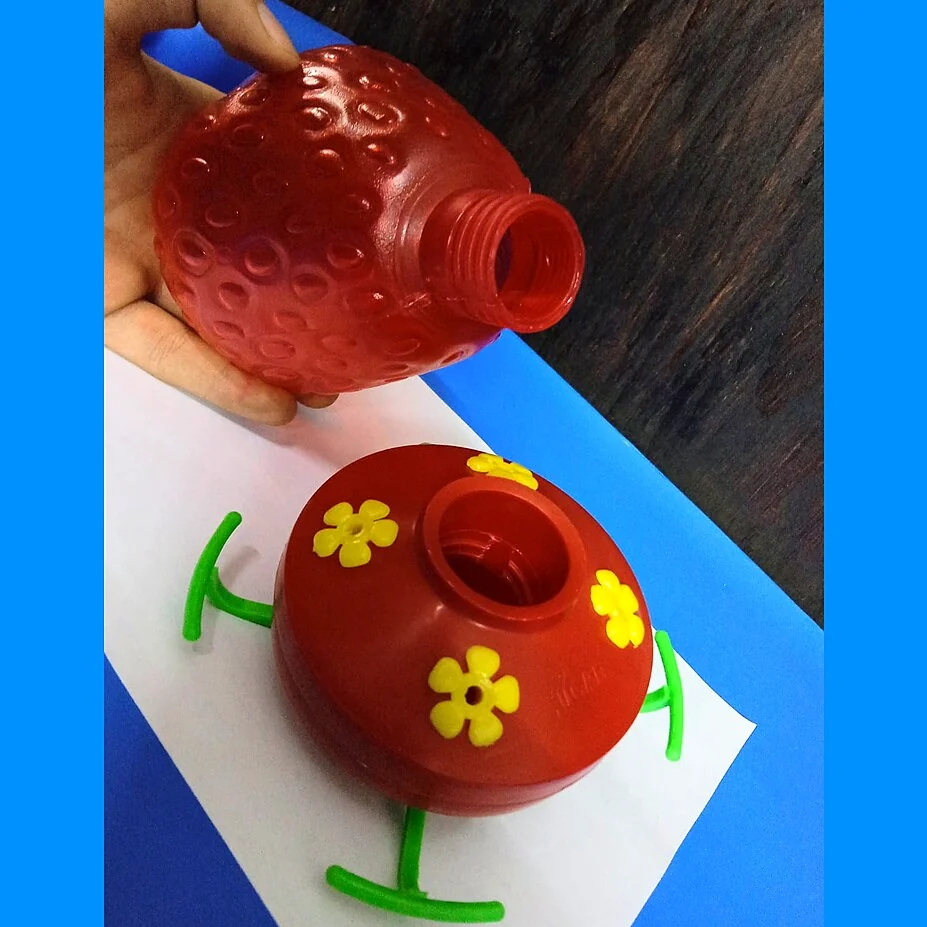
Photo: ELTORO.VET · Fresa1.jpg · CC0. Cropped, gently adjusted, and resized for this guide.
Make the next cleaning easier
Keep the brushes beside the feeder supplies, store the manual, and designate a small tray for disassembled parts. A second clean feeder can simplify a swap if you can maintain both, but it is optional. The better solution for an awkward model may be a simpler design rather than more equipment.
Check the hanging height too. If taking the feeder down requires an unstable reach, improve the mounting arrangement. A good cleaning routine begins outdoors, with safe access, and ends when the feeder is securely back in place without leaks.
Distinguish cleaning, rinsing, and disinfection
Rinsing moves loose material away. Scrubbing removes residue attached to the surfaces. Disinfection uses a documented process aimed at microorganisms and depends on the product, concentration, contact time, and subsequent handling. These terms should not be used as though they describe the same quick action.
For everyday care, make sure you can physically clean the feeder before treating any chemical step as a solution. A neglected corner covered by residue does not become reliably maintained because a cleaner passed over it. When a situation requires disinfection, follow an appropriate compatible procedure completely rather than using the word disinfected to describe an uncertain rinse.
Make a clean side and a dirty side
Arrange the workspace so used nectar and unwashed parts stay separate from the fresh mixture and clean utensils. A simple tray for dirty parts and another clean area for rinsed components can make the sequence clearer. Do not set a freshly rinsed lid back onto the surface where old nectar was spilled.
Keep the measuring container for fresh nectar away from the brushes used on dirty ports. Clean the work area afterward and wash your hands. These small organizational choices reduce confusion without requiring an elaborate setup. They are especially useful when you clean more than one feeder or someone else helps with the task.
Find your situation

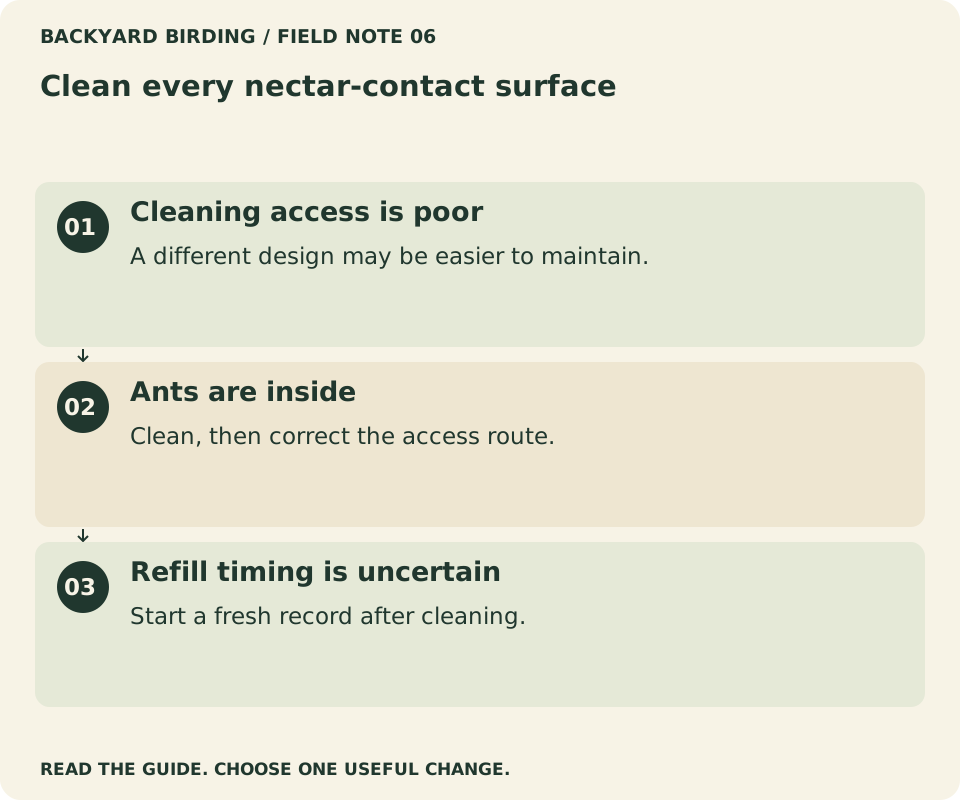
Read the visual as text
- Cleaning access is poor. A different design may be easier to maintain.
- Ants are inside. Clean, then correct the access route.
- Refill timing is uncertain. Start a fresh record after cleaning.
Choose brushes by access rather than by a generic kit label
A reservoir brush should reach the shoulders and bottom without forcing the container. A port brush should fit the opening without enlarging or damaging it. Check the bristles and handle for wear, and replace a tool that leaves pieces behind or cannot do the job effectively.
Before buying a large accessory set, compare the actual openings in your feeder. One suitable bottle brush and a correctly sized small brush may be enough. More tools do not compensate for a permanently inaccessible chamber. If the design prevents inspection, consider a different feeder rather than trying to invent a cleaning technique around the obstruction.
Handle seals and decorative flowers carefully
Follow the manual when removing seals, gaskets, or flower-shaped parts. Some are designed to detach; others are not. Pulling at the wrong joint can damage the feeder and create a leak that appears only after refilling. Keep the exact model information so replacement parts can be identified correctly.
Inspect the pieces while they are separate. Look for cracks, distortion, or material caught in a groove. Reassemble in the documented order rather than forcing parts together because they seem almost aligned. A cleaning session should restore a working feeder, so the final mechanical check matters as much as the wash itself.
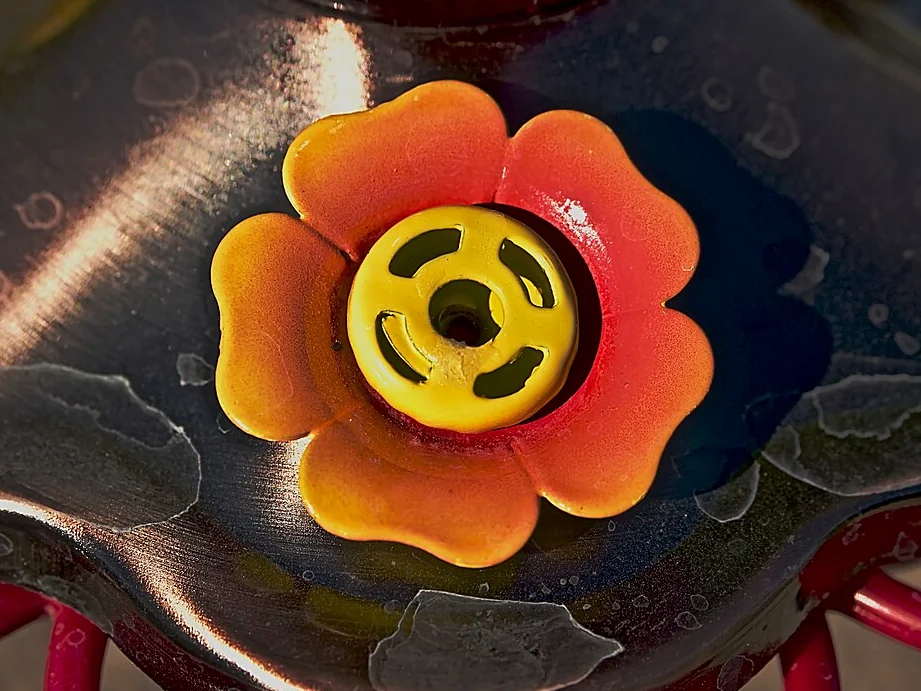
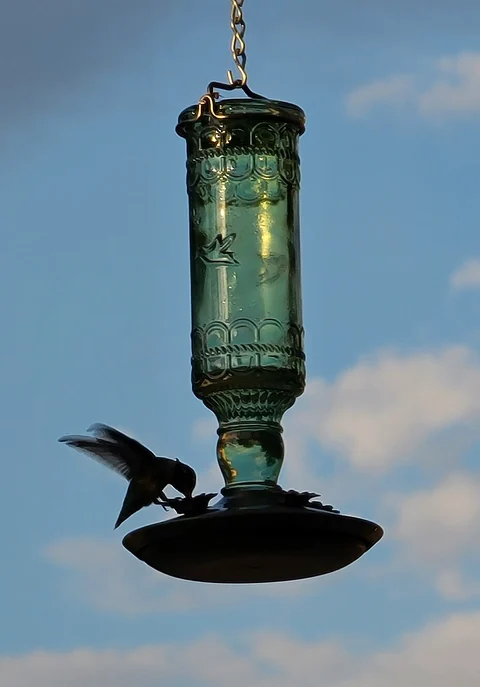
Photo: Dorian Wallender from Lake Havasu City, Arizona, USA · Hummingbird Feeder (27721019784).jpg · CC BY-SA 2.0. Cropped, gently adjusted, and resized for this guide.
What if the reservoir is glass but the base is plastic?
Treat each component according to its own care requirements. A heat-tolerant reservoir does not establish that the plastic base, gasket, or decorative lid can take the same treatment. Read the instructions for the complete assembly and separate parts when directed.
Avoid abrupt handling that could damage the container, and do not assume dishwasher suitability without confirmation. If the manual does not answer the question, contact the manufacturer or use a clearly compatible routine. Material labels should guide questions, not encourage a one-method-fits-all approach to mixed-component equipment.
Plan a two-feeder rotation without doubling confusion
A spare clean feeder can let you swap one out while the other is being washed and dried. That can be convenient, but label or organize the parts so similar lids and bases are not mixed accidentally. Keep the cleaning status of each feeder obvious.
Do not let the rotation become a way to postpone washing the removed unit until both are dirty. Complete the cleaning while the task is current, then store the spare clean and dry. A rotation works because it supports the routine, not because it removes any of the necessary steps.
Respond to repeated contamination by reviewing the system
If the same hidden area is dirty every time, examine whether the cleaning access or tool is adequate. If the feeder repeatedly leaks, check assembly and damaged seals. If ants repeatedly reach the nectar, address the access route before refilling again. Different recurring problems require different corrections.
Keep a short note identifying where the problem appears and under what conditions. That is useful if you ask the manufacturer for help or decide to replace the feeder. Do not describe repeated contamination as simply needing stronger cleaner when the underlying issue may be an unreachable surface or faulty component.
Small mistakes. Better moves.

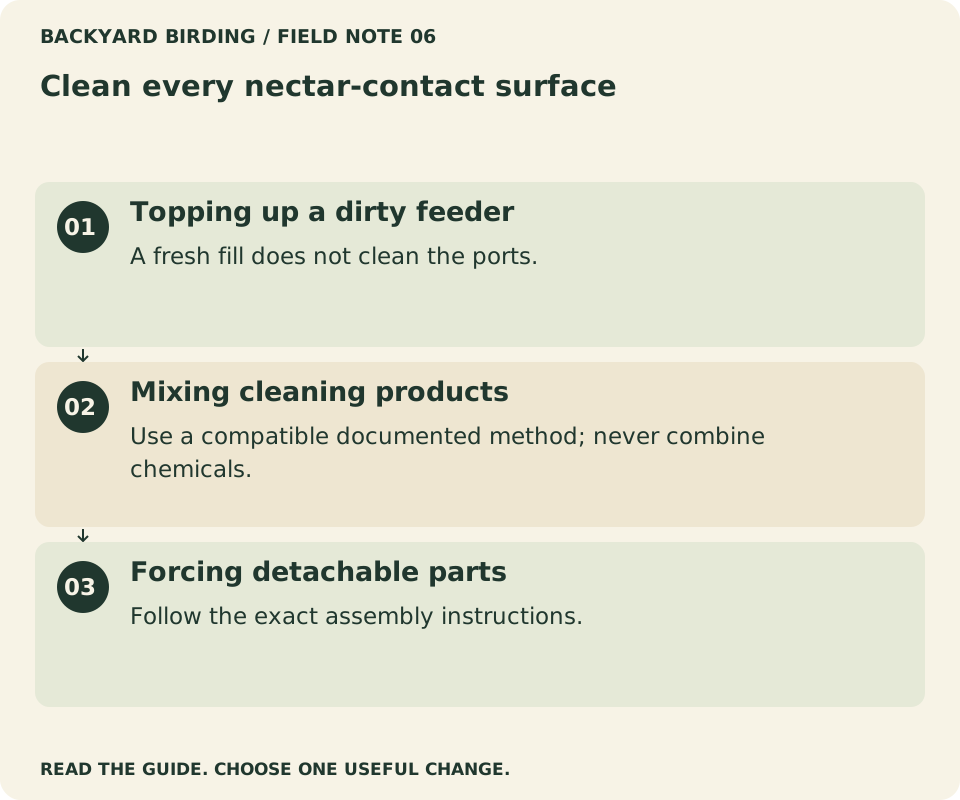
Read the visual as text
- Topping up a dirty feeder. A fresh fill does not clean the ports.
- Mixing cleaning products. Use a compatible documented method; never combine chemicals.
- Forcing detachable parts. Follow the exact assembly instructions.
Do a final leak check after reassembly
Fill only after the feeder is ready, using a manageable amount of fresh nectar. Follow the model's instructions for closing and turning it. Inspect the exterior and wipe accidental filling spills so you can distinguish a new leak from liquid left on the outside during handling.
Once hung, check that the feeder is level or positioned as directed and that the closure remains secure. Observe whether nectar appears at a seam or feeding port unexpectedly. If it does, take the feeder down and troubleshoot the assembly rather than leaving a sticky surface outside until the next scheduled cleaning.
Make the procedure easy for a caretaker to repeat
Leave the manual, brush locations, recipe, and cleaning sequence together. Show which parts detach and how the feeder closes. Explain that used nectar is discarded and that fresh nectar is prepared with clean utensils. A short demonstration is more useful than telling someone merely to rinse it occasionally.
Ask the caretaker to record the time of the refill and any problem found. If the feeder cannot be cleaned or repaired correctly, the instruction should be to leave it out of service and contact you. A safe pause is better than an improvised shortcut made because the person feels obliged to keep the reservoir full.
Know when the feeder has reached the end of useful service
Replace a damaged part when a suitable replacement is available and restores the intended function. Consider replacing the whole feeder if it cannot be cleaned thoroughly, leaks persistently despite correct assembly, or has damage that compromises use. Do not keep a troublesome model solely because it once attracted many visits.
When selecting the replacement, use the failure as a practical checklist. If the neck was too narrow, prioritize a wider opening. If the base trapped residue, inspect the new base disassembled. The experience should lead to easier care rather than another attractive model with the same hidden limitation.
Finish by checking the tools and workspace
Rinse and store the brushes appropriately, clean the work surface, and put measuring utensils back with the fresh-nectar supplies. Check that no small feeder part remains in the washing container. A tidy finish makes the next cleaning easier and reduces the chance of reusing a dirty tool during preparation.
If a brush no longer reaches a surface well or a seal looks damaged, note the replacement needed now. Do not leave that discovery for the next refill, when the same missing item may encourage another shortcut. Maintenance includes keeping the means of cleaning ready to use.
Frequently asked questions
Can I just pour boiling water through it?
Do not assume the material or seals tolerate boiling water. Pouring water through an assembled feeder also may not remove attached residue. Open and scrub the parts according to their care instructions.
Does vinegar replace every other cleaning method?
No single household recipe should be treated as suitable for every feeder or contamination problem. Use a documented, material-compatible procedure. Never combine vinegar with bleach.
What if I cannot keep up while traveling?
Arrange for someone who understands the full routine or take the feeder down temporarily. Leaving a large supply of nectar outside is not a substitute for care. A smaller, consistently maintained setup is the practical goal.
For a related next step, read When to Put Out and Take Down Hummingbird Feeders in the U.S..
For accurate ingredients and small-batch measurements, use Homemade Hummingbird Nectar: The Correct Recipe, Small Batches, and Freshness.
Watch it. Then try it.
Review the steps and common mistakes in two short, silent animations. Each has a complete text transcript below.
Your four-step action map
Read the complete video transcript
Clean every nectar-contact surface.
- Empty the reservoir. Discard used nectar and separate dirty equipment.
- Open the parts. Follow the manual for lids, ports, and seals.
- Scrub and rinse. Reach hidden surfaces with suitable brushes.
- Refill and record. Use fresh cooled nectar and note the time.
Try the steps, then note any problem that still needs attention.
Three mistakes to avoid
Read the complete video transcript
Clean every nectar-contact surface.
- Topping up a dirty feeder. A fresh fill does not clean the ports.
- Mixing cleaning products. Use a compatible documented method; never combine chemicals.
- Forcing detachable parts. Follow the exact assembly instructions.
Try the steps, then note any problem that still needs attention.
Both animations use this real photograph by Frank Schulenburg. Photo source · CC BY-SA 4.0. The photo is adapted into original educational animations, not recordings of a field test.
At a glance
| Stage | What to check |
|---|---|
| Empty | Discard old nectar |
| Open | Reach the reservoir and feeding ports |
| Clean and rinse | Follow care directions; leave no residue |
| Inspect | Look for film, debris, or damaged parts |
| Refill | Use fresh nectar and note the next check |
Products to compare
Compare the features and current manufacturer instructions for your intended setup. These are research-based comparisons, not hands-on tests.
HummZinger HighView 12 oz.
Readers comparing a conventional nectar feeder
- Brand
- Aspects
- Type
- Nectar feeder
- Capacity
- 12 oz. (manufacturer specification)
- Price
- Check the current offer with the seller
Why consider it
- Clearly identified model: Aspects #429
- Modest, published nectar capacity
What remains uncertain
- No hands-on leak or cleaning test published here
- Capacity does not determine a safe refill schedule
Who should skip: A seed-feeder buyer or anyone seeking camera features
See manufacturer specifications ↗Sources & evidence
Our standard: real evidence before ratings. Corrections follow our editorial process.
Our verdict & your next actions
Choose the row that describes your setup, then follow the suggested check or adjustment.
| Your situation | Our verdict | Your next action |
|---|---|---|
| Cleaning access is poor | A different design may be easier to maintain. | Compare nectar-feeder features. |
| Ants are inside | Clean, then correct the access route. | Follow the ant guide. |
| Refill timing is uncertain | Start a fresh record after cleaning. | Use the nectar schedule. |
Your pocket field checklist
Tick off the steps as you go.
0 of 4 steps completed
Keep building your knowledge in hummingbirds, or search the full backyard library.