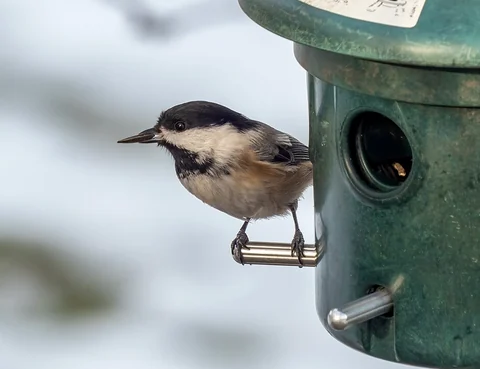
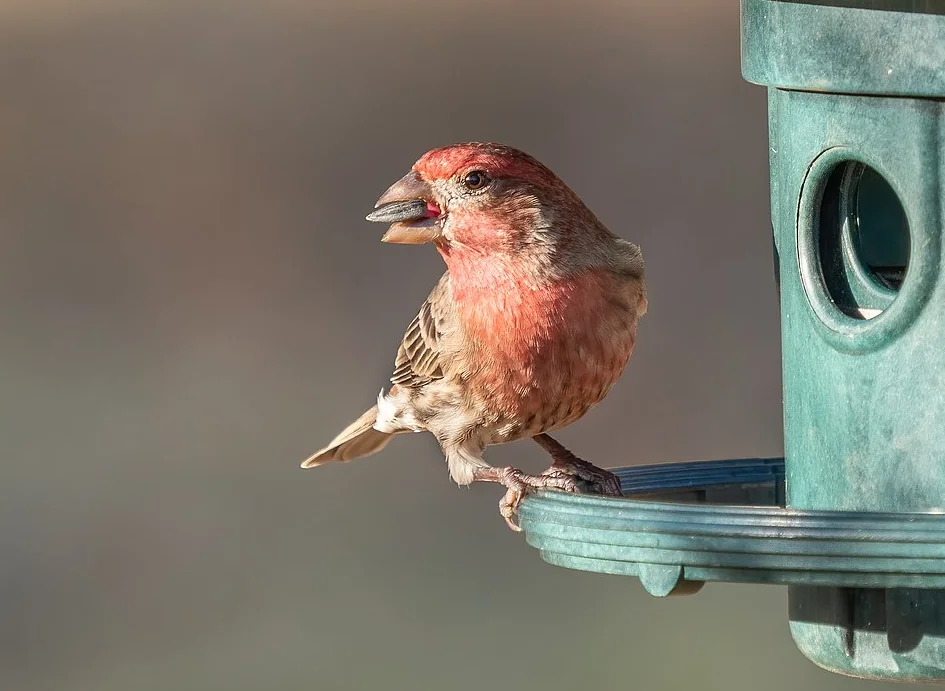
Photo: Rhododendrites · House finch (33687)2.jpg · CC BY-SA 4.0. Cropped, gently adjusted, and resized for this guide.
The short answer
Follow your exact model manual: separate electronics from approved washable parts, clean and dry food surfaces fully, inspect connections, and track charging alongside actual solar exposure.
Maintain two systems on one schedule
A camera feeder contains a food-contact system and an electronic system. They share a housing, but they do not necessarily share a cleaning method. The tray may need washing while the camera, battery assembly, or solar components require a different approach.
Begin with the manual for the exact model and generation. Identify which parts detach, which can be washed, and which must stay out of water. A general bird-feeder cleaning recommendation does not override an electronics restriction.
This guide helps organize the work into a repeatable routine. It is not a substitute for model-specific disassembly, charging, or cleaning instructions. We have not performed a hands-on test of the devices mentioned. The practical goal is straightforward: food-contact surfaces that can be cleaned and dried, electronics handled as directed, and a station you can inspect without an awkward or hazardous maintenance trip.
Make a component map before the first wash
Lay out the empty feeder on a suitable work surface and identify the reservoir, tray, perches, lid, camera, battery, solar panel, cables, and mounting pieces. Not every model has each item as a separate component.
Make a short list of what comes off and in what order. Photograph the arrangement if that helps you reassemble it correctly. Do not force a clip because a different generation's video showed a similar-looking part sliding free.
Birdbuddy's current device-care page illustrates the importance of model distinctions: it separates instructions for Birdbuddy 2 from the original camera module and Nature Cam Pro. In its Birdbuddy 2 guidance, the camera and battery/solar insert are excluded from the housing parts that can be submerged. Use that as a reason to read your own model's instructions, not as a rule for every camera feeder.
Prepare a clean, manageable work area
Have the required brush, compatible cleaning supplies, rinse water, drying space, and a container for small parts ready before taking the feeder apart. Keep removed electronics in a dry area away from splashes and discarded food.
Choose a route that lets you carry the assembly securely. If the feeder is mounted where removal requires stretching, balancing, or handling loose parts overhead, reconsider the location. A camera view is not worth a maintenance routine you are likely to avoid.
Keep feeder-cleaning tools separate from tools used for preparing human food. Protect the work surface and wash your hands after handling waste. The purpose of preparation is not to make cleaning elaborate; it is to prevent the common halfway problem of a wet disassembled feeder, exposed electronics, and no clear place for everything to dry.
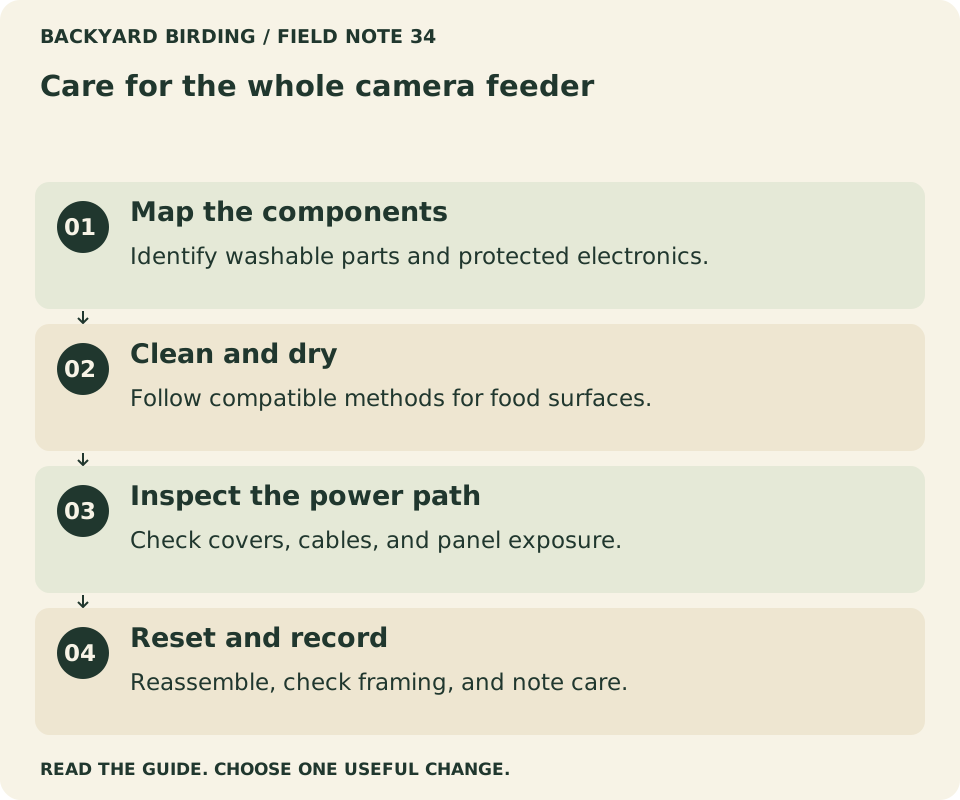
Your visual action map

Read the visual as text
- Map the components. Identify washable parts and protected electronics.
- Clean and dry. Follow compatible methods for food surfaces.
- Inspect the power path. Check covers, cables, and panel exposure.
- Reset and record. Reassemble, check framing, and note care.
Inspect before emptying the reservoir
Look at the lower chamber, feeding ledge, drainage openings, and ground beneath the station. Note wet clumps, residue, accumulated hulls, or areas that are difficult to reach. These observations can reveal why the same problem keeps returning.
Then discard unsuitable or old food rather than mixing it into a fresh refill. Do not treat a clean-looking upper layer as evidence that the bottom of the chamber is in good condition. A modest fill makes this inspection easier and reduces the amount discarded during a reset.
Take an ordinary record if a recurring leak or design issue needs manufacturer support. Photograph the affected part without presenting the image as a diagnosis of bird illness. For the food-handling sequence in more detail, use the seed-feeder cleaning guide. Camera maintenance should support that routine, not distract from it.
Separate approved washable parts from electronics
Disconnect or remove components only as the instructions direct. Keep charging connections away from the washing area. Weather resistance during normal use does not establish that an assembled camera can be submerged, pressure-washed, or placed in a dishwasher.
Read restrictions for seals, coatings, connectors, and solar assemblies as well as for the visible lens. A part that looks like a simple roof may contain wiring or an integrated power component. Do not infer washability from appearance.
If the instructions are unclear, pause the wet-cleaning step and ask the manufacturer about the specific part. You can still remove old food and prepare the approved components while waiting for a clear answer. Guessing at immersion is an avoidable risk to the equipment and does not make the feeding surface cleaner in a controlled way.
Clean the entire food-contact path
Follow a compatible cleaning and sanitizing method for the washable feeder parts. Remove debris from corners, seams, ports, and beneath perches rather than only wiping the most visible tray surface.
Cornell's general seed-feeder guidance recommends regular cleaning, with increased attention during wet weather, heavy use, or disease concerns. It also emphasizes thorough rinsing, drying, and cleaning the ground below. Apply that hygiene principle alongside the specific material and electronics restrictions of your device.
Use cleaning products according to their labels, including dilution, contact time, protective measures, and rinsing requirements. Do not mix cleaners. A stronger improvised mixture is not a substitute for an approved method. If a manufacturer's care instructions seem incompatible with a necessary hygiene response, ask for guidance rather than quietly choosing whichever instruction is more convenient.
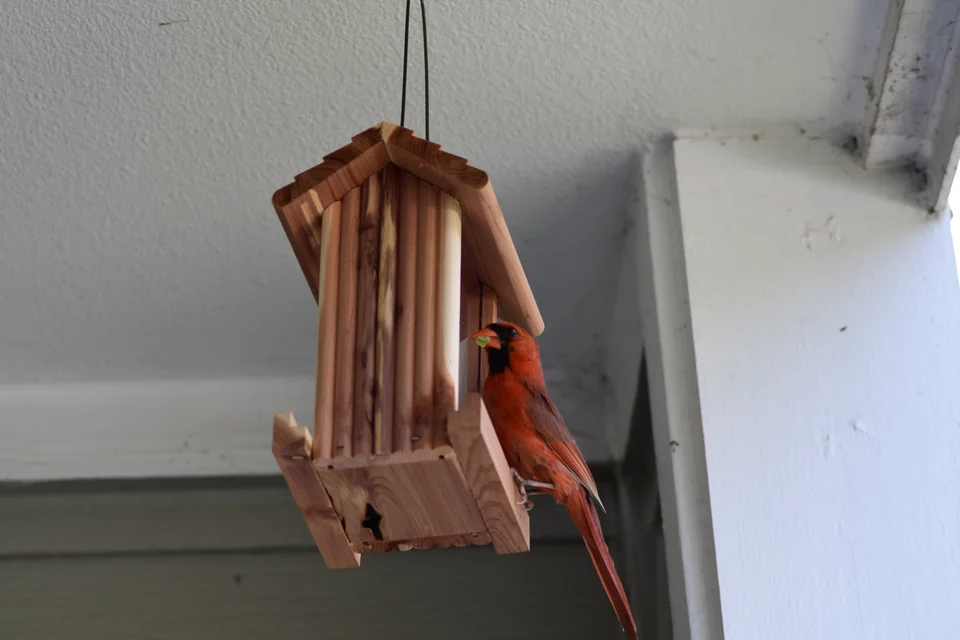
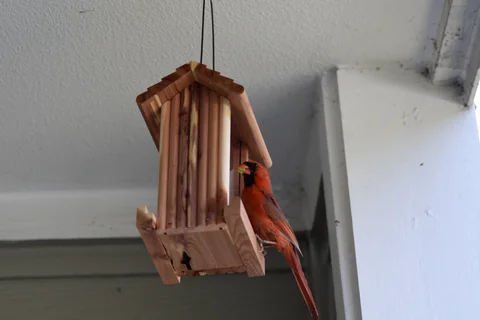
Photo: Slakshmin · A Northern Cardinal using a seed feeder. · CC BY-SA 4.0. Cropped, gently adjusted, and resized for this guide.
“Food hygiene and electronics care need different methods on one manageable schedule.”
Backyard Birding — editorial takeaway
Make drying a separate step
Rinsing is not the end of the job. Check recesses, screw channels, folded edges, and the underside of a tray before refilling. A surface can look dry from above while holding water in a lower corner.
Arrange parts so that water can drain and air can reach the areas that contact food. Keep electronics protected throughout. Do not accelerate the process with an improvised heat source that could damage plastic, seals, batteries, or coatings.
Use the drying interval for another small task, such as clearing the ground or reviewing the mounting hardware. If your schedule rarely allows enough drying time, reduce the complexity of the setup or consider a compatible spare washable tray if the manufacturer offers one. The objective is a routine you can complete, not a rushed refill that immediately puts fresh seed onto a damp surface.
Clean the lens with the right restraint
Start with the camera manufacturer's instructions for the lens and exterior. Use approved materials and avoid abrasive rubbing. Food dust or a water mark on the lens can affect an entire day's footage, but aggressive polishing can create a worse problem.
Inspect a recent ordinary image after cleaning. Look for persistent haze, a smear, or a change that remains in the same place in several frames. If a problem appears to be inside the sealed module, contact support rather than opening the enclosure.
Do not make image quality your only maintenance indicator. A clear lens can look across a dirty feeding tray. Conversely, a clean feeder may produce poor clips because of lighting or framing rather than residue. Our AI identification guide explains how to recognize when the available image is insufficient for a confident species label.
Inspect cables, ports, and protective covers
Before charging, follow the manual's checks for a clean, dry connection and intact protective parts. Do not force a connector that will not seat normally. Look for pinching, damaged insulation, missing covers, or wear where a cable bends around the housing.
Keep the inspection visual and non-invasive unless the manufacturer provides a specific user-maintenance procedure. Do not probe contacts with metal tools or dismantle a battery pack. If a component looks damaged, stop using it and obtain model-specific support.
Route compatible cables as directed, away from moving parts and obvious snag points. A hanging loop may be exposed to weather, animals, or the removal process even when the electrical connection itself seems secure. Recheck the route after reassembly. The best time to notice a pinched cable is before the feeder is mounted and filled.
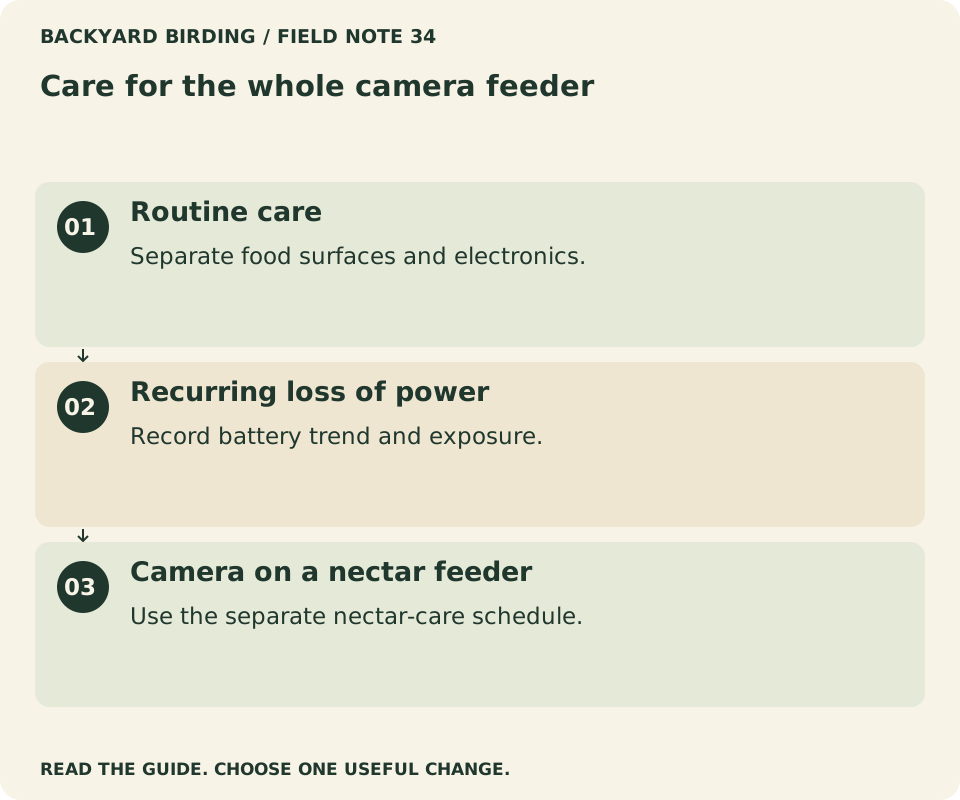
Find your situation

Read the visual as text
- Routine care. Separate food surfaces and electronics.
- Recurring loss of power. Record battery trend and exposure.
- Camera on a nectar feeder. Use the separate nectar-care schedule.
Evaluate solar exposure where the panel actually sits
A sunny-looking garden is not the same as a useful solar-panel position. Watch the panel location at more than one time of day and notice roof shade, branches, seasonal leaf cover, and the panel's orientation.
Record the exposure without promising a fixed charging result. Available energy depends on the device, panel, conditions, and operating workload. A camera producing many events or frequent live views may have a different energy balance from a quieter setup.
If the model supports a separate panel, use only compatible equipment and follow its installation guidance. Do not move the feeding surface into a poor location solely to chase sunlight. The yard placement guide keeps glass safety, access, and surrounding habitat in the decision. Solar assistance is useful when it fits the whole station, not when it creates another problem.
Keep a battery trend instead of one percentage
A single battery reading tells you little about a recurring charging complaint. Note the level at a consistent time over several ordinary days, together with weather, recording mode, and any unusually heavy live viewing.
This is a household observation log, not a controlled battery test. It can still reveal a useful pattern: the level falls during a shaded period, or the camera becomes unavailable after a change in settings. Keep the observations separate from your explanation of them.
| Log field | Why it helps |
|---|---|
| Date and approximate time | Makes readings comparable |
| Battery indication | Shows the direction of change |
| Weather and panel shade | Records exposure context |
| Recording or live-view changes | Notes a changed workload |
| Manual charge or restart | Marks an intervention |
Use the Wi-Fi guide if availability problems continue; power and connectivity can produce similar symptoms in the app.
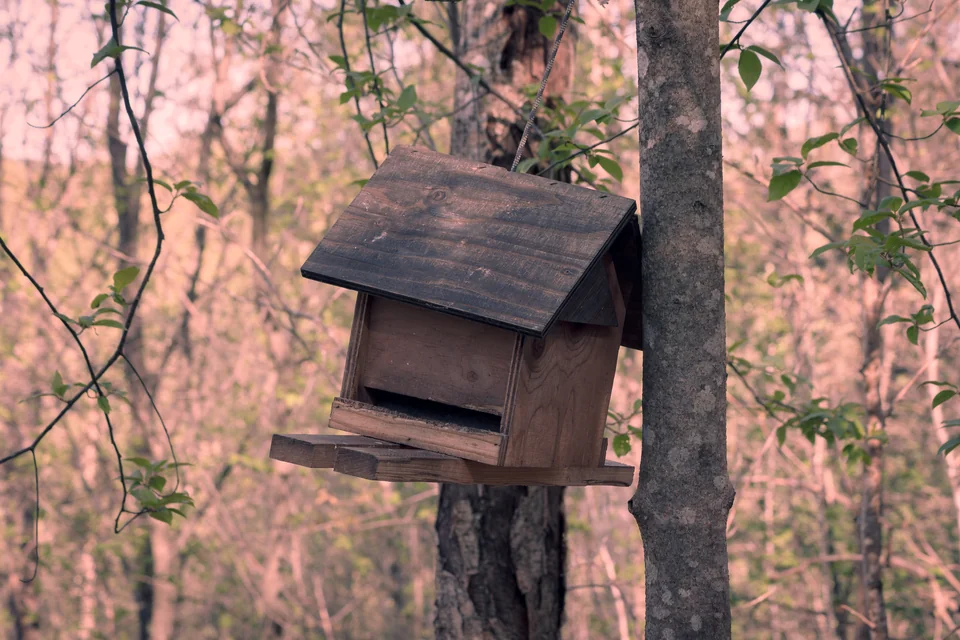
Photo: Sanzzu · Bird feeder in a forest.jpg · CC BY-SA 4.0. Cropped, gently adjusted, and resized for this guide.
Follow the model's charging procedure
Identify whether the camera, a battery insert, or a larger assembly needs charging. Use the recommended cable and power supply, observe the stated temperature conditions, and keep connections dry.
Do not assume that a solar-powered device should remain attached indefinitely to an ordinary external charger. Continuous-power suitability is model-specific. Follow the device's documented procedure rather than treating a USB connector as permission for every power arrangement.
Make the charging location part of the maintenance plan. It should allow you to place the relevant component securely and keep it away from wet feeder parts. If the battery or housing shows damage, swelling, unusual heat, or another concerning change, stop charging and contact the manufacturer. Do not try to repair or puncture a battery. An interrupted bird video is a minor inconvenience compared with improvising around damaged electronics.
Reassemble with a short functional check
Check that food-contact parts are dry, the camera is seated correctly, covers are closed, and cables follow their intended route. Confirm that drainage openings and feeding ports are unobstructed.
Mount the empty assembly securely before adding a modest amount of fresh food, unless the instructions specify a different sequence. Look at the camera view afterward: removal and reinstallation can change the angle enough to hide the perch or expose an unwanted background.
Check basic app access without spending a long session in live view merely to prove the device works. Then let the feeder return to ordinary use. Record the cleaning and any changed setting. If a fault appears immediately after reassembly, that timing is useful evidence. Begin with the parts touched during maintenance before assuming the router or service suddenly failed.
Adapt the routine after rain, heat, and seasonal change
A calendar reminder is a starting point, not a reason to ignore obvious changes. Inspect after wet weather for damp food and blocked drainage. Reassess access when leaves, snow, or ice change the surroundings.
Use the manufacturer's operating and storage limits for the exact model. Do not borrow temperature limits from another device or assume that a solar roof makes electronics suitable for every season. Keep a practical way to bring components indoors when their instructions require it.
For food and wildlife concerns, consult current local guidance. If birds appear sick, routine scheduled cleaning may be insufficient; follow the appropriate wildlife authority's advice about feeding and response. This guide cannot diagnose a bird from a photograph. A camera can help you notice an issue, but the next action should be based on suitable guidance rather than an app's interpretation.
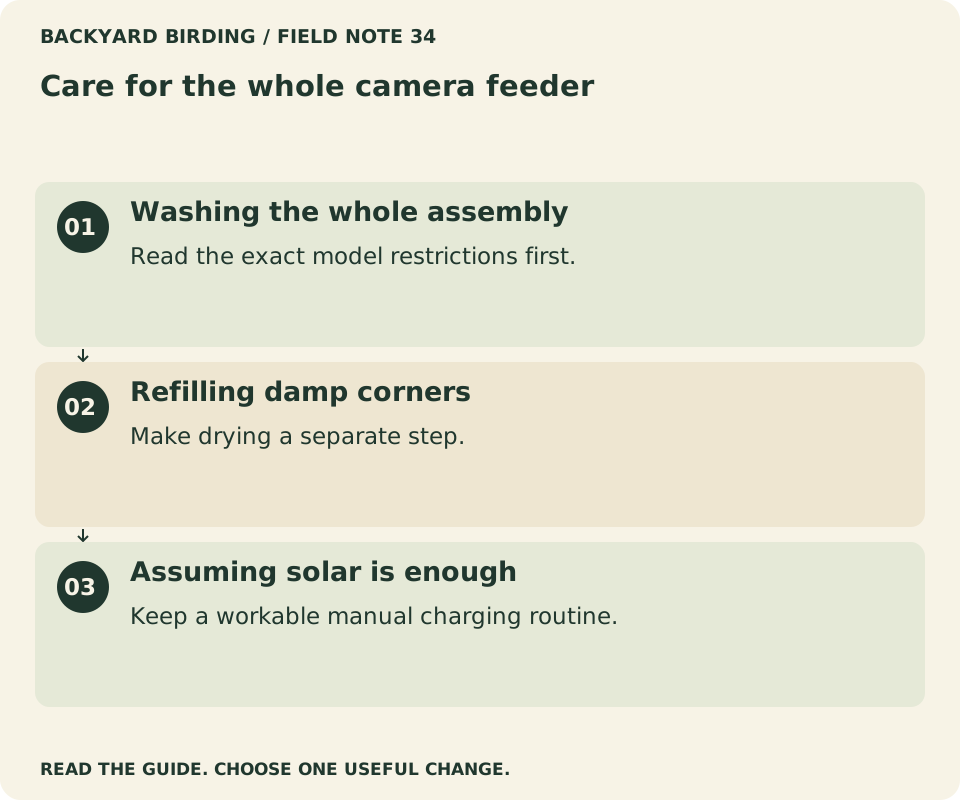
Small mistakes. Better moves.

Read the visual as text
- Washing the whole assembly. Read the exact model restrictions first.
- Refilling damp corners. Make drying a separate step.
- Assuming solar is enough. Keep a workable manual charging routine.
Keep nectar systems on their own care routine
A camera attached to a hummingbird feeder does not turn nectar care into a seed-feeder task. Reservoirs, ports, and sugar-water replacement need their own schedule and instructions.
Use the hummingbird feeder cleaning guide and nectar replacement guide alongside the model's electronics restrictions. Do not apply a seed-storage routine to nectar simply because both devices use the same app.
The same separation applies to accessories such as water attachments or additional food holders. Each adds a surface and a care requirement. Before fitting an accessory, decide who will inspect it and how it will be removed. More feeding options are useful only when you can keep them suitable. A simpler camera station that is consistently maintained can be a better choice than an elaborate assembly whose hidden parts are neglected.
Choose a routine you can sustain
Finish with a short maintenance card: what comes off, what can be washed, what must remain dry, how charging works, and what to check before refilling. Keep the manual link with that card.
If the routine repeatedly breaks down, change the setup rather than relying on a stronger reminder. Reduce food capacity, improve access, remove an unnecessary accessory, or reconsider a difficult mount. Our smart-feeder selection guide helps evaluate those trade-offs before another purchase.
The camera is successful when it makes observation easier without making basic feeder care harder to complete. Keep food hygiene, electronics care, and power observations distinct, but schedule them together where practical. That approach gives you a cleaner station, a clearer understanding of problems, and more time to enjoy the visits you wanted to see.
Watch it. Then try it.
Review the steps and common mistakes in two short, silent animations. Each has a complete text transcript below.
Your four-step action map
Read the complete video transcript
Care for the whole camera feeder.
- Map the components. Identify washable parts and protected electronics.
- Clean and dry. Follow compatible methods for food surfaces.
- Inspect the power path. Check covers, cables, and panel exposure.
- Reset and record. Reassemble, check framing, and note care.
Try the steps, then note any problem that still needs attention.
Three mistakes to avoid
Read the complete video transcript
Care for the whole camera feeder.
- Washing the whole assembly. Read the exact model restrictions first.
- Refilling damp corners. Make drying a separate step.
- Assuming solar is enough. Keep a workable manual charging routine.
Try the steps, then note any problem that still needs attention.
Both animations use this real photograph by Rhododendrites. Photo source · CC BY-SA 4.0. The photo is adapted into original educational animations, not recordings of a field test.
At a glance
| Your situation | Our conclusion | Your next action |
|---|---|---|
| Routine care | Separate food surfaces and electronics. | Follow the component map. |
| Recurring loss of power | Record battery trend and exposure. | Distinguish connection faults. |
| Camera on a nectar feeder | Use the separate nectar-care schedule. | Clean the hummingbird feeder. |
Sources & evidence
- Birdbuddy: Device care by model
- Cornell Lab: How to clean your bird feeder
- Birdbuddy: Solar roof
- Birdfy: FAQ and troubleshooting
Our standard: real evidence before ratings. Corrections follow our editorial process.
Our verdict & your next actions
Choose the row that describes your setup, then follow the suggested check or adjustment.
| Your situation | Our verdict | Your next action |
|---|---|---|
| Routine care | Separate food surfaces and electronics. | Follow the component map. |
| Recurring loss of power | Record battery trend and exposure. | Distinguish connection faults. |
| Camera on a nectar feeder | Use the separate nectar-care schedule. | Clean the hummingbird feeder. |
Your pocket field checklist
Tick off the steps as you go.
0 of 4 steps completed
Keep building your knowledge in smart bird feeders, or search the full backyard library.