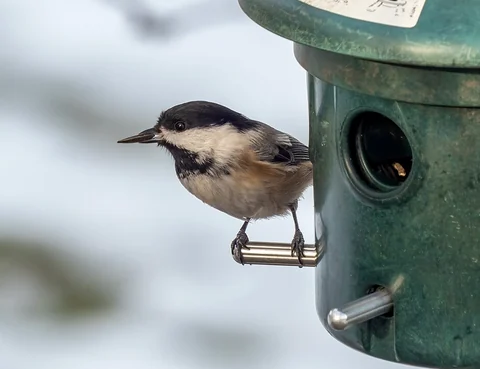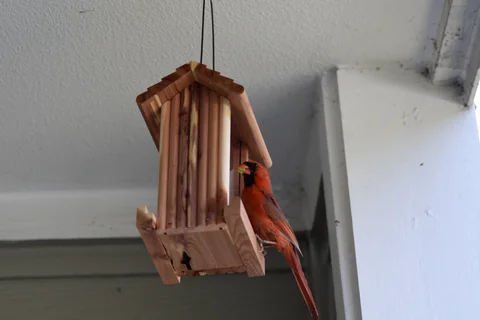
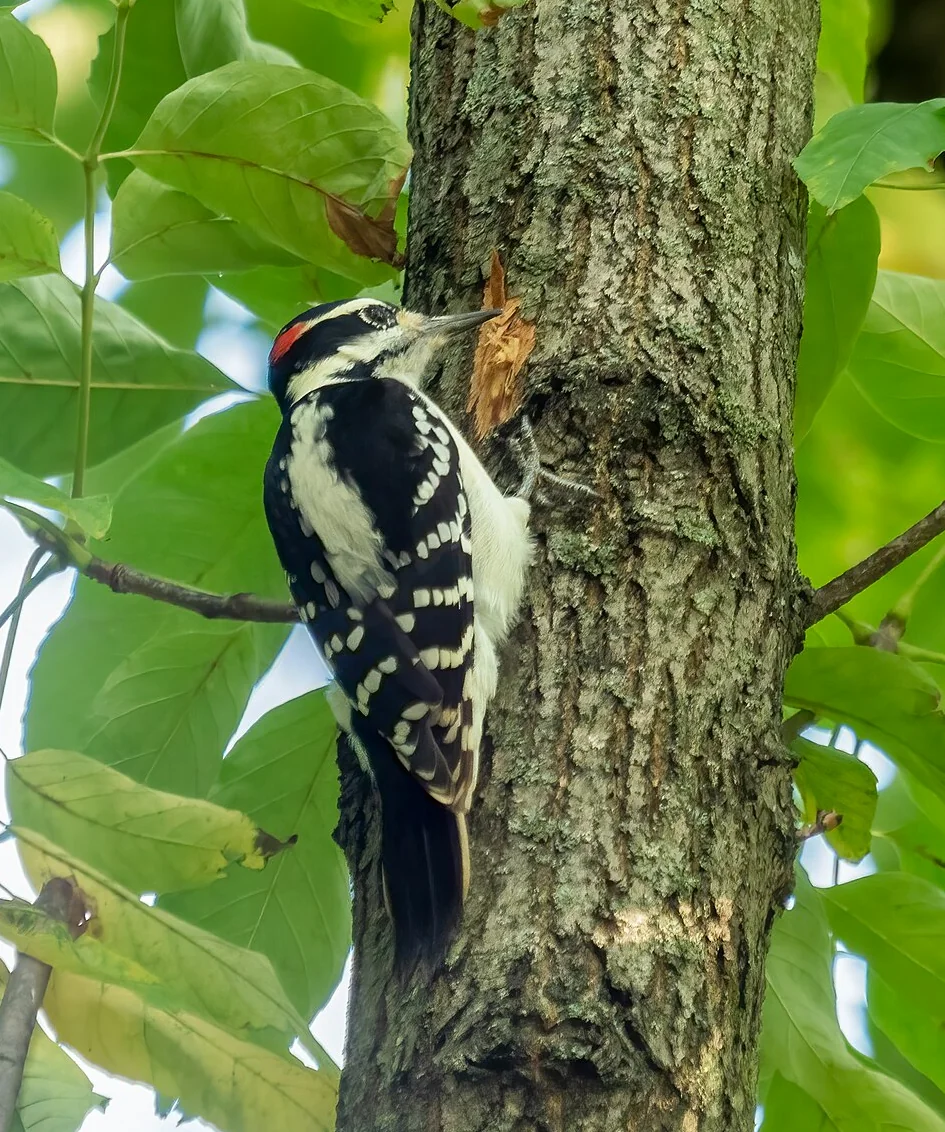
Photo: Rhododendrites · Hairy woodpecker (44546).jpg · CC BY-SA 4.0. Cropped, gently adjusted, and resized for this guide.
The short answer
Treat an automatic label as a suggestion. Preserve the original clip, compare visible features and context, and leave the identification tentative when the image cannot support a species-level decision.
Treat the label as a suggestion to investigate
A camera feeder can turn a fleeting visit into a photograph you can examine at leisure. Automatic identification adds a suggested name, but the name and the image are different pieces of information. The photograph records a view; the label is an interpretation of that view.
Start by looking at the bird before reading the app's conclusion. Notice its shape, bill, posture, and visible pattern. Then compare those observations with the proposed identification. This simple order reduces the temptation to make an ambiguous detail fit a name you have already accepted.
There is no single accuracy percentage that describes every camera, species, lighting condition, and software version. This guide explains a practical review method. It does not report an independent test of any feeder's algorithm. A useful result may be a confirmed familiar bird, a likely identification, or an honestly unresolved sighting.
Understand what an accuracy claim leaves unanswered
When a product advertises a high accuracy figure, ask what was measured. Was the sample made of clear still photographs, short feeder clips, common local species, or a broader image collection? Were uncertain results excluded? Was the figure calculated for the exact software version now in use?
Without those details, a percentage is difficult to apply to your yard. A system could perform well on frequently photographed species while struggling with a less common lookalike. It could also identify a clear adult accurately while giving a poor suggestion for a partly hidden juvenile.
Do not convert a marketing claim into your own guarantee. Record it as a manufacturer statement if it matters to a comparison. The stronger question is whether the app helps you inspect and correct its suggestions. Useful controls and access to original images can matter more to a careful observer than a large number without a documented method.
Separate detection, identification, and counting
Detection asks whether an event was noticed. Identification asks what species appears in the material. Counting asks how many birds or visits a record represents. Success at one task does not establish success at the others.
A camera might detect a movement but save an image with no identifiable bird. It might correctly identify a cardinal in several clips without knowing whether those clips show the same individual. It might also miss a short visit entirely.
Keep your notes explicit: “six saved events labeled cardinal” is not the same as “six cardinals.” The backyard journal guide discusses observation effort and counting methods. If you contribute to a monitoring project, follow that project's rules rather than using the app's event total as a substitute. A convenient dashboard category is not automatically a biological measurement.
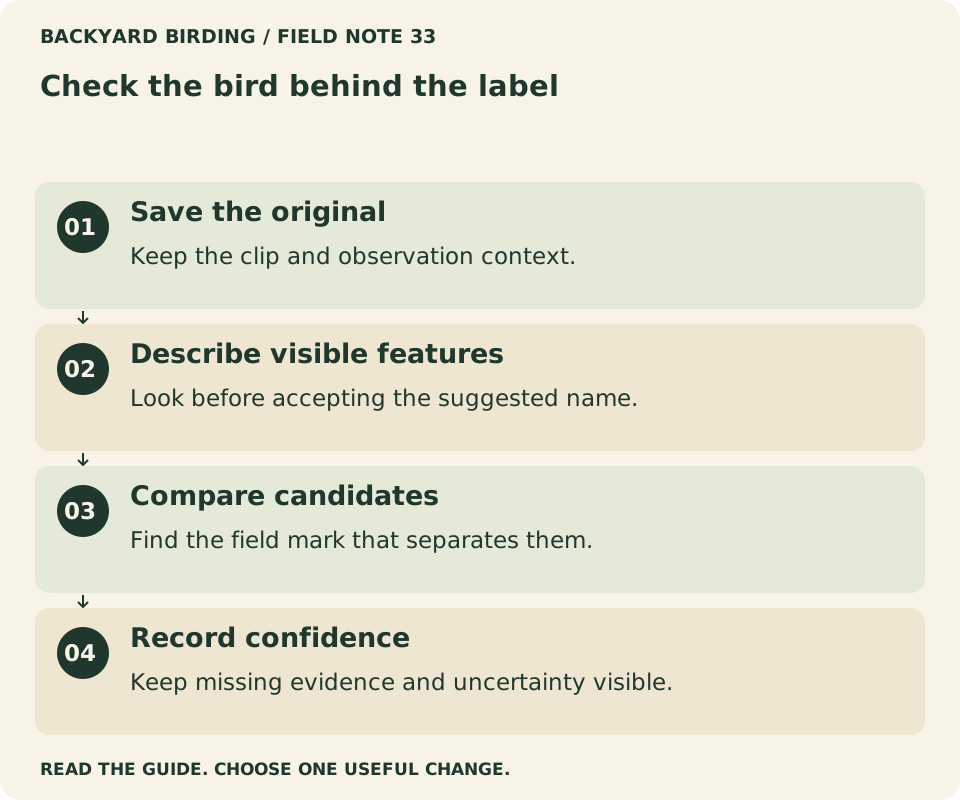
Your visual action map

Read the visual as text
- Save the original. Keep the clip and observation context.
- Describe visible features. Look before accepting the suggested name.
- Compare candidates. Find the field mark that separates them.
- Record confidence. Keep missing evidence and uncertainty visible.
Preserve the original evidence first
Before correcting a label or sharing a screenshot, save the original clip if the service allows it. A single frame may hide a feature that becomes visible a moment later. Preserve the date, approximate location, and any direct observations made at the time.
Keep an unedited copy when cropping a useful identification view. Cropping can help you inspect the bird, but heavy sharpening, color changes, or generative enhancement can introduce misleading detail. Do not use invented pixels as evidence for a field mark.
If the only available image is blurry, say so in the record. An appealing reconstruction may be suitable for an illustration in another context, but it cannot resolve what the camera actually saw. The strongest habit is simple: retain the evidence you have, distinguish it from later edits, and let uncertainty remain visible when the original material does not answer the question.
Begin with shape and structure
Look at the bird's overall proportions before small color patches. Is the bill stout, slender, long, or short relative to the head? Is the bird upright, clinging, or crouched over the food? What can you see of the tail and body outline?
These observations help organize the comparison without requiring an immediate species name. A small clinging bird with a pointed bill presents a different starting point from a deep-bodied seed eater with a substantial cone-shaped bill.
Do not overinterpret a distorted close view. A bird near a wide-angle lens can appear different from a field-guide side profile. Use several frames when possible, especially when the bird turns. Write only what the angle supports. “Bill looks short in this front view” is not equivalent to a reliable bill-to-head comparison from the side.
Use color with attention to light
Backlighting can hide facial markings, shade can cool the appearance of plumage, and bright reflections can wash out pale areas. Camera processing may also affect how a color appears. A name based on a single unusual hue deserves another look.
Compare the arrangement of contrasting areas as well as their apparent color. A visible wing pattern or cap boundary may be more useful than deciding whether one patch is exactly brown, gray, or blue on a phone screen.
When reviewing a difficult clip, seek a frame with even light and an unobstructed view. Avoid repeatedly increasing saturation until the image resembles the species you expect. If lighting prevents a reliable comparison, record that limitation. A later visit may provide the missing view; forcing a conclusion now does not make the observation more valuable.
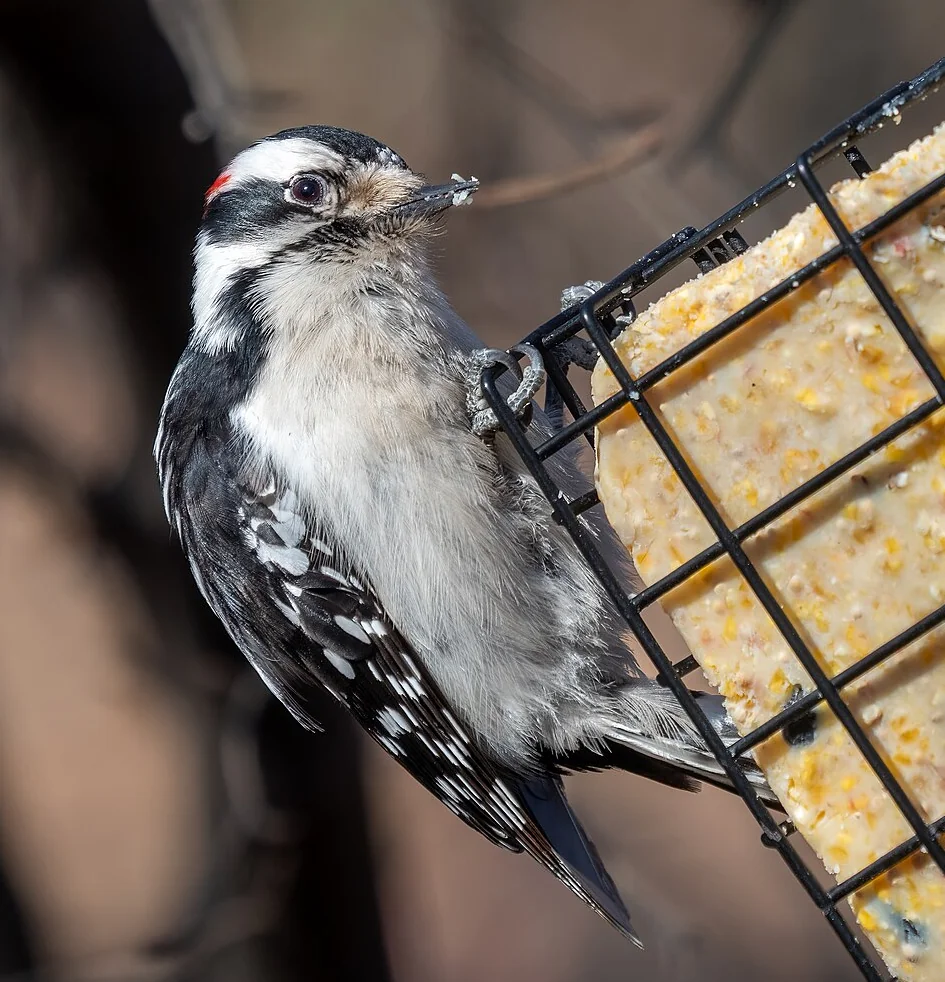
Photo: Rhododendrites · Downy woodpecker at a suet feeder (84724).jpg · CC BY-SA 4.0. Cropped, gently adjusted, and resized for this guide.
“The image is evidence; the label is an interpretation.”
Backyard Birding — editorial takeaway
Add place and season without making them a verdict
Location and date help narrow the set of plausible birds. A suggestion that fits neither deserves extra scrutiny. Use a regional species guide and current local context rather than assuming every bird in an app's worldwide library is equally likely at your feeder.
Plausibility is supporting evidence, not an automatic rejection of an unusual visitor. Birds do occur outside expected patterns. The appropriate response is to seek stronger documentation, compare alternatives, and preserve the original record.
Do not publicly announce a rare identification solely because software displayed it. Ask a knowledgeable observer to review the images and the circumstances. If the location is sensitive, share it carefully rather than broadcasting exact coordinates. A rare claim needs a clear explanation of the visible features, not just a screenshot of the label.
Compare lookalikes using one discriminating feature
Once you have two plausible candidates, ask what visible feature would separate them. This is more productive than scrolling through many unrelated photographs and choosing the closest overall impression.
For Downy and Hairy Woodpeckers, for example, a clear bill profile is useful to the comparison, while an adult male's red patch does not by itself settle the species. Our Downy versus Hairy guide walks through the relevant views and their limitations.
Write the missing feature as a question for the next visit: “Need a clear side view of the bill,” or “Outer tail not visible.” That turns an unresolved clip into a useful observation plan. Do not fill hidden areas from expectation. The app, a field guide, and your memory can suggest what to look for; none can reveal a field mark that the camera did not capture.
Use a second identification tool as another opinion
Cornell's Merlin Photo ID offers a shortlist of possible matches from a photograph. It can be useful when you want an alternative suggestion, especially with a clear crop and accurate context. It is still an identification aid rather than independent proof.
If two systems agree, return to the image and ask why. Agreement is more persuasive when the proposed bird's defining features are visible. It is less informative when both are reacting to the same ambiguous shape or incomplete view.
A disagreement can be instructive. Compare the candidate species in a reliable guide and identify the feature needed to choose between them. Avoid running the same image through tools until one returns the answer you prefer. The goal is to understand the bird, not to collect a majority vote from interfaces whose underlying evidence may overlap.
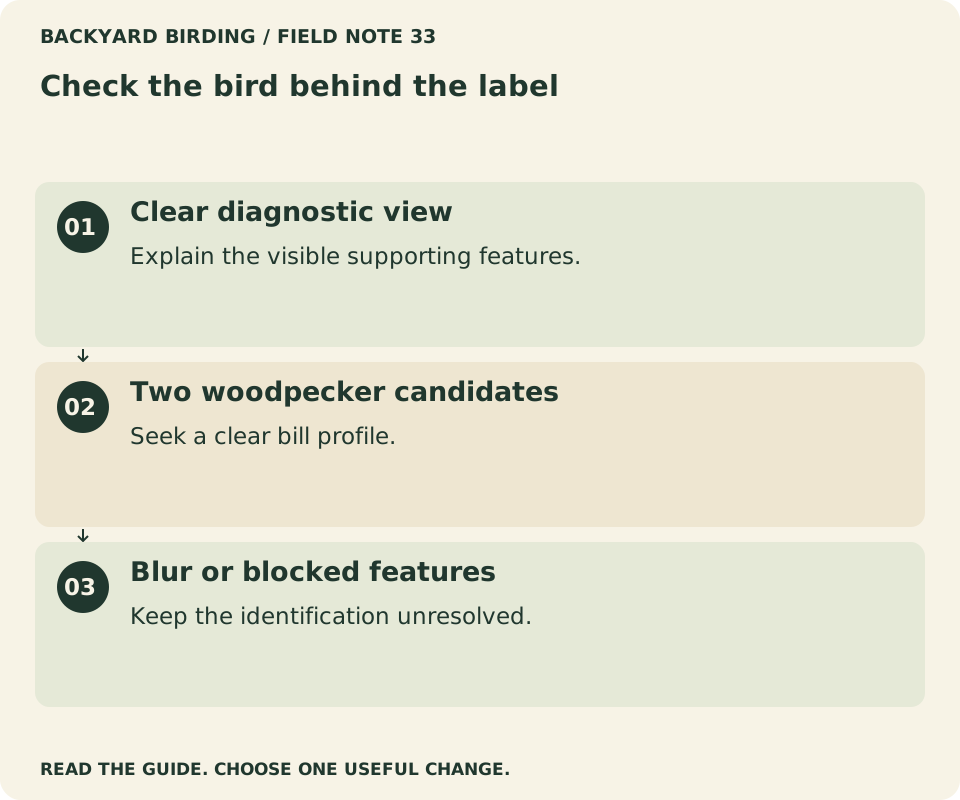
Find your situation

Read the visual as text
- Clear diagnostic view. Explain the visible supporting features.
- Two woodpecker candidates. Seek a clear bill profile.
- Blur or blocked features. Keep the identification unresolved.
Keep three confidence categories
A simple confidence system makes a collection easier to revisit. Use “supported” when the relevant visible features and context fit; “tentative” when the suggestion is plausible but a key feature is missing; and “unresolved” when the material does not support a useful species-level decision.
These are editorial notebook categories, not a formal scientific confidence scale. They help you communicate what you know without inventing a numerical probability. You can revise them when better evidence becomes available.
| Your category | What belongs in the note |
|---|---|
| Supported | Visible features that support the name |
| Tentative | Plausible candidate and missing evidence |
| Unresolved | What was visible without forcing a species |
| Revised later | Original label, new conclusion, and reason |
Do not quietly overwrite the history of an interesting correction. A short explanation makes the record useful for learning and prevents a later reader from mistaking the first automatic suggestion for a verified observation.
Audit a small sample from your own feeder
If you want to understand the app's usefulness in your yard, review a manageable sample selected by a stated rule. For example, inspect the first saved bird event in each hour during a defined period, including difficult images rather than only favorites.
Record the app's label, whether the image is identifiable, your supported conclusion, and any unresolved cases. Keep obvious duplicates visible in the method. This is a personal quality check, not a product-wide accuracy study.
Do not calculate a headline percentage from a handful of easy cardinals and claim it applies to all species. A more useful finding might be: “Clear side views were easy to verify; backlit visits often remained uncertain.” That tells you how to improve placement and which records need attention. If you publish your observations, describe the selection rule, sample size, and limits.
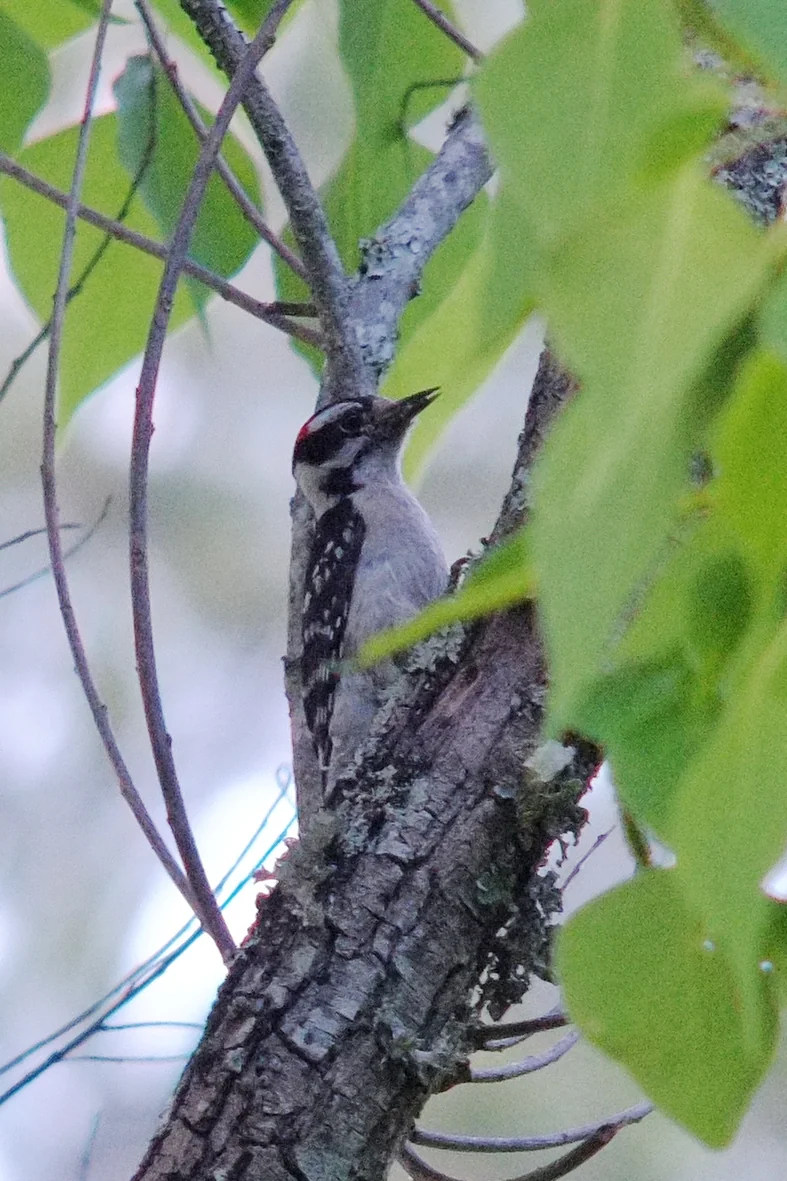
Photo: Simplex~enwiki · Downy Woodpecker male, Hattiesburg, Mississippi.jpg · CC BY-SA 4.0. Cropped, gently adjusted, and resized for this guide.
Improve the image before blaming the algorithm
Check the lens for water spots or residue and inspect the frame for a perch that hides the bird's head. Review ordinary clips at different times of day. A consistent lighting or framing problem can reduce the evidence available to both software and people.
Make one appropriate adjustment at a time. Use a stable, compatible mount and avoid arrangements that interfere with feeding or create hazards. Do not add obstacles to force a bird into a photographic pose.
Our camera-feeder care guide covers lens and food-surface maintenance, while the selection guide explains why resolution alone is a poor comparison. A clearer image may make identification easier, but it does not guarantee a correct label for every visitor. Some views remain insufficient no matter how attractive the equipment is.
Do not infer health or identity from a casual label
An app may offer additional interpretations beyond species. Treat claims about individual identity, unusual appearance, or health with particular care. A photograph may show a visible feature without explaining its cause.
Describe what you can see: a missing-looking feather area, an unusual posture, or a mark visible in several frames. Do not diagnose a condition from a software suggestion. If a bird appears sick or injured, consult appropriate local wildlife guidance rather than experimenting with treatment at the feeder.
Likewise, repeated similar-looking birds do not establish that one named individual returns every day. Distinguishing individuals can require evidence the camera does not provide. Enjoy familiar patterns without presenting them as verified identities. A nickname can be a household convenience, but it should not become an unsupported claim in a monitoring record.
Ask for help with evidence, not only a screenshot label
When requesting an identification review, share the clearest original frames, date, broad location, and the features that made you uncertain. Include a short clip when movement reveals details that a still image hides.
Say what the app suggested, but avoid framing the request as a demand to confirm it. A neutral question such as “Which features separate these two possibilities?” invites a more useful explanation. Credit the people who help when you later share their reasoning.
Review the background before posting images publicly. Remove unnecessary personal details and avoid exposing sensitive wildlife locations. The evidence needed for identification is usually the bird and relevant context, not your precise address. A thoughtful request is easier to answer and more likely to teach you something that transfers to the next unfamiliar visitor.
Small mistakes. Better moves.

Read the visual as text
- Trusting a rare label. Seek stronger documentation and review.
- Counting clips as birds. Keep events and individuals separate.
- Enhancing missing detail. Do not invent evidence with image tools.
Turn corrections into a learning collection
Keep a small folder of instructive examples: a correct familiar identification, a difficult angle, a misleading color cast, and a label you later revised. Add one sentence explaining each case.
Over time, this collection becomes a personal field guide to your camera's viewpoint. You may notice that one perch hides the bill, that evening light changes the apparent color of a common visitor, or that a particular lookalike requires a different frame.
Use the app's correction controls where supported, but do not assume a correction immediately retrains a model or changes future results. That depends on the service. The guaranteed benefit is your own improved record and understanding. The most rewarding camera setup is one that helps you notice and describe more, not one that encourages you to accept every polished label without looking.
Let an uncertain sighting remain worthwhile
A clip does not need a precise species name to be interesting. Feeding posture, interactions, weather, and the sequence of a visit can all be worth observing when identification remains incomplete.
Record the level you can support and return to the material if better evidence appears. A broader label is preferable to a false certainty that spreads through a shared collection. This is especially important when another person may use your record as evidence.
Keep one uncertain clip with a short question for the next visit: a bill profile, a wing pattern, or a tail hidden behind the perch. Compare a clearer view when it arrives, and add the reason if you revise the label. This small collection of corrected and unresolved records can teach you more about your regular visitors than a list of names accepted without review.
Watch it. Then try it.
Review the steps and common mistakes in two short, silent animations. Each has a complete text transcript below.
Your four-step action map
Read the complete video transcript
Check the bird behind the label.
- Save the original. Keep the clip and observation context.
- Describe visible features. Look before accepting the suggested name.
- Compare candidates. Find the field mark that separates them.
- Record confidence. Keep missing evidence and uncertainty visible.
Try the steps, then note any problem that still needs attention.
Three mistakes to avoid
Read the complete video transcript
Check the bird behind the label.
- Trusting a rare label. Seek stronger documentation and review.
- Counting clips as birds. Keep events and individuals separate.
- Enhancing missing detail. Do not invent evidence with image tools.
Try the steps, then note any problem that still needs attention.
Both animations use this real photograph by Rhododendrites. Photo source · CC BY-SA 4.0. The photo is adapted into original educational animations, not recordings of a field test.
At a glance
| Your situation | Our conclusion | Your next action |
|---|---|---|
| Clear diagnostic view | Explain the visible supporting features. | Keep a useful record. |
| Two woodpecker candidates | Seek a clear bill profile. | Compare the lookalikes. |
| Blur or blocked features | Keep the identification unresolved. | Improve the camera view. |
Sources & evidence
- Cornell Lab: Merlin Photo ID
- Cornell Lab: Identifying feeder camera visitors
- Cornell Bird Academy: Merlin and identification limitations
- Birdbuddy: Advanced AI+ Recognition
Our standard: real evidence before ratings. Corrections follow our editorial process.
Our verdict & your next actions
Choose the row that describes your setup, then follow the suggested check or adjustment.
| Your situation | Our verdict | Your next action |
|---|---|---|
| Clear diagnostic view | Explain the visible supporting features. | Keep a useful record. |
| Two woodpecker candidates | Seek a clear bill profile. | Compare the lookalikes. |
| Blur or blocked features | Keep the identification unresolved. | Improve the camera view. |
Your pocket field checklist
Tick off the steps as you go.
0 of 4 steps completed
Keep building your knowledge in smart bird feeders, or search the full backyard library.