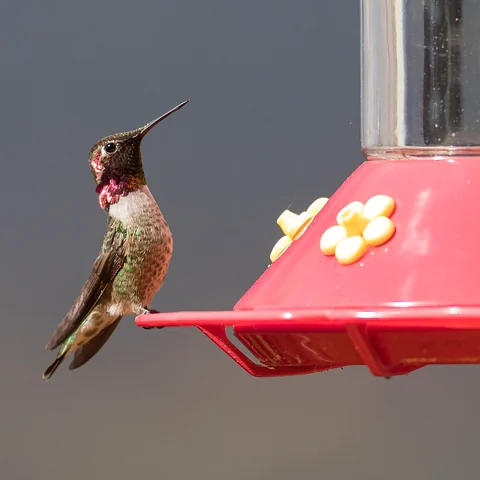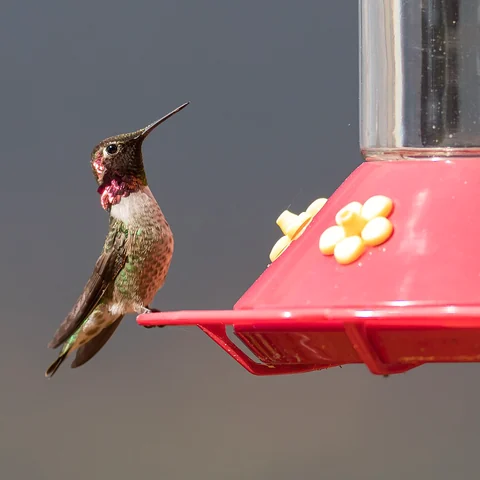
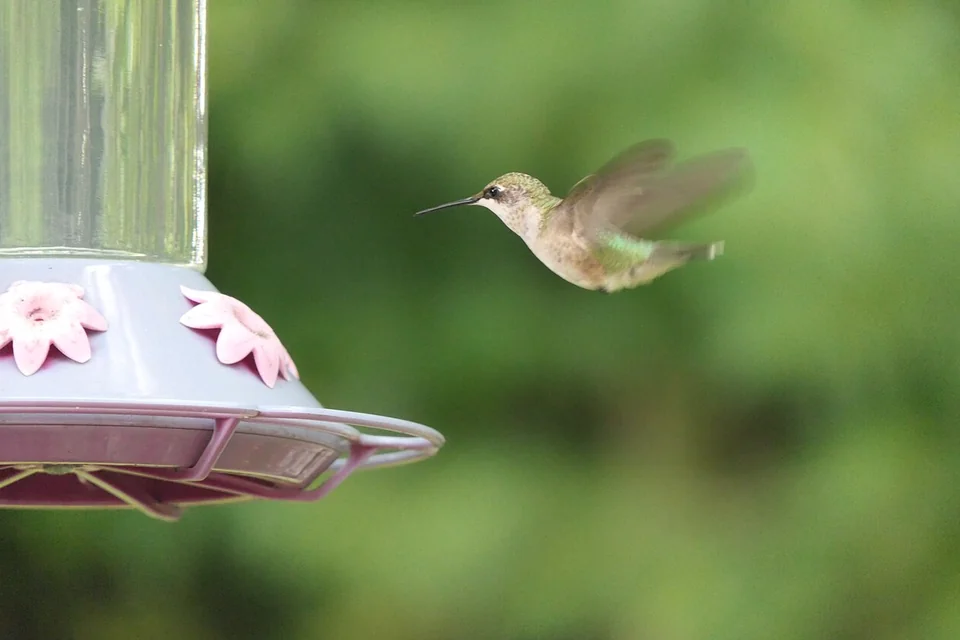
Photo: Explodingcreepsr · Ruby Throated Hummingbird at a feeder.jpg · CC BY-SA 4.0. Cropped, gently adjusted, and resized for this guide.
The short answer
Remove exposed sugar first: clean spills, repair leaks, and keep the feeder level. Use suitable ports or compatible nectar guards, review location, and avoid oily coatings or insecticides. A suspected nearby nest requires separate qualified advice.
Remove access to exposed sugar before trying a repellent
The most useful first response to bees or wasps at a hummingbird feeder is to remove spilled nectar, fix leaks, and review how insects reach the liquid. Use a feeder with appropriately designed ports or compatible nectar guards, keep it level, and maintain a clean exterior. Do not coat the feeder with oil or spray it with insecticide.
A few insects visiting flowers nearby are part of a functioning garden. A dense group covering every feeding port is a different situation, particularly beside a door or a busy seating area. Describe the actual problem before acting: insects on the outside, insects inside the reservoir, blocked bird access, or a suspected nest nearby.
Audubon's feeder-pest guidance emphasizes cleanliness, sound assembly, and barriers that limit insect access. That is a better starting point than treating the whole yard. A sticky surface remains an available food source even when the drinking opening itself has a guard.
Work from observation to repair. Watch safely, identify the attraction, remove the feeder if necessary, clean it, inspect its parts, and return it only when the problem is manageable. If a stinging-insect nest threatens people, keep the area clear and obtain appropriate professional advice. Nest management is a separate task from ordinary feeder care.
The goal is a usable hummingbird feeding station within a living garden. You do not need to eliminate bees and wasps from the property, and you should not expect a simple product to make every nectar feeder insect-proof under every condition. Focus on the access points and the routine you can control.
Identify the visitors from a safe distance
People often call every yellow-and-black flying insect a bee, but identification matters. Honeybees, bumblebees, yellowjackets, paper wasps, and harmless bee-mimicking flies are not interchangeable. Color alone is not enough to name them, and a distant photograph may leave the identification uncertain.
Use overall shape, visible hair, body proportions, and behavior as preliminary clues. Many bees look hairier than common social wasps, while yellowjackets often appear smoother and more sharply patterned. Those are broad clues, not a complete field key. Some flies closely resemble stinging insects, so avoid a confident label based only on stripes.
| Observation | Useful interpretation | Limitation |
|---|---|---|
| Insects feed from a sticky seam | Nectar is exposed outside the ports | Species may still be uncertain |
| Repeated traffic into a wall or ground opening | A nest may be nearby | Do not approach to confirm casually |
| One insect briefly visits a flower | Ordinary garden activity | It does not establish a feeder problem |
| Many insects cover the feeding surface | Access or location needs review | Numbers alone do not identify the insect |
The University of Minnesota Extension's wasp and bee guide is a useful identification and behavior reference. For a local identification, a clear photograph taken without approaching the insects can help an extension service or qualified professional.
Do not tap the feeder, swat repeatedly, or stand in a traffic route to obtain a better image. If you cannot observe comfortably from a safe distance, skip the close inspection and seek help. An accurate description of location and behavior can be more useful than a risky close-up.
Separate a feeder problem from a nearby nest
Insects gathering at sweet liquid are not proof that a nest is attached to the feeder. Foragers may arrive from elsewhere. Conversely, regular traffic into a cavity beside the feeder may indicate a nesting location that cleaning alone will not address.
Watch the general direction of movement without following insects closely. Note whether they arrive at the ports, collect on a spill, or repeatedly enter a fixed opening in the ground, wall, roof, or vegetation. Keep people and pets away from a suspected nest entrance rather than investigating it by poking, digging, or spraying.
If the concern is limited to exposed nectar on an otherwise accessible feeder, ordinary maintenance may solve it. If insects occupy a structure or create a repeated hazard beside a doorway, obtain professional advice on that specific site. Avoid transferring a general feeder tip into a nest-removal procedure.
Describe the situation clearly when asking for help: where the activity occurs, whether there is a visible entrance, how close it is to normal foot traffic, and whether you have a photograph. Do not present a guessed species as confirmed. Mention any known household constraints that affect safe access, without attempting to handle the insects yourself.
Moving a feeder may reduce one food source near a nest, but it does not remove the nest. Similarly, treating a nest without correcting a leaking feeder can leave the original attraction available to other insects. The two problems can coexist and require different decisions.
For the rest of this guide, assume you can safely service the feeder and have no unresolved nest hazard at the work area. If that assumption is false, pause close feeder work until you have an appropriate local plan.
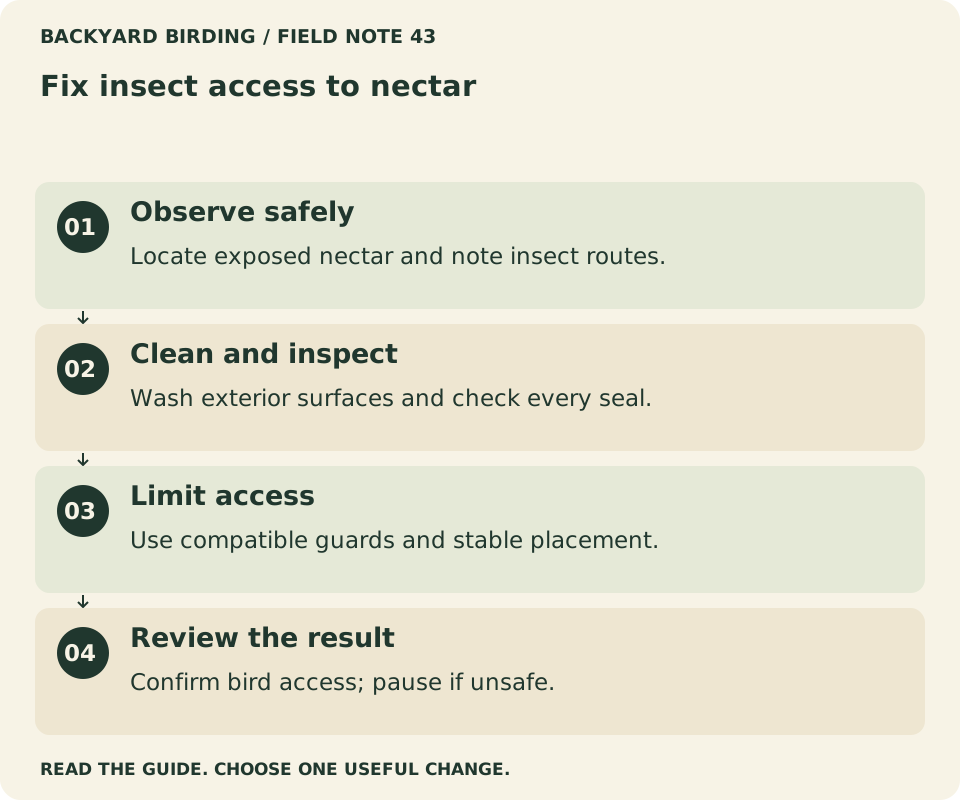
Your visual action map

Read the visual as text
- Observe safely. Locate exposed nectar and note insect routes.
- Clean and inspect. Wash exterior surfaces and check every seal.
- Limit access. Use compatible guards and stable placement.
- Review the result. Confirm bird access; pause if unsafe.
Find the first place nectar becomes accessible
Look at the feeder as a series of connected parts: reservoir, lid, gasket, base, ports, and perch. Insects may reach sugar at any of them. The obvious drinking hole is not always the main attraction; a thin film around a threaded seam can provide food across a much larger area.
Observe from a distance first, then remove the feeder when it is safe to do so. Inspect the underside and the route below it for sticky drops. Note whether the liquid is coming from a port, a cracked body, an uneven joint, or residue left during filling.
Wipe the exterior clean and dry before deciding where a fresh leak begins. Old residue can make every surface seem involved. Once the feeder is assembled and filled according to its instructions, watch for the first new drop. This gives you a more useful diagnosis than simply noticing that the entire base is sticky later.
Check the fill procedure too. Nectar spilled over the outside during pouring can attract insects even when the feeder itself is sound. A clean funnel, a smaller mixing jug, or a steadier work surface may prevent the problem without any equipment replacement.
Account for movement. Wind, a swinging hook, contact with a branch, or a mount that tilts can make a normally stable feeder spill. Inspect the mounting point, not only the bottle. If rough weather repeatedly causes trouble, a more sheltered safe location may be appropriate.
Write down the actual finding: residue from filling, leaking seal, tilted reservoir, or accessible nectar at the port. Each leads to a different repair. The useful question is where the sugar is exposed, not which scent might discourage an insect from finding it.
Clean the exterior as carefully as the reservoir
Take the feeder apart according to its instructions and clean all food-contact surfaces, including ports and hidden edges. Give equal attention to the outside of the base, the underside of perches, and the hanging hardware if nectar has reached them. Insects can continue feeding on residue after the reservoir is empty.
Use brushes that reach the actual corners and port openings. A bottle brush that cleans the main chamber may not fit the small channels. Keep feeder-cleaning equipment separate from household food utensils, and place small parts on a tray so they are not lost during washing.
Follow a suitable cleaning method for the feeder's materials and rinse thoroughly. Do not improvise a strong chemical mixture because insects have visited. Never mix cleaning chemicals. The object is to leave clean, properly rinsed equipment, not to create a lingering repellent film.
Clean spills beneath the feeder as well. A sticky railing, patio table, or collection tray can remain an attraction after the main unit is washed. Check whether a drip-catching accessory has simply moved the exposed sugar into a larger shallow dish.
Our hummingbird feeder cleaning guide covers the full sequence. Once clean, inspect for cracks and worn seals before refilling. Washing a damaged feeder repeatedly will not correct a persistent mechanical leak.
Keep the next fill modest and wipe fresh drips immediately. A daily visual check is easier than waiting until insects reveal the residue. You should be able to explain the maintenance routine without adding special repellents: remove old nectar, clean all surfaces, rinse, assemble correctly, refill with a known mixture, and check for leaks.
Understand what a nectar guard can do
A nectar guard is a physical access feature designed to let a hummingbird reach liquid while limiting insect access. Its effectiveness depends on the feeder's geometry and the specific guard. It cannot clean a sticky surface, repair a crack, or stop insects from feeding on nectar that has spilled outside.
Choose a guard intended for your exact feeder model. An accessory that almost fits may sit loosely, interfere with the port, or create a small reservoir of exposed liquid. Follow the installation instructions and check that all parts remain secure during normal handling.
Inspect the guard after cleaning and reassembly. Make sure it has not become clogged, distorted, or pushed out of position. Small flexible components may need replacement according to the manufacturer's guidance. Do not enlarge an opening with scissors or a drill because a bird seems hesitant during one visit.
Observe whether hummingbirds can feed normally after the change. A successful barrier should preserve access for the intended bird. If you cannot tell whether nectar remains reachable, consult the manufacturer or use a simpler compatible design rather than experimenting with homemade mesh over the ports.
Treat product claims cautiously. Bee-resistant, bee-guarded, and bee-proof are not equivalent evidence of performance under your conditions. Look for a clear explanation of the physical mechanism and the maintenance required. A useful instruction sheet is more informative than a broad promise on a package.
If your current feeder has no compatible guard and repeatedly exposes nectar at the ports despite correct assembly, replacing it may be sensible. Base that decision on a documented access problem. Buying a new feeder before removing spilled nectar may simply reproduce the same situation with a different shape.
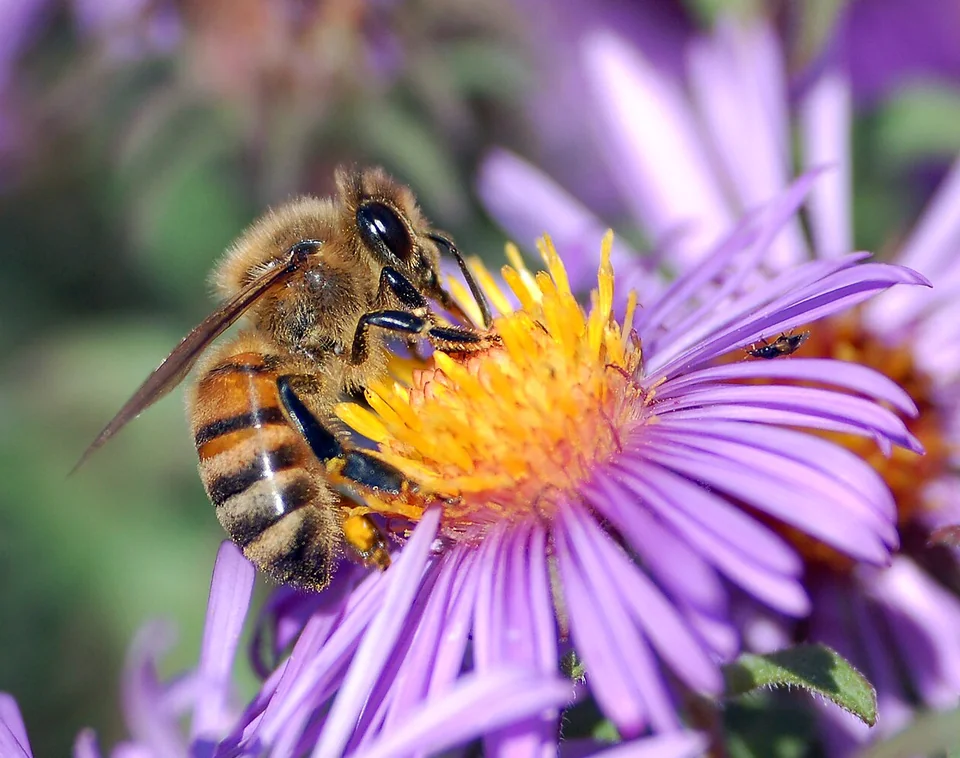
Photo: John Severns ( Severnjc ) · European honey bee extracts nectar.jpg · Public domain. Cropped, gently adjusted, and resized for this guide.
“Solve the exposed-sugar problem before adding accessories; clean mechanical barriers are easier to inspect and maintain.”
Backyard Birding — editorial takeaway
Compare basin and bottle designs by access
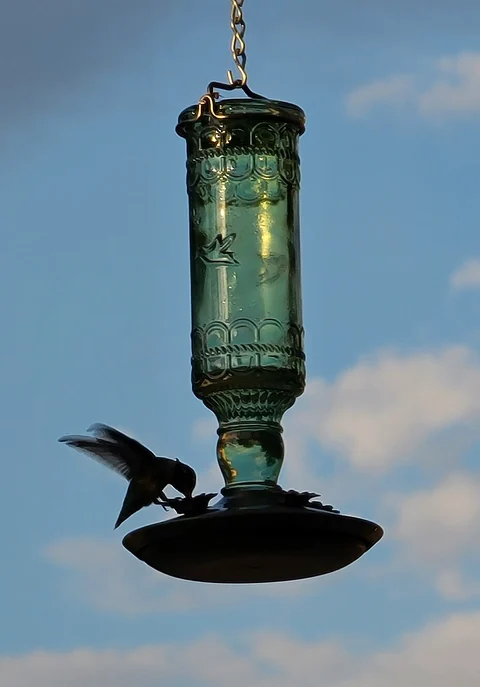
Some shallow basin-style feeders keep the nectar below the feeding openings, which can reduce access for short-tongued insects. Bottle-style designs vary considerably in their ports, guards, seals, and behavior. Evaluate the actual distance to the liquid and the manufacturer's instructions rather than assuming every feeder in one category performs identically.
Look at the feeder when empty and at its normal working fill. Can liquid sit on top of the port? Is the reservoir easy to open completely? Are the small channels reachable with a brush? Does the design depend on a seal that is hard to inspect or replace?
| Feature | What to inspect | Why it matters |
|---|---|---|
| Recessed nectar | Relationship between port and liquid level | Limits exposed feeding access |
| Compatible guards | Secure fit and cleaning instructions | Preserves the intended barrier |
| Wide opening | Access to the whole reservoir | Makes complete cleaning practical |
| Stable mounting | Level position without rubbing or swinging | Reduces avoidable spills |
| Replaceable seals | Parts availability and clear assembly | Allows repair of a recurring leak |
Do not modify a feeder's recommended fill level beyond its instructions in an attempt to create an insect barrier. Some designs depend on a particular assembly and liquid arrangement. A feeder should work safely as designed rather than through a fragile workaround that another caretaker will not understand.
Choose the smallest practical model that you can maintain for your visitors. Capacity is secondary to access and cleaning. A large reservoir that repeatedly leaks or becomes stale is less useful than a modest one with reachable parts. Our hummingbird feeder selection guide helps compare the whole routine rather than a single advertised feature.
Change location deliberately
Moving a clean, repaired feeder can be worth trying when insects repeatedly concentrate at one location. Treat this as an observation-based adjustment, not a guarantee that birds will find it and insects will not. Both can locate food, and a new position must still be safe and maintainable.
Choose a place with suitable access for cleaning and less exposure to the conditions causing spills. A steadier, more sheltered hanging point may address the mechanical problem directly. Consider shade and comfort for routine checks, but do not assume shade alone prevents insect visits or nectar spoilage.
Review nearby doors, play areas, and outdoor eating spaces. Even a manageable number of insects may be unwelcome where people regularly pass close to the feeder. A position that separates feeding activity from household traffic can be more useful than repeated attempts to repel insects from a busy doorway.
Check glass from outside before selecting the new location. Reflections and see-through passages remain hazards when the feeder moves. Use our window-safety guide to address dangerous panes rather than assuming a small relocation solves the collision risk.
Make one considered move and record it. Note whether the feeder was cleaned and repaired at the same time, because improvement cannot then be attributed to location alone. Continue watching actual access by hummingbirds as well as insect numbers.
Remove the feeder and reassess if the new position makes servicing unsafe, brings you near a suspected nest, or concentrates insect activity beside people. Check another accessible hanging point before refilling. If no suitable location is available, clean and store the feeder while you arrange a different setup.
Keep the recipe consistent while fixing access
Use the standard everyday nectar mixture: one part refined white sugar to four parts water by volume. Do not make it much weaker to discourage bees or much stronger to favor hummingbirds. Changing the formula is a different intervention from preventing exposed sugar at a seam or port.
Our homemade nectar guide explains measurement, ingredients, small batches, and refrigerated storage. The Smithsonian recipe is the baseline for the mixture used here. Clear nectar needs no dye, flavoring, or added repellent.
Mix in a clean container and avoid overfilling during pouring. Wipe the outside before hanging the feeder. If insects appeared immediately after a refill, check whether the preparation process left fresh residue rather than assuming the new batch itself is unusually attractive.
Keep nectar replacement and insect management separate in your notes. A feeder can have few insects and still contain old or contaminated liquid. Conversely, a freshly cleaned feeder may receive insect visits. Neither observation cancels the normal care schedule.
Discard nectar with visible contamination and clean the equipment rather than filtering out insects and returning the liquid to service. Top-ups also leave old liquid and residues in place. Prepare smaller quantities if waste is becoming a problem, while maintaining the appropriate replacement interval.
If you cannot keep the feeder usable without modifying the recipe or adding chemicals, pause feeding and improve the equipment or location. A temporary empty hook is a more controlled situation than a feeder whose contents and access have been repeatedly improvised. The surrounding habitat remains important whether or not a reservoir is hanging that day.
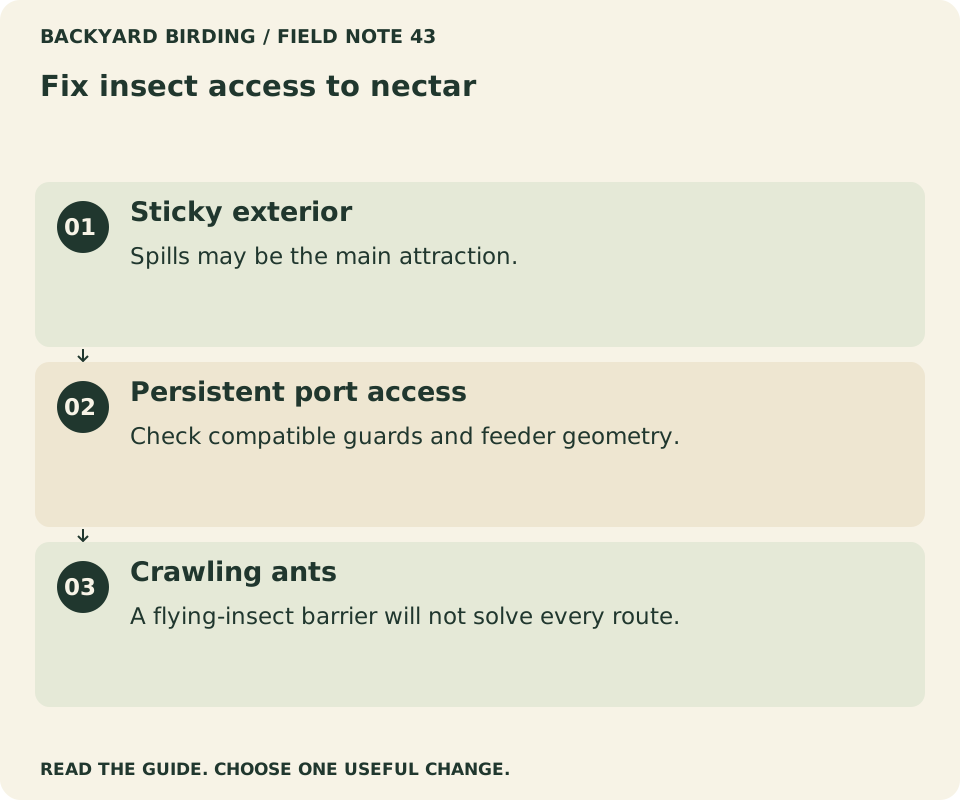
Find your situation

Read the visual as text
- Sticky exterior. Spills may be the main attraction.
- Persistent port access. Check compatible guards and feeder geometry.
- Crawling ants. A flying-insect barrier will not solve every route.
Avoid oils, sticky barriers, and scented shortcuts
Do not smear petroleum jelly, cooking oil, grease, or similar substances around feeding ports or accessible parts. Cornell's hummingbird guidance cautions that oily or sticky materials can contaminate nectar or soil feathers. A barrier that creates a new contact hazard is a poor trade.
Avoid spraying essential oils, household cleaners, insecticides, or homemade mixtures onto the feeder as repellents. Natural is not a statement about suitability for bird contact or ingestion. A substance that smells unpleasant to people may leave residues in precisely the places a bird touches with its bill or feet.
Do not install sticky traps where birds can contact them. Also avoid improvised netting or loose mesh around a feeding station. Small animals can encounter barriers in ways you did not anticipate, and a structure that blocks insects may also obstruct the bird's normal approach.
Keep the solution mechanical and inspectable: appropriate ports, compatible guards, sound seals, clean surfaces, and suitable placement. You should be able to see whether the relevant part is fitted correctly and explain how it limits access. An invisible residue is harder to evaluate and can persist beyond the moment you applied it.
If you have already coated a feeder, take it out of use and follow appropriate cleaning or replacement guidance for the material. Do not assume a quick rinse removes every oily film. When a surface cannot be restored confidently, replacement may be the sensible option.
These precautions do not require an elaborate product collection. They usually simplify the routine by eliminating unverified additives and focusing attention on the actual feeder. The most useful question remains whether birds can access clean nectar without contacting something added to discourage another animal.
Do not turn diversion feeding into a larger problem
You may encounter advice to place a second dish of stronger sugar water elsewhere to draw insects away. That approach creates another artificial food source requiring attention. It can attract more insects, expose other animals, and move activity toward a place you did not intend. It is not our default recommendation for a household feeder problem.
A diversion dish also makes it harder to interpret results. If insect numbers change, you may not know whether cleaning, weather, a new location, or the additional food caused the change. Meanwhile, you have doubled the opportunities for spills and neglected liquid.
Prefer removing unnecessary sugar sources around the property. Cover outdoor drinks, clean food spills, manage exposed waste, and pick up fallen fruit where it creates a problem near human activity. These are ordinary housekeeping measures, not a campaign to remove every natural food resource from the garden.
If a professional recommends a specific insect-management method for a real household hazard, follow their site-specific instructions. Keep that separate from the bird-feeding station. A trap or treatment should not be placed beside the feeder simply because that is where you first noticed insects.
Planting appropriate flowers is a different kind of provision. It supports a broader habitat rather than concentrating sugar in an unmanaged bowl. Flowering plants will attract insects, which is part of their ecological role; they should be placed with normal garden use and available space in mind.
You can welcome pollinators while keeping a feeder clean and accessible to birds. The objective is not to redirect every insect to a second buffet. It is to stop avoidable spills and use equipment whose feeding access is appropriate for the birds you intend to support.
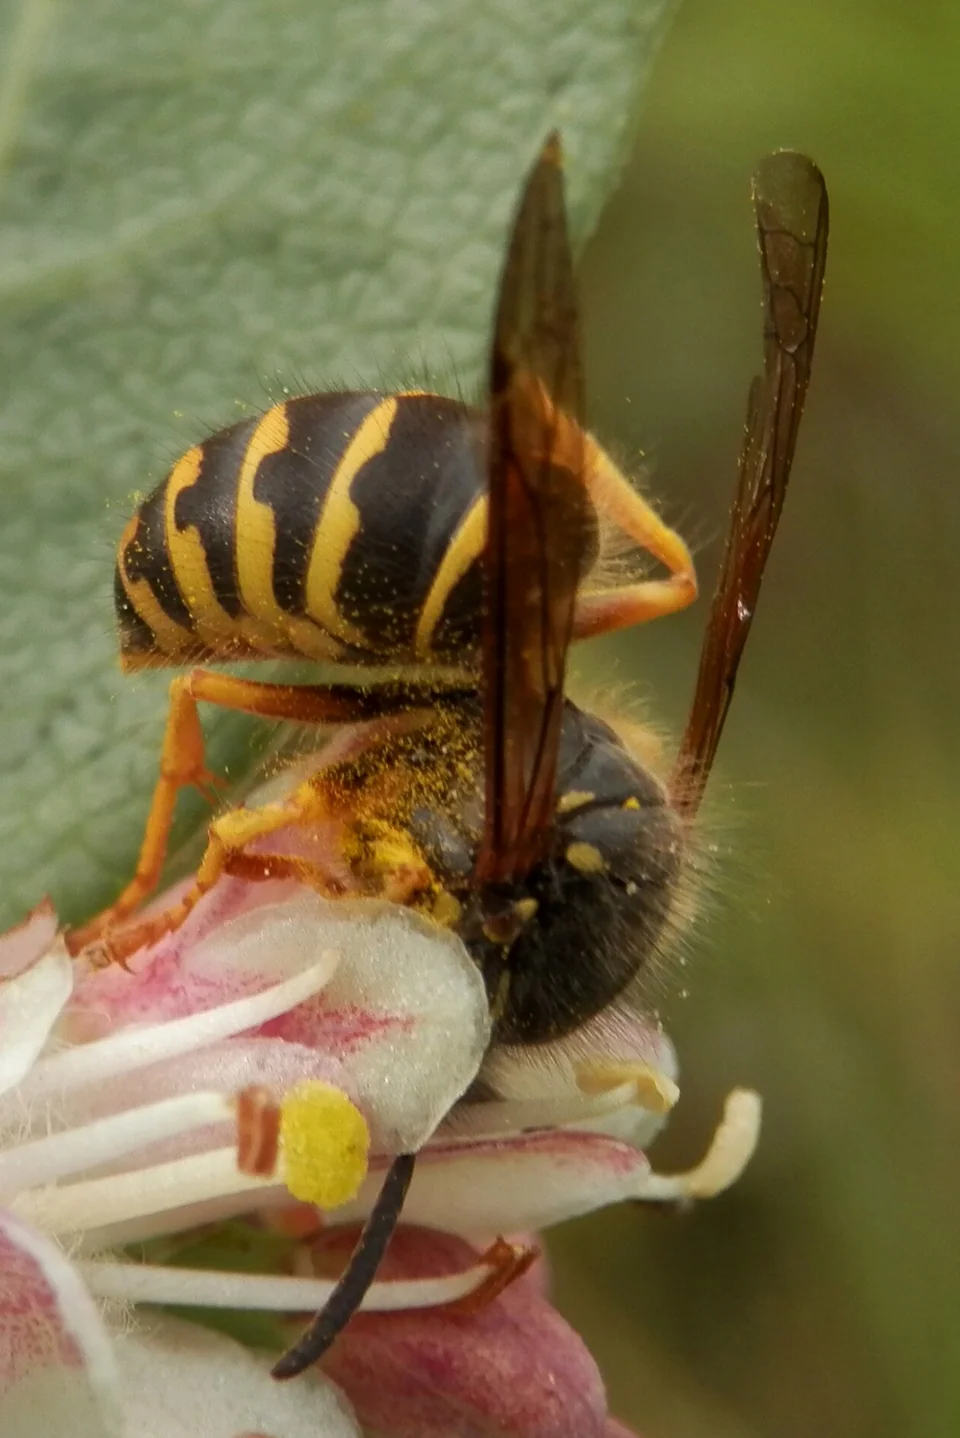
Photo: Ryan Hodnett · Common Aerial Yellowjacket (Dolichovespula arenaria) - Saskatoon, Saskatchewan 2014-08-23.jpg · CC BY-SA 4.0. Cropped, gently adjusted, and resized for this guide.
Recognize seasonal increases without assuming a new defect
Insect activity changes through the year. University of Minnesota Extension notes that social wasps can become especially numerous in late summer and fall, when scavenging around sweet foods may be conspicuous. Your feeder may therefore attract more attention even if its design has not changed.
That seasonal context helps explain the timing, but it does not excuse a leak or remove the need for maintenance. Inspect the same physical access points first. A small defect that was barely noticeable during a quiet period may become obvious when more insects are searching for food.
Keep weather and natural flowering conditions in your observation notes. A single afternoon's insect count cannot establish a long-term trend. Compare similar times of day and record whether the feeder had just been filled, moved, or cleaned. These details keep a seasonal impression from turning into an unsupported product verdict.
Adjust the amount of nectar to actual use and maintain the cleaning schedule. If hummingbird visits decline while insects increase, a smaller fill can reduce waste. Do not leave a full reservoir outdoors for longer simply because birds are drinking less of it.
Use local bird information when deciding whether to continue seasonal feeding. Our hummingbird timing guide explains why a maintained feeder does not prevent migration and why timing varies by region. Taking a problematic feeder down temporarily is a maintenance decision, not a method for directing migration.
Where insects create an unresolved safety issue near people, pause the station regardless of the calendar. An ordinary seasonal pattern does not require you to tolerate unsafe servicing. Return to feeding only when the location and equipment can be managed comfortably and responsibly.
Use ant moats for ants, not as a universal insect barrier
Ants usually reach a hanging feeder along a physical route: hook, wire, pole, or a touching branch. A properly installed water moat can interrupt that route. Flying bees and wasps can bypass it, so adding a moat does not solve every insect problem at once.
Inspect the route before buying an accessory. A leaf touching the feeder or a second support wire may bridge the barrier. Check that the moat is correctly positioned and maintained according to its instructions. A dry moat or one filled with debris cannot perform its intended role.
Use plain water where the moat's design calls for water. Do not fill it with oil, pesticide, or another chemical. Birds and other animals may encounter the accessory, and the feeder should not become a collection of substances whose contact risks are unclear.
Keep the moat clean and inspect it during ordinary feeder care. If it adds too much maintenance or interferes with hanging the feeder securely, consider a different arrangement. An accessory should improve the whole setup rather than solve one access route while making the reservoir tilt.
For detailed ant-specific troubleshooting, see how to keep ants out of a hummingbird feeder. This separate guide lets you address crawling and flying visitors according to how they actually reach the food.
If both are present, correct spills and leaks first, then evaluate each route. One clean mechanical repair may reduce attention from several animals. After that, use the appropriate barrier for the remaining problem. The order matters: adding accessories to a sticky, leaking feeder usually leaves the most accessible sugar untouched.
Know when a temporary feeding pause is the best option
Take the feeder down when you cannot service it safely, when insects repeatedly block access despite reasonable corrections, or when the station sits beside an unresolved nest hazard. A pause gives you space to clean, inspect, repair, and reconsider location without maintaining the problem outdoors.
Do not attempt to carry a densely covered feeder through the house or into a crowded area. If you cannot remove it comfortably, obtain appropriate help. Keep pets and other people away from the immediate area while deciding the next step. Household safety takes priority over maintaining an uninterrupted viewing opportunity.
Once the feeder is safely removed, empty and clean it. Store it dry until you have a workable plan. Use the break to inspect seals, obtain compatible guards, or choose a better model. There is no benefit in rehanging the same leaking assembly immediately and hoping the insects have forgotten it.
When restarting, use a small fresh fill and observe from a distance. Check both bird access and new residue. Note the changes you made so you can judge whether the corrected setup is working. If several changes were necessary, describe the result as a combined improvement rather than claiming one accessory solved everything.
A garden with appropriate flowering plants continues to offer resources while the feeder is down. This is one reason to develop habitat alongside supplemental feeding. The native-plant guide can help you build that broader plan without relying on a single container of sugar water.
You are not required to operate a feeder in a location that repeatedly creates problems. A different season, a different site, or a focus on natural habitat can be a better fit for the household and the birds.
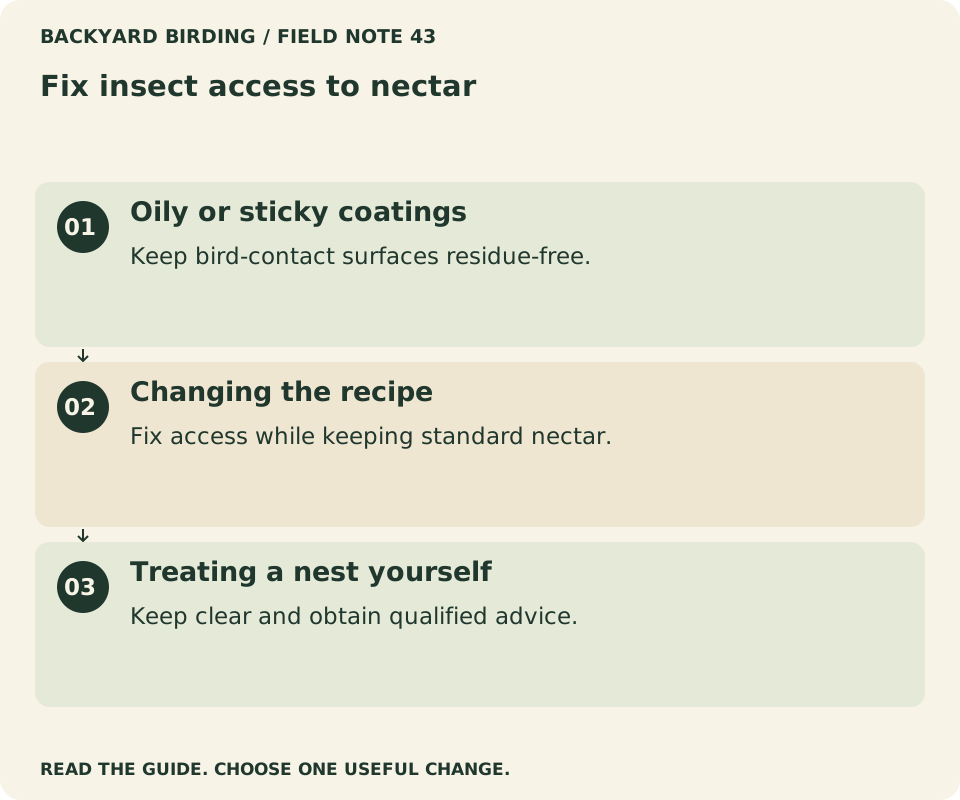
Small mistakes. Better moves.

Read the visual as text
- Oily or sticky coatings. Keep bird-contact surfaces residue-free.
- Changing the recipe. Fix access while keeping standard nectar.
- Treating a nest yourself. Keep clear and obtain qualified advice.
Keep a short troubleshooting record
Use a simple record to distinguish a solved access problem from a temporary change in activity. You do not need a scientific experiment, but you do need enough consistency to avoid attributing every good afternoon to the last thing you bought.
Record the date, approximate observation time, weather, feeder model, fill level, and what insects were doing. Note whether identification was confirmed or tentative. Describe the location of exposed nectar precisely: lower seam, top surface, port opening, or spilled liquid beneath the feeder.
| Checkpoint | What to record | What it helps separate |
|---|---|---|
| Before cleaning | Insect activity and sticky surfaces | Existing attraction from later changes |
| After reassembly | First new drip, if any | Residue from a continuing leak |
| After a location change | Birds and insects at comparable times | Access improvement from simple absence |
| After fitting a guard | Secure fit and actual bird feeding | Intended mechanism from package claims |
| After restarting | Cleanliness and normal use | A sustainable fix from a brief lull |
Make immediate corrections for contamination or an obvious hazard. Otherwise, avoid changing several optional features during every observation period. A stable setup gives you a clearer view of what matters.
Photographs can help if taken safely and without disturbing birds. A picture of an empty feeder's damaged seal is often more useful than a dramatic close-up of insects covering it. Keep the record focused on a decision you can make.
At the end of the process, write one sentence naming the cause you actually established. If you only know that cleaning and relocation helped together, say so. That honest conclusion is more useful for future maintenance than a universal claim about all bees, all feeders, or one supposedly perfect trick.
Answers to common feeder questions
Does a red feeder keep bees away?
Color is not a dependable barrier. Audubon suggests avoiding yellow decoration when insects are troublesome, but exposed sugar can still attract visitors to a red feeder. Prioritize ports, guards, clean surfaces, and leak prevention before replacing equipment solely for its color.
Should I dilute the nectar to make it less attractive?
Keep the standard everyday recipe and solve the access problem. A change in concentration does not repair a leaking gasket or remove sugar from the outside. Use measured ingredients and a smaller fill if waste is an issue.
Are a few bees a reason to stop feeding?
Not necessarily. Assess whether birds can use the feeder and whether you can service it safely. Brief insect visits differ from persistent coverage of every port or a nest hazard beside the house. Respond to the actual situation rather than the mere presence of an insect.
Can I use a homemade mesh cover?
Use only an appropriate, well-documented barrier that preserves safe bird access. Improvised mesh can obstruct feeding or create contact hazards. A compatible commercial guard or a better-designed feeder is easier to inspect and maintain than an uncertain handmade enclosure.
What should I do first today?
Watch from a safe distance and locate the exposed nectar. If you can safely remove the feeder, clean it completely and inspect its seals and ports. Rehang only after correcting the problem, with a modest fresh fill. If insects prevent safe access or a nearby nest is suspected, keep the area clear and seek qualified local help.
Watch it. Then try it.
Review the steps and common mistakes in two short, silent animations. Each has a complete text transcript below.
Your four-step action map
Read the complete video transcript
Fix insect access to nectar.
- Observe safely. Locate exposed nectar and note insect routes.
- Clean and inspect. Wash exterior surfaces and check every seal.
- Limit access. Use compatible guards and stable placement.
- Review the result. Confirm bird access; pause if unsafe.
Try the steps, then note any problem that still needs attention.
Three mistakes to avoid
Read the complete video transcript
Fix insect access to nectar.
- Oily or sticky coatings. Keep bird-contact surfaces residue-free.
- Changing the recipe. Fix access while keeping standard nectar.
- Treating a nest yourself. Keep clear and obtain qualified advice.
Try the steps, then note any problem that still needs attention.
Both animations use this real photograph by Explodingcreepsr. Photo source · CC BY-SA 4.0. The photo is adapted into original educational animations, not recordings of a field test.
At a glance
| Option or check | Purpose | Care decision |
|---|---|---|
| Spill or leaking seam | Clean and identify the first new drop | Repair before refilling |
| Exposed port nectar | Check compatible guards and design | Preserve normal bird access |
| Unsafe servicing | Pause the feeder and keep people back | Seek appropriate local help |
Sources & evidence
- Audubon: Keeping nectar feeders free from pests
- University of Minnesota Extension: Wasps and bees
- University of Minnesota Extension: Fall yard and garden pests
- Cornell Lab: Hummingbird visits and safe insect precautions
- Smithsonian National Zoo: Standard nectar recipe
Our standard: real evidence before ratings. Corrections follow our editorial process.
Our verdict & your next actions
Choose the row that describes your setup, then follow the suggested check or adjustment.
| Your situation | Our verdict | Your next action |
|---|---|---|
| Sticky exterior | Spills may be the main attraction. | Clean the whole feeder. |
| Persistent port access | Check compatible guards and feeder geometry. | Compare feeder designs. |
| Crawling ants | A flying-insect barrier will not solve every route. | Review ant prevention. |
Your pocket field checklist
Tick off the steps as you go.
0 of 4 steps completed
Keep building your knowledge in hummingbirds, or search the full backyard library.