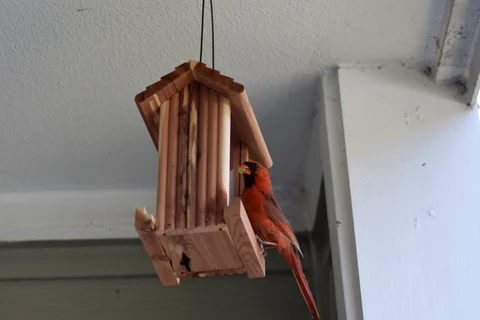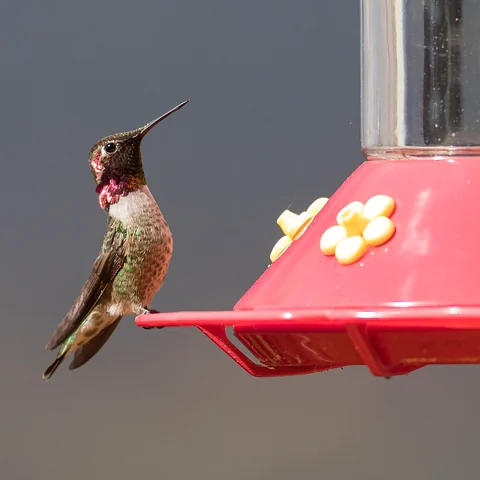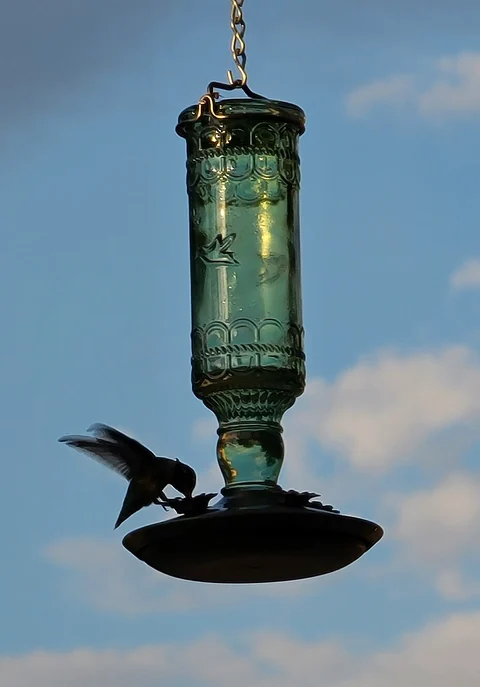
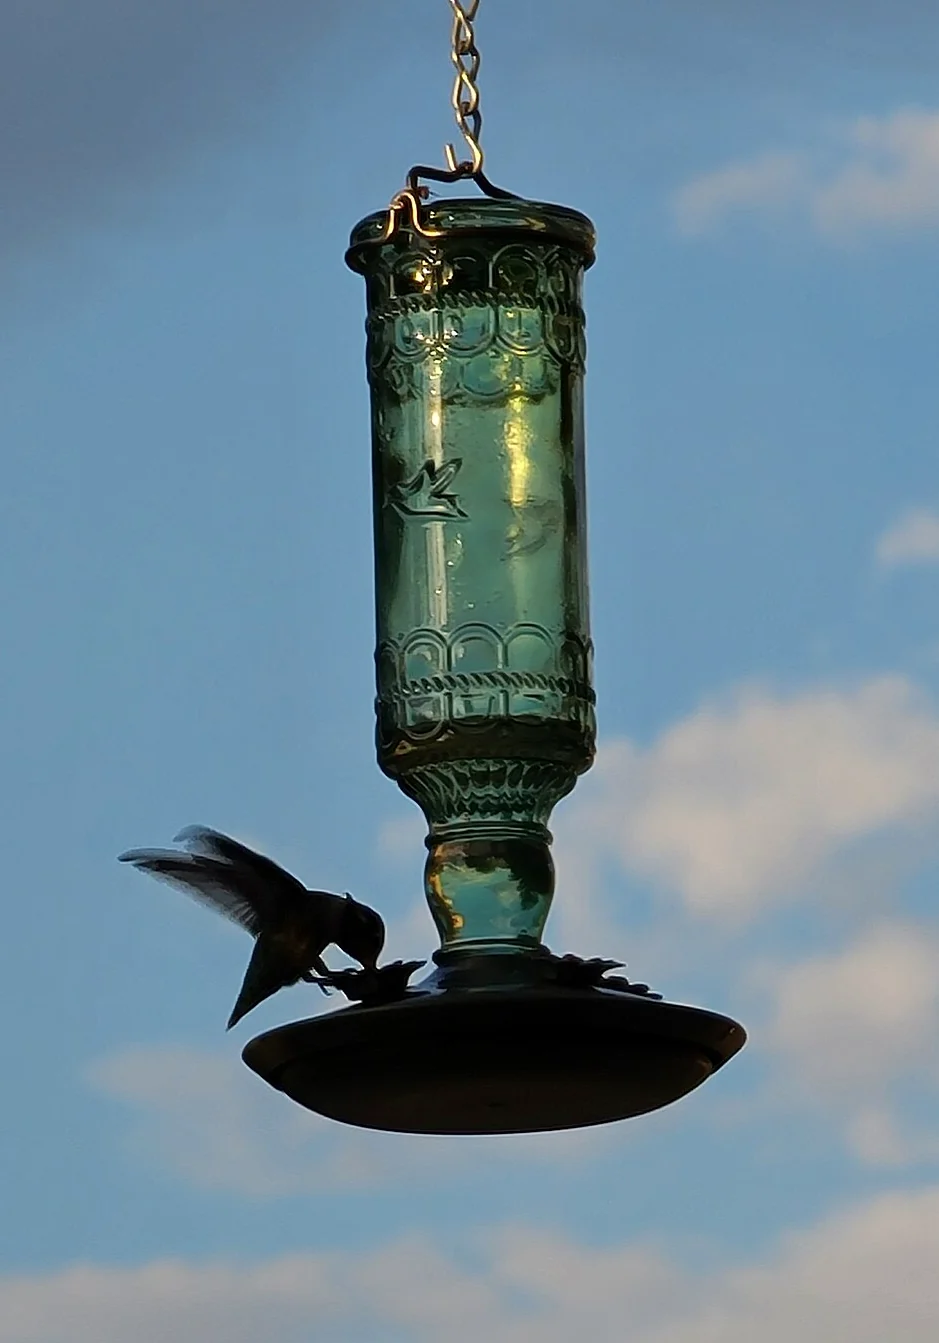
Photo: MsFrazzle · Hummingbird at feeder, sky background.jpg · CC BY-SA 4.0. Cropped, gently adjusted, and resized for this guide.
The short answer
Prioritize accessible ports, a reservoir you can inspect, and a size that fits your care routine. The best choice for you may be a simpler feeder with less capacity.
Buy the feeder you will be willing to wash
Hummingbird feeders are easy to compare by color, reservoir size, and the number of flowers around the base. Those details are visible in a shopping photograph. The more important comparison usually requires a different photograph: the feeder taken apart, with every nectar-contact surface exposed.
Choose a design you can open, scrub, rinse, and reassemble without frustration. A feeder that looks simple when full may conceal a narrow shoulder or a fixed decorative port. Since nectar needs regular attention, cleaning access belongs at the top of the shortlist rather than appearing as a minor maintenance note after purchase.
Saucer and bottle designs: compare the working parts
A saucer-style feeder holds nectar in a shallow base beneath a lid. The open bowl can make inspection straightforward, depending on the model. A bottle-style feeder holds a supply above the feeding base. Its useful cleaning access depends on the neck, shoulder, base, and any detachable components.
Neither shape guarantees quality. With a saucer, inspect the underside of the lid and the port openings. With a bottle, check whether a brush reaches all the internal surfaces and whether the base separates fully. Consider how you will carry and turn the filled feeder without spilling, especially if the hanging point is above eye level.
Match capacity to your care routine
The reservoir does not need to be filled to its maximum. A small initial fill helps you learn the combination of visits, leftovers, and maintenance your location requires. If much of the nectar remains at the next change, offer less rather than keeping that batch outside longer.
Think carefully before treating a larger feeder as a time-saving upgrade. It may reduce how often the reservoir empties while doing nothing to reduce cleaning frequency. If you cannot check a modest feeder reliably, more capacity does not solve the underlying problem. The practical size is the one that works with both the birds and the caretaker.
| Feature | A useful question | Why it matters |
|---|---|---|
| Reservoir opening | Can my brush reach every surface? | Hidden residue is difficult to remove |
| Feeding ports | Can I inspect them from both sides? | Decorative details can hide buildup |
| Seals and threads | Are they accessible and replaceable? | Damage can produce recurring leaks |
| Moat | Can I see and refill it easily? | An empty water barrier does not work |
| Hanging system | Can I remove it without an awkward reach? | Safe access supports regular care |
| Spare parts | Are model-specific replacements listed? | A small broken part need not end the feeder's life |
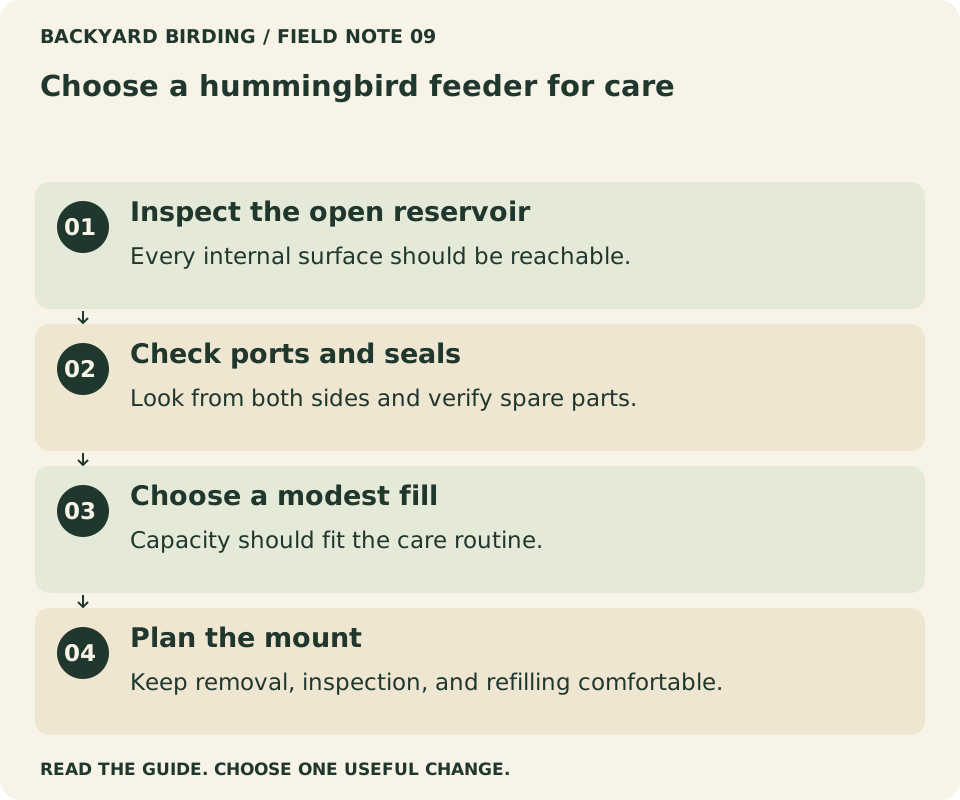
Your visual action map

Read the visual as text
- Inspect the open reservoir. Every internal surface should be reachable.
- Check ports and seals. Look from both sides and verify spare parts.
- Choose a modest fill. Capacity should fit the care routine.
- Plan the mount. Keep removal, inspection, and refilling comfortable.
Research example: HummZinger HighView
The Aspects HummZinger HighView 12-ounce model provides a concrete example for this checklist. Its manufacturer identifies the capacity and describes a saucer-style arrangement with an elevated perch and ant-moat features. Consult the current product page for the exact version and included components.
We have not tested cleaning time, durability, leakage, or bird use of this model. Its inclusion is an illustration of how to examine a product, not a hands-on endorsement. Before buying, inspect the open-reservoir photographs and care instructions. Check whether any guard, hook, or replacement part shown separately must be purchased separately.
Inspect pest-control features realistically
A water moat is useful only if ants must pass through it to reach the feeder and you keep it maintained. A branch resting on the lid can bypass the barrier. Bee-related port features address a different problem, so do not assume one accessory excludes every insect.
Avoid adding oily or sticky substances around the equipment. If a feeder leaks or attracts persistent unwanted visitors, identify the route and mechanical issue first. A simple design with clear instructions is preferable to a collection of improvised coatings or attachments whose effect on birds is uncertain.
Plan the location before you choose the finish
Look for a reachable mounting position where you can check the nectar and remove the feeder comfortably. Assess sun exposure, nearby glass, pets, and anything that could touch the reservoir. The best-looking background for a photograph may not be the most practical location for daily care.
Consider the view from indoors as well. You want to observe birds without repeatedly approaching the feeder. If you later add another feeding point, make sure you can maintain both. Territorial behavior can complicate sharing, but buying a feeder with more ports does not automatically create more independent access to the food.
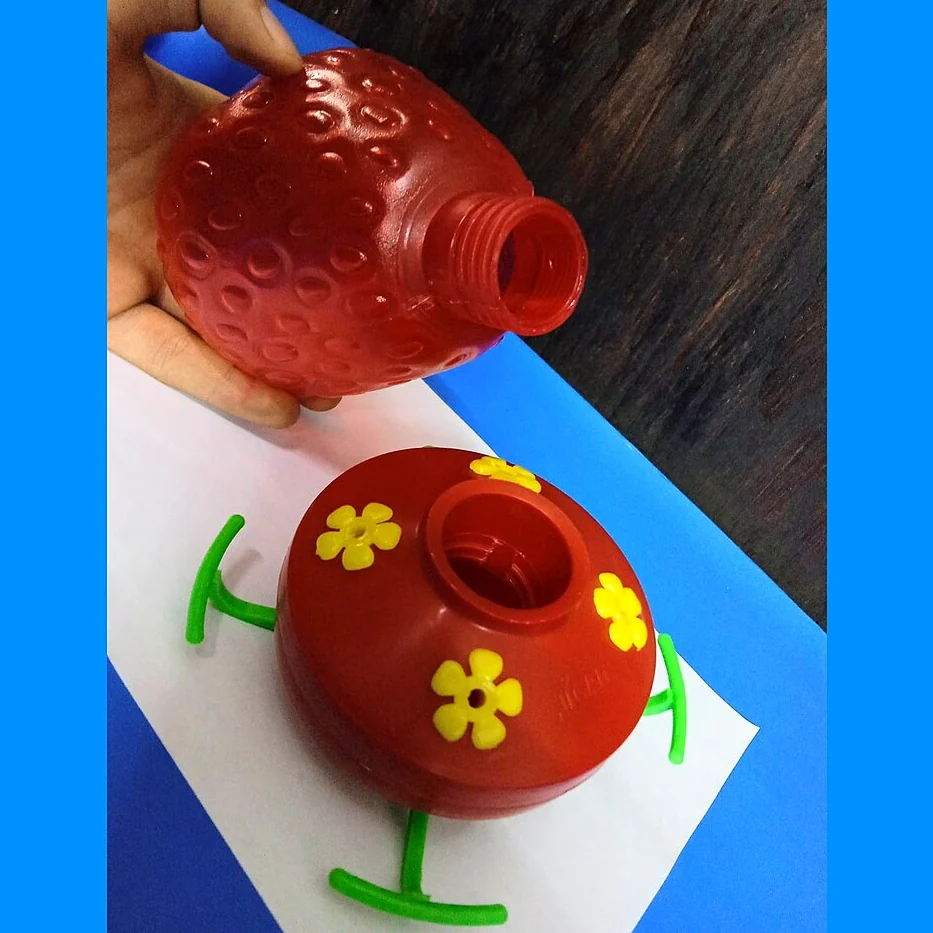
Photo: ELTORO.VET · Fresa1.jpg · CC0. Cropped, gently adjusted, and resized for this guide.
Compare the open feeder, not only the assembled silhouette
Look for photographs showing the reservoir, lid underside, ports, and seals separately. A broad opening can be a useful sign, but confirm that the small channels and decorative pieces are accessible too. The part that looks simplest from outside may contain the most awkward residue trap.
If the listing lacks these views, find the manual or ask the manufacturer. A clear explanation of cleaning is a reasonable expectation before buying equipment that holds sugar water. Do not accept an unsupported easy-clean label as a substitute for seeing how the task is performed. The evidence should let you picture your own hands and brushes doing the work.
Check the perch without assuming more is always better
A perch changes how a bird can position itself at the feeding port. Compare its location relative to the opening and whether it obstructs cleaning or your view. An elevated or continuous perch may be attractive, but its practical value belongs to the complete design.
Avoid interpreting a product photograph showing several birds as proof of typical simultaneous use. Bird behavior and the wider arrangement affect access. Choose the perch layout because it appears suitable and maintainable, and keep any later observation of use separate from a universal claim about how many birds the feeder will serve.
Think through filling and carrying
Some designs require turning a filled reservoir into position; others fill through an open bowl. Read the instructions and imagine the transfer from your preparation area to the hanging point. Consider whether you can carry the unit securely and keep nectar off the exterior.
If filling is awkward, do not assume practice will solve every design limitation. A simpler opening or a more manageable size may suit the caretaker better. Accidental spills add cleaning and can confuse later leak troubleshooting. A good feeding routine includes the practical handling between the sink and the yard.
Find your situation

Read the visual as text
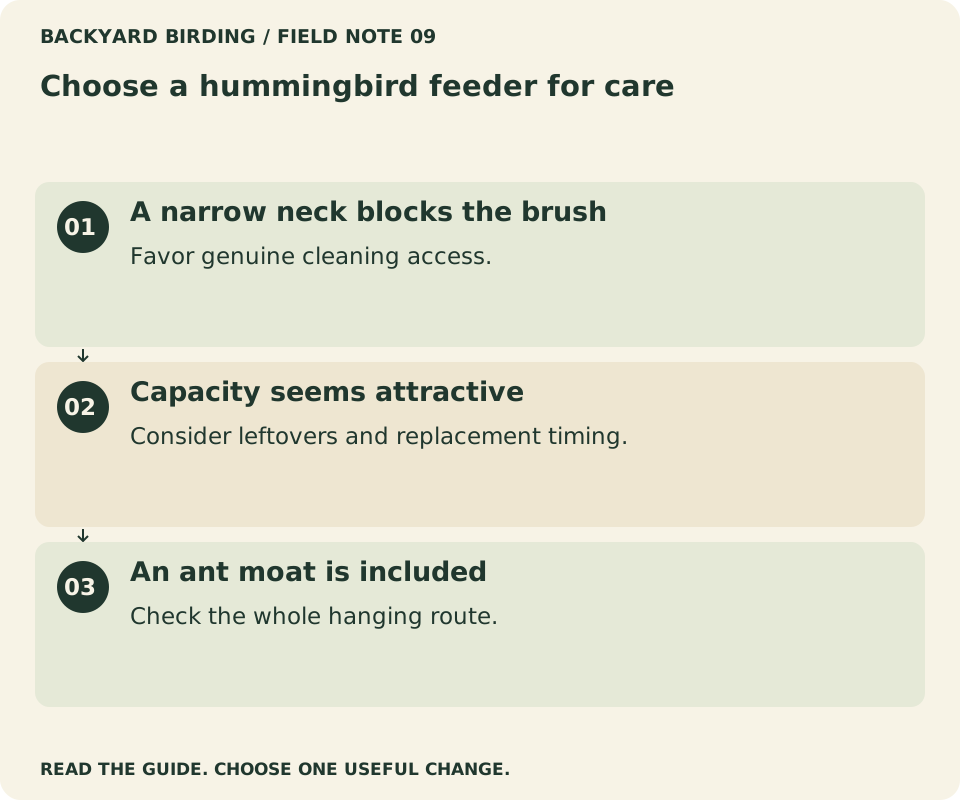
- A narrow neck blocks the brush. Favor genuine cleaning access.
- Capacity seems attractive. Consider leftovers and replacement timing.
- An ant moat is included. Check the whole hanging route.
Evaluate a small beginner setup
For a first nectar feeder, prioritize a modest amount of liquid, easy disassembly, and a reachable mount. Keep the measuring container and brushes ready before installation. A smaller initial fill lets you learn the care cycle without discarding a large quantity at each scheduled change.
Do not judge the first purchase only by whether hummingbirds appear immediately. Confirm that the equipment works, the routine is manageable, and the species is plausible in your region and season. Those are useful early outcomes. A stable setup gives later observations more meaning than repeated changes after every quiet day.
Evaluate a household with several nectar feeders
Multiple feeders need a clear system for parts, refill times, and cleaning status. Similar-looking lids and bases can be mixed accidentally, particularly across product generations. Keep the model information and any spare components organized so repairs and reassembly remain accurate.
Choose additional feeders for a defined purpose and maintainable placement. A unit at the far end of the garden may offer another feeding point but be easier to overlook. Include every feeder in the daily check. The right number is the number you can care for consistently, not the maximum number of hooks available.
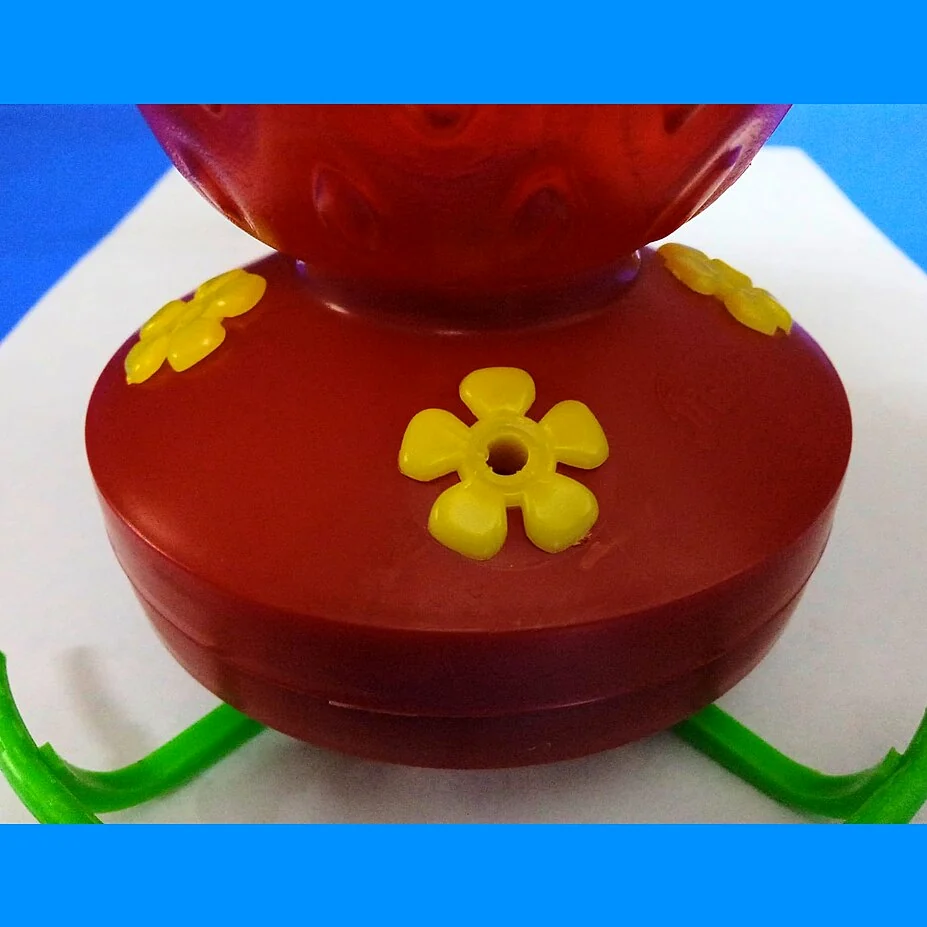
Photo: ELTORO.VET · Fresa2.jpg · CC0. Cropped, gently adjusted, and resized for this guide.
Ask what remains available if a small part breaks
Check replacement seals, lids, ports, and hanging hardware for the exact model. A missing component may make the feeder unusable even when the main reservoir is intact. Keep the model number and purchase information rather than relying on a visual match when ordering parts.
Repairability can be a useful purchasing advantage, but assess the actual availability and cost. Do not continue using a damaged or insecure assembly while waiting if it cannot function properly. A replacement part should restore the intended design, not become an improvised modification that creates another cleaning or leakage problem.
Separate material preference from evidence
You may prefer the feel or appearance of glass, or the lighter handling of a plastic model. Those are legitimate preferences. They do not establish which complete feeder is easier to clean, less likely to leak, or more durable under your conditions.
Compare the opening, base, joints, and care instructions. A product can combine several materials, each with different requirements. Avoid transferring a general statement about one material to every component. The useful decision concerns the assembled system and the tasks you will perform with it repeatedly.
Read a product review for conditions and method
A meaningful account should identify the model, installation, duration, care routine, and what was actually observed. A writer who timed disassembly can explain the steps; a writer who evaluated leaks should describe the conditions. Without that context, a superlative may be more persuasive than informative.
This page uses manufacturer research rather than claiming those tests. That limitation allows you to use the product information appropriately: to inspect features and build a shortlist. If you want evidence of long-term performance, look for documented observations with clear conditions and avoid treating an unexplained star score as equivalent.
Small mistakes. Better moves.

Read the visual as text
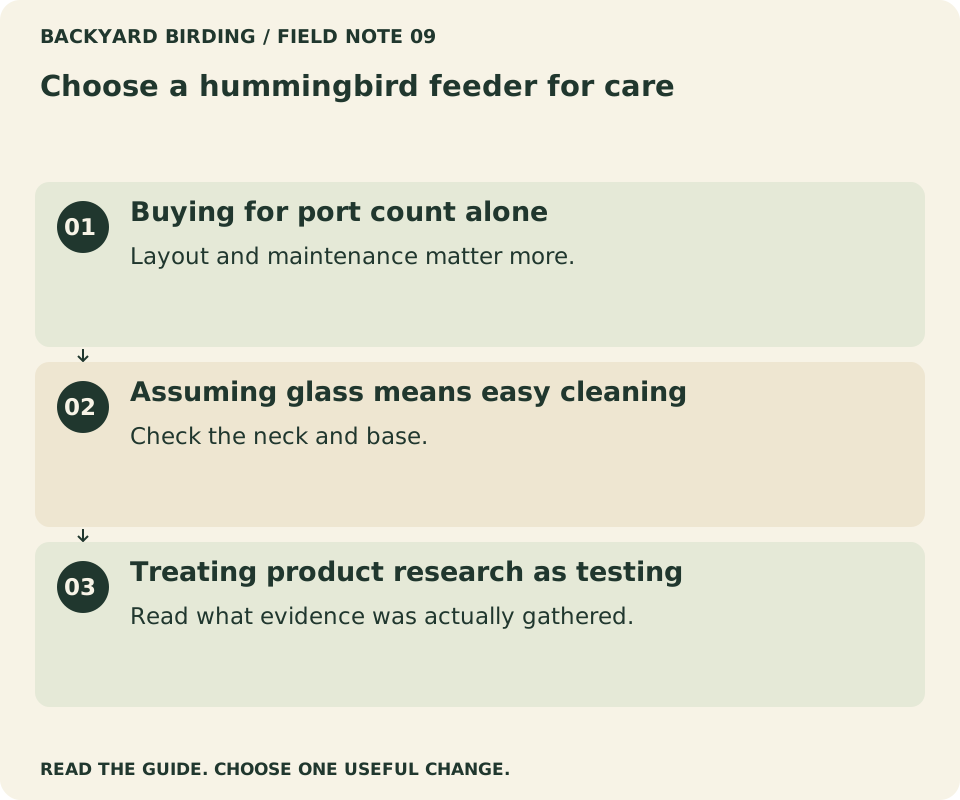
- Buying for port count alone. Layout and maintenance matter more.
- Assuming glass means easy cleaning. Check the neck and base.
- Treating product research as testing. Read what evidence was actually gathered.
Plan the ownership cost beyond the initial price
Include any required hanger, moat, cleaning brushes, and replacement parts you know you need. Keep optional accessories separate so the base comparison remains clear. Do not assume every item shown beside the feeder is included in the package.
Include handling in the comparison. Picture carrying the feeder to the sink, opening its base, reaching the ports with a brush, and putting it back together. Check whether small parts need a tray and whether a full reservoir is comfortable to lift. A cheaper model that is awkward to wash may be a poor fit for the person doing that work.
Use a clear acceptance checklist during initial use
Confirm that every part is present, the closure works, the mount is secure, the reservoir is reachable, and the feeder can be cleaned as described. After filling, wipe the exterior and check for recurring leaks. Record any defect precisely while the purchase information is easy to find.
If the unit passes those practical checks, continue observing without expecting a guaranteed number of visits. If it fails a basic requirement, address the problem promptly through the seller or manufacturer. The purpose of the first-use check is to establish workable equipment, giving the birdwatching experience a reliable foundation.
Check the package against the advertised setup
Before throwing away packaging, identify every component and compare it with the current contents list. A moat, hanging hook, or spare seal may be an optional accessory rather than part of the base purchase. Resolve missing or ambiguous items while the order details are easy to retrieve.
Keep the manual and model number with your cleaning supplies. If the feeder needs a replacement part later, a precise reference is more useful than a photograph of a similar-looking model. This small step also helps another caretaker follow the correct instructions instead of assuming that all hummingbird feeders open, wash, and reassemble in the same way.
What to check during the return period
Read the manual and assemble the empty feeder first. Confirm that all pieces are present and the closure is secure. Test how it hangs and how you will take it down. Check the ports and seams in good light before introducing nectar.
During initial use, record problems precisely: where liquid appears, when it happens, and whether the feeder is level. Do not confuse an empty reservoir with proof of heavy bird use until you have ruled out leaks. Keep the packaging and model information until you are confident that the equipment is complete and manageable.
Frequently asked questions
Is glass better than plastic?
Both appear in feeder designs. The relevant comparison includes weight, opening size, durability of the complete assembly, and material-specific care instructions. A glass bottle can still be difficult to clean, while a plastic bowl can have excellent access.
Are more ports better?
More ports are useful only if the feeding arrangement works and the maintenance stays manageable. Compare the spacing and layout rather than assuming a larger count guarantees more birds at once.
Do I need red nectar?
No. Use an appropriate plain sugar-water mixture without added dye. The feeder can provide visual color without coloring the liquid. The routine around the food matters more than making the reservoir look vivid.
Before the first fill, assemble the empty feeder and rehearse taking it apart for washing. Keep the instructions and a note of any seal or port brush you may need. Check the hanging point from outside, including nearby glass and touching branches, then begin with a modest amount of fresh nectar. During the first refill, review any step that was awkward before adding another feeder.
Watch it. Then try it.
Review the steps and common mistakes in two short, silent animations. Each has a complete text transcript below.
Your four-step action map
Read the complete video transcript
Choose a hummingbird feeder for care.
- Inspect the open reservoir. Every internal surface should be reachable.
- Check ports and seals. Look from both sides and verify spare parts.
- Choose a modest fill. Capacity should fit the care routine.
- Plan the mount. Keep removal, inspection, and refilling comfortable.
Try the steps, then note any problem that still needs attention.
Three mistakes to avoid
Read the complete video transcript
Choose a hummingbird feeder for care.
- Buying for port count alone. Layout and maintenance matter more.
- Assuming glass means easy cleaning. Check the neck and base.
- Treating product research as testing. Read what evidence was actually gathered.
Try the steps, then note any problem that still needs attention.
Both animations use this real photograph by MsFrazzle. Photo source · CC BY-SA 4.0. The photo is adapted into original educational animations, not recordings of a field test.
At a glance
| Feature | Question to ask |
|---|---|
| Reservoir | Can I see and reach every internal surface? |
| Ports | Will a small brush reach them? |
| Capacity | Does this fit my cleaning routine? |
| Ant control | Is the moat accessible and easy to inspect? |
Products to compare
Compare the features and current manufacturer instructions for your intended setup. These are research-based comparisons, not hands-on tests.
HummZinger HighView 12 oz.
Readers comparing a conventional nectar feeder
- Brand
- Aspects
- Type
- Nectar feeder
- Capacity
- 12 oz. (manufacturer specification)
- Price
- Check the current offer with the seller
Why consider it
- Clearly identified model: Aspects #429
- Modest, published nectar capacity
What remains uncertain
- No hands-on leak or cleaning test published here
- Capacity does not determine a safe refill schedule
Who should skip: A seed-feeder buyer or anyone seeking camera features
See manufacturer specifications ↗Sources & evidence
Our standard: real evidence before ratings. Corrections follow our editorial process.
Our verdict & your next actions
Choose the row that describes your setup, then follow the suggested check or adjustment.
| Your situation | Our verdict | Your next action |
|---|---|---|
| A narrow neck blocks the brush | Favor genuine cleaning access. | Rehearse the cleaning workflow. |
| Capacity seems attractive | Consider leftovers and replacement timing. | Read the nectar schedule. |
| An ant moat is included | Check the whole hanging route. | Review ant control. |
Your pocket field checklist
Tick off the steps as you go.
0 of 4 steps completed
Keep building your knowledge in hummingbirds, or search the full backyard library.