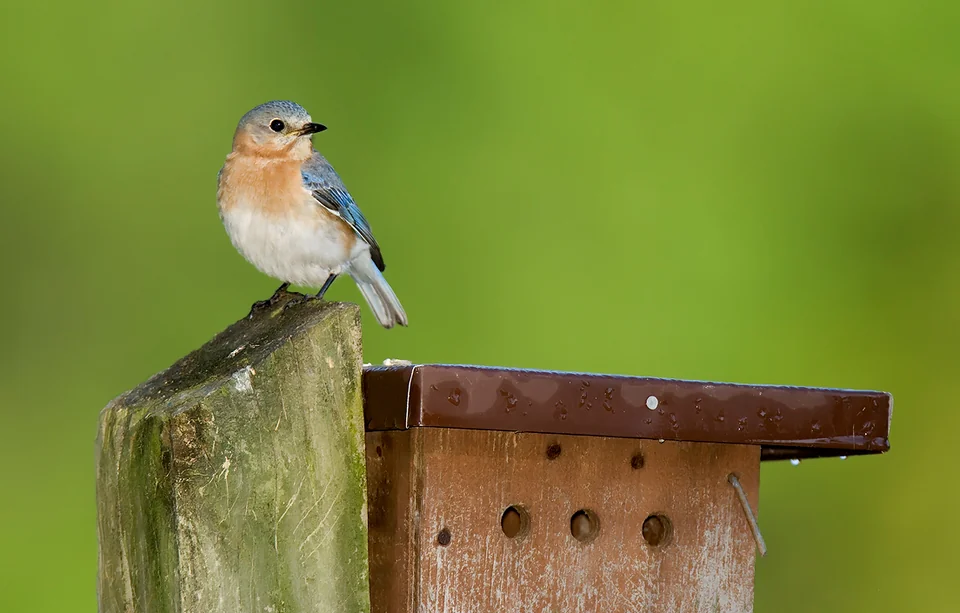
Photo: William H. Majoros · Eastern bluebird at nest box.jpg · CC BY-SA 3.0. Cropped, gently adjusted, and resized for this guide.
The short answer
Choose a local cavity-nesting species, then follow one complete nest-box plan. Match the entrance and interior, use a stable guarded support in suitable habitat, and learn responsible monitoring before birds occupy the box.
Choose the bird before the birdhouse
A useful birdhouse begins with a particular cavity-nesting species and a suitable place for it. Choose those first, then follow a complete nest-box plan that specifies the entrance, interior, drainage, ventilation, mounting, and access for monitoring. A decorative house with a convenient hook is not automatically suitable nesting equipment.
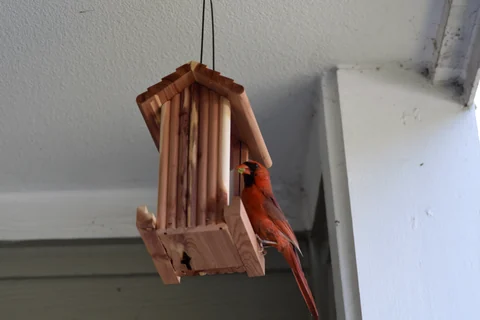
Many familiar backyard birds do not use enclosed boxes. Cardinals, goldfinches, hummingbirds, and orioles build other kinds of nests. Buying a small wooden house will not change those preferences. Bluebirds, chickadees, wrens, and Tree Swallows are among the birds that may use appropriately designed boxes, depending on location and habitat.
The decision therefore has two parts: whether the species occurs locally, and whether your property provides the surroundings it needs. A box cannot compensate for every habitat mismatch. An open-country bird and a woodland-edge bird may require different placements even when both can fit through an entrance of roughly similar size.
Start with NestWatch's birdhouse resources, identify a plausible species, and read its entire plan. Bring that plan into the yard before buying materials. Check where a support can be installed, whether you can reach it safely, and how you will keep pets and regular activity away.
This guide helps you make those decisions and evaluate the installation. The dimensions table is a planning reference, not a substitute for construction drawings. Your final choice should include a complete species-specific design and a care routine you are prepared to follow beyond the first interesting week of nesting activity.
Confirm which local birds use cavities
Watch the birds around the property and consult regional records. You are looking for regular local species in appropriate habitat, not any cavity-nesting bird that has ever been reported in your state. Elevation, vegetation, proximity to water, and seasonal movements can all change the realistic list.
A chickadee in your shrubs is a different starting point from a bluebird hunting over a nearby field. Tree Swallows often use open areas where aerial insects are available. House Wrens may investigate brushy edges. These broad associations help narrow the choices, but they should be checked against the specific species guidance for your region.
Identify similar birds carefully. A Carolina Chickadee and a Black-capped Chickadee have different geographic contexts; a Western Bluebird should not automatically receive an Eastern Bluebird design. When identification is uncertain, take notes and seek help before committing to dimensions.
| What you observe | What it suggests | What it does not prove |
|---|---|---|
| Repeated local sightings in suitable habitat | A species may be a realistic candidate | That a new box will be occupied |
| A bird inspecting an old cavity | Interest in a sheltered space | Eggs or an active nest inside |
| One rare seasonal record | Occasional presence is possible | A regular breeding opportunity |
| Nest material carried through an opening | A nesting attempt may be developing | The full contents or outcome |
Keep a short candidate list. One or two appropriate options are easier to research than a box advertised for a dozen birds with conflicting needs. If no suitable candidate emerges, improve vegetation and observation opportunities instead. Providing habitat without a box is a valid bird-friendly project, especially where the available mounting location is unsafe or unsuitable.
Use entrance sizes as part of a complete design
An entrance limits access, but it does not determine the whole quality of a nest box. The height above the floor, internal space, roof protection, and ability to escape all matter. Follow the opening shape specified by the plan; the height of an oval opening is not equivalent to the diameter of a round hole.
The following round-hole examples come from NestWatch's placement reference. They are useful for rejecting an obviously mismatched product before you study its complete drawings. Measure the actual opening rather than relying on a retailer's species label.
| Intended species | Round entrance | Mounting height | Minimum spacing in the reference |
|---|---|---|---|
| Eastern Bluebird | 1 1/2 inches | 3 to 6 feet | 300 feet |
| Western Bluebird | 1 1/2 inches | 4 to 6 feet | 215 feet |
| Mountain Bluebird | 1 9/16 inches | 4 to 6 feet | 300 feet |
| Black-capped Chickadee | 1 1/8 inches | 5 to 15 feet | 650 feet |
| House Wren | 1 inch | 5 to 10 feet | 100 feet |
| Tree Swallow | 1 3/8 inches | 5 to 6 feet | 35 feet |
These values describe the linked general reference. Individual approved plans and regional programs may specify alternatives; use the measurements as a coherent set from the plan you choose. In particular, do not turn a minimum spacing into a guarantee that the habitat supports that many pairs.
A worn or enlarged opening should be assessed before the next nesting attempt. Do not attach a sharp-edged repair plate or modify an occupied box casually. Choose a suitable repair method from the plan or a knowledgeable local program, then check the finished edges and fastening.
Avoid the promise that one opening makes a box universally predator-proof or competitor-proof. A hole can exclude some animals while leaving other routes and problems unchanged. Think of entrance size as one component in a layered installation, not a guarantee.
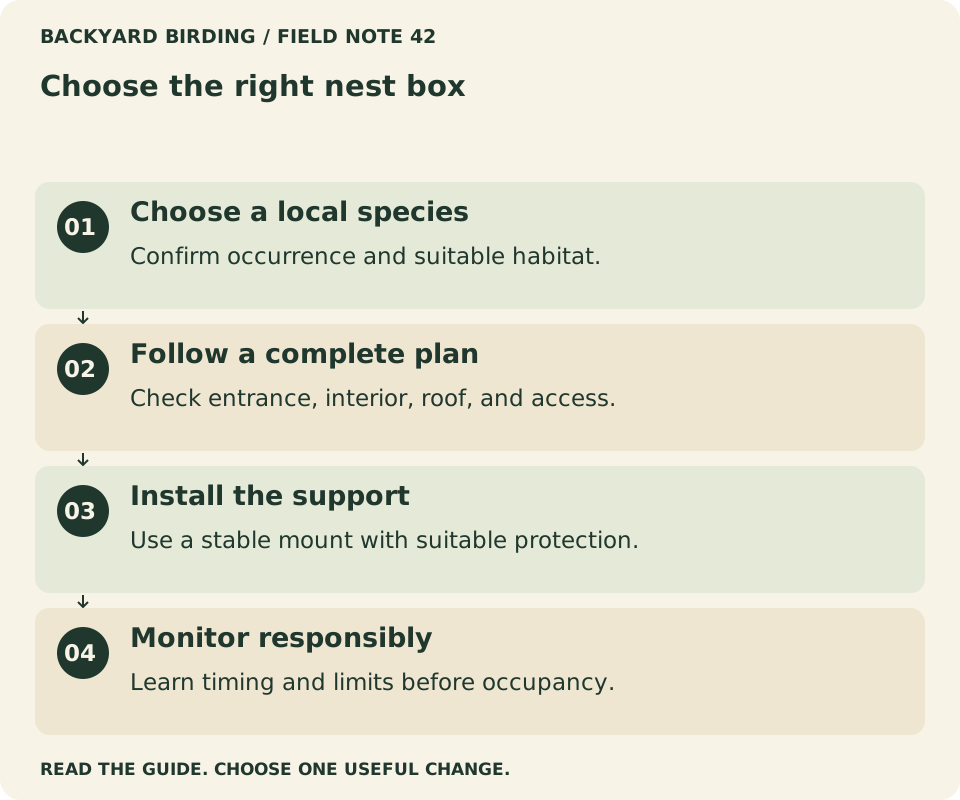
Your visual action map

Read the visual as text
- Choose a local species. Confirm occurrence and suitable habitat.
- Follow a complete plan. Check entrance, interior, roof, and access.
- Install the support. Use a stable mount with suitable protection.
- Monitor responsibly. Learn timing and limits before occupancy.
Compare the interior, not only the front panel
Ask for interior dimensions when evaluating a purchased box. External width includes wall thickness and does not tell you the usable floor area. Similarly, the overall roof height does not tell you the distance between the entrance and the inside floor. An attractive front photograph can hide a shallow or inaccessible chamber.
Open the box while it is empty. Check the floor, corners, wall below the entrance, and the way the door closes. Look for protruding fasteners, sharp edges, loose parts, or gaps that contradict the selected plan. The interior should be functional rather than furnished like a miniature human house.
Follow the plan's approach to climbing texture. Young birds may need a rough or grooved surface below the entrance. A polished wall is not automatically an improvement. Do not add improvised mesh, fabric, or loose ladders without species-specific guidance; a helpful-looking addition can create new snagging or maintenance problems.
Do not put seed, mealworms, or a water dish inside. Feeding equipment and nesting chambers serve different purposes. Food residues can introduce sanitation problems and attract visitors that do not belong at the nest. Keep supplemental feeding separate from the box and assess whether it is needed at all.
Save the manufacturer's instructions or the source plan with your notes. If a part later breaks, you can compare a replacement with the original design rather than guessing from memory. Photograph the empty interior once, so you have a reference without reopening an occupied box merely to check how something was constructed.
A good purchase is one whose working details can be explained clearly. If the seller cannot show the interior or say how it opens, consider a simpler, better-documented design.
Choose materials for weather and maintenance
NestWatch's good-birdhouse checklist emphasizes durable construction, suitable untreated wood, adequate wall thickness, and access for care. For a first wooden box, an established plan is more dependable than improvising with whatever thin decorative material is available.
Weather resistance is a system. A sloped overhanging roof, recessed floor, appropriate drainage, sound joints, and stable mounting work together. A coat of paint cannot make up for a leaking roof or a floor that traps water. Compare those details before comparing colors.
Avoid treating the inside with preservatives or coatings not specified for the design. Keep the interior appropriate for birds and follow any exterior finishing guidance in the plan. A product intended for general outdoor furniture is not automatically suitable for every surface of a nesting structure.
Use appropriate fasteners and inspect them before installation. A door should close securely but remain accessible for a brief check when conditions permit. Hardware should not require awkward twisting or force that could shake an occupied box. Practice the movement while the structure is empty.
Consider the expected maintenance burden. A roof that can be replaced and a latch that can be adjusted may make a plain box more useful over time than a sealed ornamental model. Ask whether spare parts or construction measurements are available, especially if the design uses proprietary pieces.
If you build with reused materials, know their history and condition. Do not assume an unknown treated board or a previously chemical-contaminated container is acceptable. The economy of a homemade box comes from a sound, appropriate design and careful construction, not from making every available scrap serve a purpose it was never suited to.
Plan drainage, ventilation, and sun exposure together
A nest box must deal with rain and heat in the actual location where it will stand. Check that drainage and ventilation features remain open after mounting. A bracket, backing board, or decorative addition should not cover them. Inspect the underside as well as the roof.
Follow the species plan's dimensions and regional recommendations. Do not drill extra holes at random because more ventilation sounds better, or plug openings because nights are cool. Altering one feature can change another function. If the design seems inappropriate for local conditions, choose a better-supported regional plan rather than modifying it by instinct.
Observe the proposed site at several times of day. Winter shade is not a reliable guide to summer exposure, and a leafless tree may change the scene completely after spring. Note especially prolonged hot afternoon sun and whether a nearby wall or paved area adds reflected heat.
Account for ordinary storms. An entrance facing a routinely exposed weather direction may receive driving rain. Roof overhang and orientation can help, but a sheltered-looking corner may also place the box close to predators or human activity. Review the whole location instead of optimizing one factor in isolation.
Do not spray an occupied box with water or install a fan as a casual response to heat. If birds appear endangered by severe conditions, seek advice from a qualified local wildlife professional or nest-box program. Preventive site selection is far easier than improvising an intervention after nesting begins.
Record the site's seasonal exposure in your plan. A few notes about morning shade, afternoon sun, and prevailing storms make future evaluation more useful than remembering only that the box faced east when installed.
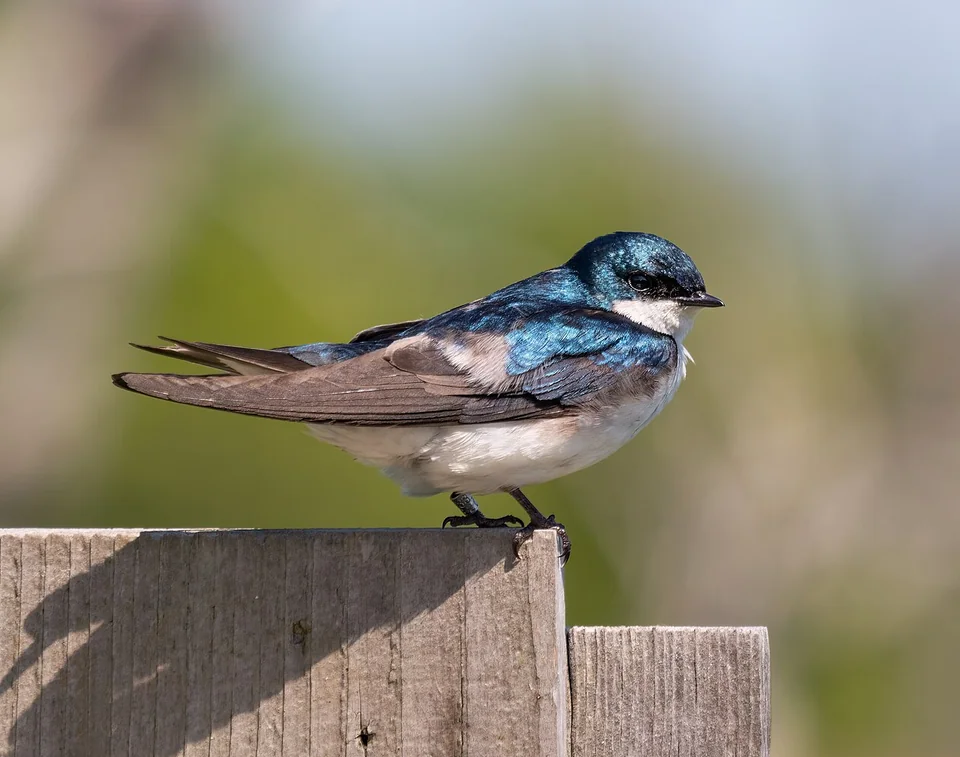
Photo: Rhododendrites · Tree swallow male on nest box (94329).jpg · CC BY-SA 4.0. Cropped, gently adjusted, and resized for this guide.
“A good birdhouse is a complete installation: the right species, sound box, suitable habitat, protected support, and responsible care.”
Backyard Birding — editorial takeaway
Choose the support before the mounting height
A useful support keeps the box stable, allows appropriate predator protection, and lets you monitor without unsafe climbing. For many small backyard nest boxes, a freestanding metal pole is a practical choice. The complete mounting method should follow the species plan and suit your soil and local weather.
Height alone does not establish safety. A high box attached to a climbable tree can remain accessible to predators, while also being difficult for you to inspect. A lower installation on a correctly guarded support may better match a particular plan. Use the recommended range, then evaluate the actual access routes.
Before digging or driving a support into the ground, check local utility-location requirements and the property's underground services. Choose a location that does not interfere with paths, irrigation, mowing, or maintenance equipment. A pole in a frequently used route becomes a problem for people as well as birds.
Rehearse access with the empty box mounted. Can you open the inspection panel smoothly, see enough to record information, and close it securely? If a ladder is required, assess whether the installation is appropriate for your abilities and monitoring plan. Do not create a setup that depends on risky improvisation each time.
Check the support after installation for wobble, rotation, and loose fittings. Consider how saturated ground, frost, or strong wind may affect it. Correct these issues while the box is empty. Once nesting begins, a hardware adjustment can become a disturbance problem requiring qualified advice.
Keep the feeding station separate. A combined pole covered in feeders, baths, and nesting boxes can concentrate activity in ways that do not serve a nesting pair. Each resource should earn its position through its own habitat and maintenance requirements.
Make predator protection part of the original installation
Plan a suitable predator guard before opening the box for use. Retrofitting around an active nest is more complicated, and an unguarded box can become a predictable food source for climbing animals. The guard must match the support and the conditions, rather than simply being a product with a reassuring label.
Common designs include stovepipe or cone baffles and certain entrance guards. Follow a tested construction plan and installation guidance. The guard's size, freedom of movement where specified, mounting position, and distance from alternative routes all influence how it works.
Walk around the installed pole and look for bypasses. A nearby fence, tree branch, vine, stacked chair, or shed roof can create a route above a baffle. Account for growth and seasonal changes. Something stored near the pole later may defeat an otherwise sensible installation.
Keep pet cats indoors. A baffle is not a complete response to roaming cats, and a box's height does not make the ground below safe for fledglings. Discuss the nesting area with household members so doors, pet access, and yard routines do not work against the installation.
Avoid sticky coatings, grease, spikes, or improvised entangling barriers. Your aim is to make the nesting site harder to access without creating another hazard. If you are unsure how to protect a particular support, ask a local nest-box program or use a different site.
Photograph the guard and surrounding routes before occupancy. After a storm or major yard change, compare the scene from a distance. That record helps you spot a fallen branch or moved object without repeatedly approaching the entrance. Good protection depends on maintaining the installation, not merely fitting a guard once.
Space boxes according to species and habitat
More boxes do not automatically mean more successful nests. Birds defend space, habitats have limited resources, and extra structures create additional monitoring duties. Follow species-specific spacing guidance instead of hanging a row of small houses a few feet apart because the fence has room.
Some managed arrangements deliberately pair boxes for different species. Bluebird and Tree Swallow projects may use paired boxes under particular conditions, with greater spacing between pairs. That is a specific management practice, not a general rule that all cavity nesters enjoy close neighbors.
Map the usable area before adding a second box. Include buildings, paths, trees, existing natural cavities where known, and nearby boxes on adjoining land. A property boundary does not necessarily divide a bird's territory. Ask neighbors about existing installations when it is practical and relevant.
Think about habitat quality as well as distance. Two boxes far apart in unsuitable vegetation do not become useful simply because the spacing is correct. Conversely, a good habitat patch may not have enough room for several of the same species. One well-managed box can be the better plan.
Allow appropriate native birds to use a suitable structure even if they were not your first choice. Do not remove an active nest to reserve the box for a more colorful species. If occupancy consistently differs from your expectation, treat that as information about the habitat and design rather than a reason to interfere.
Keep a simple map with box identifiers if you manage more than one. Label them in your private notes and record each visit against the correct location. Clear records make it easier to notice repeated problems and avoid confusing the nesting stages of two different pairs.
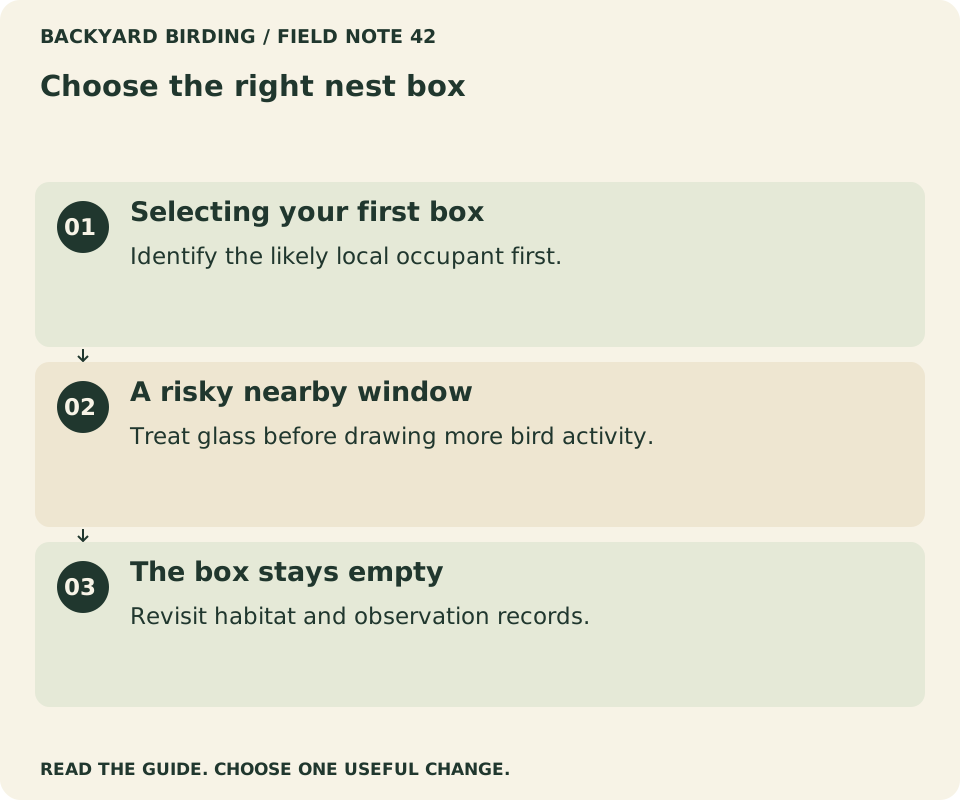
Find your situation

Read the visual as text
- Selecting your first box. Identify the likely local occupant first.
- A risky nearby window. Treat glass before drawing more bird activity.
- The box stays empty. Revisit habitat and observation records.
Install early, but do not turn timing into a rigid deadline
Have a suitable box ready before the local breeding season whenever possible. Birds may investigate potential sites well before you notice obvious nesting activity. Early preparation also gives you time to correct a loose latch or poor mounting location without disturbing an occupied nest.
National timing advice is only a starting point. Southern and northern regions differ, and elevation and species matter. Consult local observations and the selected species account. A calendar date that works in one part of the country should not be treated as a universal opening day.
If you miss the early window, assess the situation calmly. Do not disturb an existing nest to clear a preferred location. You may still be able to prepare a suitable empty installation, but there is no need to rush untested hardware into place. Learning the monitoring routine and choosing the right site remain more important than meeting an arbitrary date.
Avoid moving a box once it becomes active. If you discover that the location was poorly chosen, seek qualified advice about the specific problem. A change that looks small to you can affect birds using the entrance and surrounding landmarks.
An unused first season is not conclusive evidence of failure. Discovery, local populations, competition, habitat, and breeding conditions all influence occupancy. Review your notes and the plan after the season rather than rebuilding the entire setup in response to a quiet week.
Use the off-season for maintenance, research, and habitat improvements. It is a good time to replace worn hardware, confirm the entrance size, and consider whether nearby vegetation has changed. That preparation makes the next season less dependent on hurried decisions when the first bird arrives.
Leave nest-building to the birds
Do not furnish a general backyard box with cotton batting, dryer lint, yarn, string, fabric scraps, or a ready-made decorative nest. Birds choose and arrange material according to their own nesting behavior. A soft-looking human material is not automatically safe when wet, tangled, or pulled into narrow strands.
NestWatch's nest-material guidance recommends natural materials and cautions against several common offerings. The simplest contribution is appropriate habitat with natural vegetation and materials available, rather than a hanging bundle of household scraps.
Some species-specific box plans call for a particular substrate, such as wood shavings for certain cavity nesters. Follow that exact instruction when it applies. Do not transfer it to every small songbird box or replace the specified material with something that seems softer. The species plan should decide the interior treatment.
Keep pesticides and pet treatments in mind when considering any material gathered from the yard or home. Do not offer clipped pet fur or other household material merely because a photograph shows a wild bird using something similar. An observation of what a bird collected is not necessarily a recommendation to supply it deliberately.
Avoid rearranging an existing nest to improve visibility or make it look tidier. The nest is a working structure, and your ability to photograph its contents is not a design requirement. Record only what can be observed appropriately under the monitoring protocol.
If a box becomes cluttered before the season, first establish what is present and whether nesting activity has begun. Do not assume that apparently untidy material is abandoned. Identification, timing, and legal protections may affect the next step; seek knowledgeable local guidance when the situation is unclear.
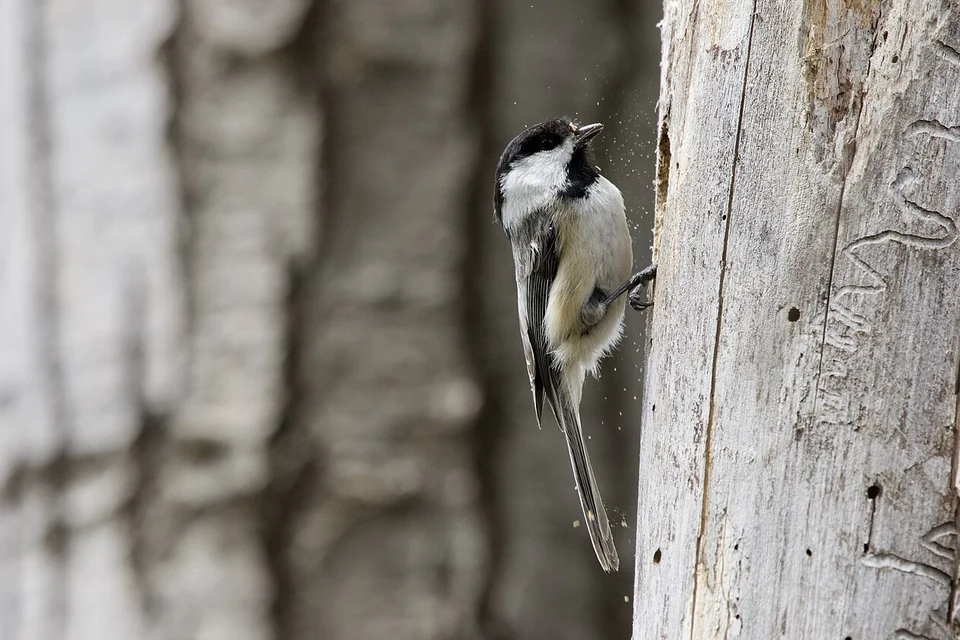
Photo: Jshamgochian · Black-capped Chickadee (Poecile atricapillus) excavating a nest cavity in Waterville, Maine.jpg · CC BY-SA 4.0. Cropped, gently adjusted, and resized for this guide.
Monitor with a method, not curiosity alone
Read the NestWatch Code of Conduct before your first inspection. It explains appropriate timing, brief visits, and circumstances when approaching a nest should be avoided. These limits matter as much as the information you hope to collect.
Prepare your notes before going outside. Have the box identifier, date, and recording method ready so you are not searching for a pen beside the entrance. Observe adults from a distance first, and follow the protocol for approaching and checking. Do not hold the door open while discussing the nest with visitors.
Avoid checks during unsuitable weather and when young are close to fledging. Disturbing alert, well-feathered nestlings can cause premature departure. If their age is uncertain, use distant observation and seek advice rather than opening the box repeatedly to resolve the uncertainty.
Record facts separately from interpretations. An adult carrying food is an observation; all chicks are healthy is a broader conclusion you may not be able to support. A quiet entrance for ten minutes does not establish abandonment. Good monitoring includes the discipline to leave an uncertain field blank.
Do not handle eggs or birds during casual backyard checks. If you find a concern, document it appropriately and contact a qualified wildlife professional or experienced nest-monitoring program. Keep intervention decisions separate from ordinary data collection.
Explain the routine to other household members. One careful monitor can be undermined by several unrecorded checks from curious visitors. Offer binocular views and distant observation instead. A nest can be an excellent learning opportunity when the lesson includes restraint, accurate notes, and respect for the birds' stage of development.
Respond carefully to occupants and unexpected problems
Identify the occupant before acting. A native cavity nester may legitimately use a box intended for another bird. House Sparrows, other birds, insects, and small mammals raise different questions. Do not assume that every unfamiliar nest material or movement belongs to an unwanted species.
Active native bird nests require particular care. The U.S. Fish and Wildlife Service's nest guidance explains protections and why eggs, young, and dependent birds should not be disturbed or removed casually. State and local requirements may also apply. If an intervention is being considered, contact the appropriate wildlife authority rather than treating a general article as permission.
Do not spray pesticides into a box or insert household repellents. An apparently empty structure may still contain birds or other animals, and residues can remain after treatment. If stinging insects create a safety problem, keep people away and obtain appropriate professional advice about identification and management.
A damaged occupied box is also a situation for expert guidance. A loose roof, fallen support, or predator incident may require action, but the correct response depends on occupancy, species, stage, and immediate risk. Document what you can safely see and avoid repeated opening while seeking help.
If a young bird is outside, first keep pets away and assess from a distance. A fledgling outside the box is not automatically an abandoned nestling. Do not push it back through the entrance or give it food and water without qualified instructions.
The most useful emergency preparation is a current local contact list stored before something happens: wildlife rehabilitator, relevant wildlife agency, and a knowledgeable nest-box program. Finding those resources calmly is easier than searching while holding an open box.
Clean and repair only when the timing is appropriate
Plan maintenance around confirmed inactivity and species guidance. Do not remove material because the entrance has been quiet during one short observation. Some birds have multiple nesting attempts, and an apparently finished nest may still be relevant to birds using the site.
Once cleaning is appropriate, wear suitable gloves, keep dust exposure low, and follow a recommended method for the box and species. Remove old material carefully, inspect seams and hardware, and allow the structure to dry thoroughly before returning it to service. Keep cleaning supplies separate from household food equipment.
Check the whole system while it is empty: entrance shape and wear, floor condition, roof, ventilation, drainage, latch, mounting bracket, pole, and guard. A clean chamber on a failing support is still an unsafe installation. Replace parts according to the original plan rather than covering damage with a decorative patch.
| Component | Empty-box check | Reason to act before reuse |
|---|---|---|
| Entrance | Correct shape, size, and smooth edges | Wear or damage has changed access |
| Floor and roof | Sound material and intended drainage | Leaks, softness, or trapped moisture |
| Inspection panel | Smooth opening and secure closure | Loose latch or binding door |
| Support | Stable and correctly fastened | Rotation, wobble, or corrosion |
| Predator guard | Correct fit and no bypass route | Nearby growth or displaced hardware |
Record the maintenance date and what changed. If you later compare nesting outcomes, a note about a moved pole or replacement entrance is more useful than a vague memory that the box was improved.
Do not collect nests as souvenirs. Follow applicable wildlife guidance on handling and disposal, and ask when unsure. The purpose of maintenance is to prepare appropriate equipment for future use, not to preserve a display of protected nesting material.
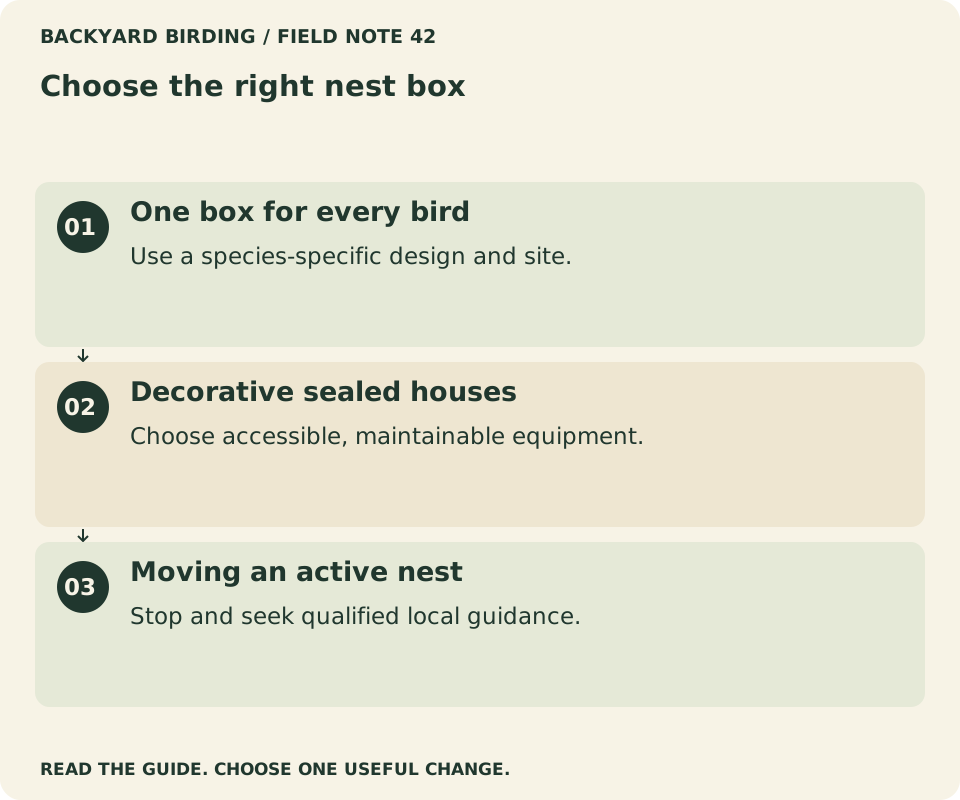
Small mistakes. Better moves.

Read the visual as text
- One box for every bird. Use a species-specific design and site.
- Decorative sealed houses. Choose accessible, maintainable equipment.
- Moving an active nest. Stop and seek qualified local guidance.
Troubleshoot vacancy without disturbing a working nest
If the box remains empty, revisit the original plan in order: local species, habitat, design, placement, season, and competition. This is more informative than changing its color or adding a perch because an online comment promises fast results.
Watch from a distance at repeatable times. Birds may inspect a box without nesting, and activity can be easy to miss. Keep observations proportionate; do not stand beside the entrance for long periods to encourage occupancy. Your presence is part of the scene the bird is evaluating.
Consider what changed around the installation. A new fence, heavy pruning, increased pet activity, or a regularly used play area can alter the setting. A tree that has grown may create a predator route or shade pattern that was absent when you first chose the site.
If a move is warranted, wait until the box is confirmed inactive and follow local guidance. Make a deliberate adjustment and record the reason. Constant relocation makes it harder to learn whether the original issue was habitat, access, exposure, or simply time.
Separate occupancy from success. A bird entering the box is encouraging, but it does not prove that the design is safe or that a nesting attempt will succeed. Continue the appropriate monitoring routine and resist claiming a successful brood without evidence.
A decision to remove an unsuitable empty box can be a good outcome. If the property cannot support a safe managed installation, invest in native vegetation, safer windows, and observation instead. Bird-friendly gardening is broader than providing artificial cavities, and a smaller number of well-chosen interventions can be more useful than a collection of poorly maintained houses.
Build a first-box checklist you can actually complete
Before installation, write down the target species and the source of the complete plan. Confirm local occurrence, habitat fit, interior measurements, entrance shape, mounting method, and guard. Note who will monitor and where the local advice contacts are stored.
Inspect the empty box on a work surface. Open and close it, check the fasteners, and make sure the drainage and ventilation features match the plan. Remove unnecessary decorative attachments that conflict with the design only while the box is empty and before use.
Visit the site at different times of day. Review sun, weather, access, pets, nearby glass, and routes around the guard. Consider mature vegetation and normal household use. If any of these checks reveals a serious mismatch, solve it before putting the box up.
After mounting, rehearse one brief inspection and confirm that the door latches securely. Save a photograph of the complete installation and record the date. Read the monitoring protocol again before the first nesting attempt, including the stages when opening the box should stop.
Give the birds space after installation. Choose a viewing position where you can see the entrance without standing beside it. Note visits from there, and reserve closer checks for the monitoring schedule and conditions specified by the protocol.
When the season ends, review both bird activity and the care routine. A box that was easy to monitor and maintain is a better foundation for next year than one that produced an exciting photograph but was difficult to manage. Make the next improvement from that evidence: a better site, a repaired latch, clearer records, or a decision to keep just one well-run box.
Watch it. Then try it.
Review the steps and common mistakes in two short, silent animations. Each has a complete text transcript below.
Your four-step action map
Read the complete video transcript
Choose the right nest box.
- Choose a local species. Confirm occurrence and suitable habitat.
- Follow a complete plan. Check entrance, interior, roof, and access.
- Install the support. Use a stable mount with suitable protection.
- Monitor responsibly. Learn timing and limits before occupancy.
Try the steps, then note any problem that still needs attention.
Three mistakes to avoid
Read the complete video transcript
Choose the right nest box.
- One box for every bird. Use a species-specific design and site.
- Decorative sealed houses. Choose accessible, maintainable equipment.
- Moving an active nest. Stop and seek qualified local guidance.
Try the steps, then note any problem that still needs attention.
Both animations use this real photograph by William H. Majoros. Photo source · CC BY-SA 3.0. The photo is adapted into original educational animations, not recordings of a field test.
At a glance
| Option or check | Purpose | Care decision |
|---|---|---|
| Entrance and interior | Measure against one species plan | Reject mismatched dimensions |
| Mount and guard | Inspect stability and bypass routes | Fix the empty installation |
| Monitoring access | Rehearse a brief check | Learn the protocol before nesting |
Sources & evidence
- NestWatch: All about birdhouses
- NestWatch: Features of a good birdhouse
- NestWatch: Nest-box placement and dimensions
- NestWatch: Monitoring code of conduct
- NestWatch: Appropriate nesting materials
- U.S. Fish and Wildlife Service: Bird nests
Our standard: real evidence before ratings. Corrections follow our editorial process.
Our verdict & your next actions
Choose the row that describes your setup, then follow the suggested check or adjustment.
| Your situation | Our verdict | Your next action |
|---|---|---|
| Selecting your first box | Identify the likely local occupant first. | Explore bluebird habitat. |
| A risky nearby window | Treat glass before drawing more bird activity. | Review window safety. |
| The box stays empty | Revisit habitat and observation records. | Improve your field notes. |
Your pocket field checklist
Tick off the steps as you go.
0 of 4 steps completed
Keep building your knowledge in bird feeders, or search the full backyard library.