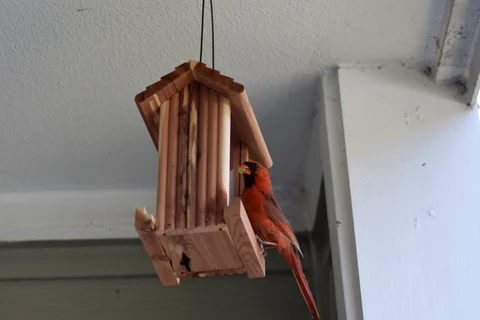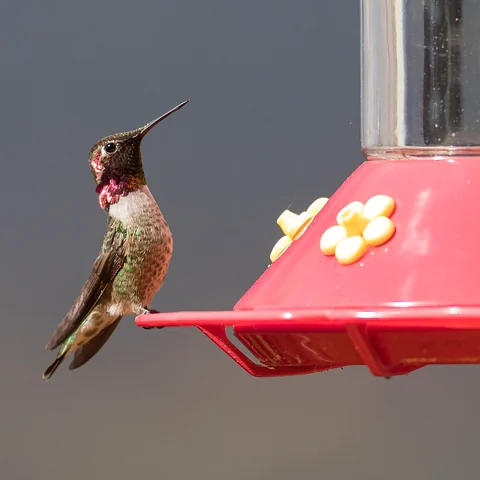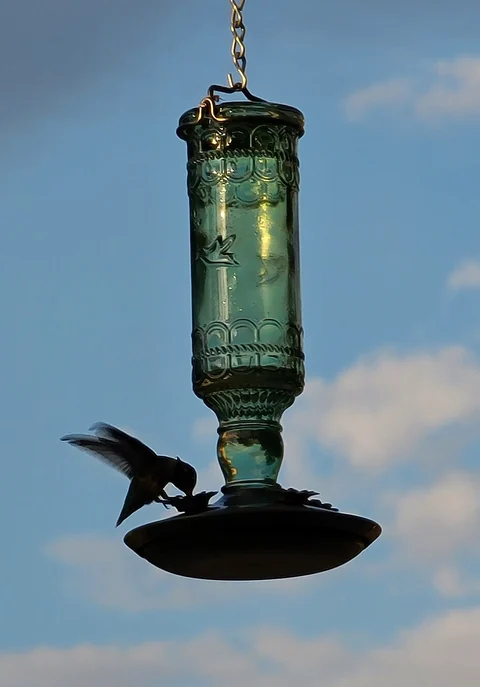
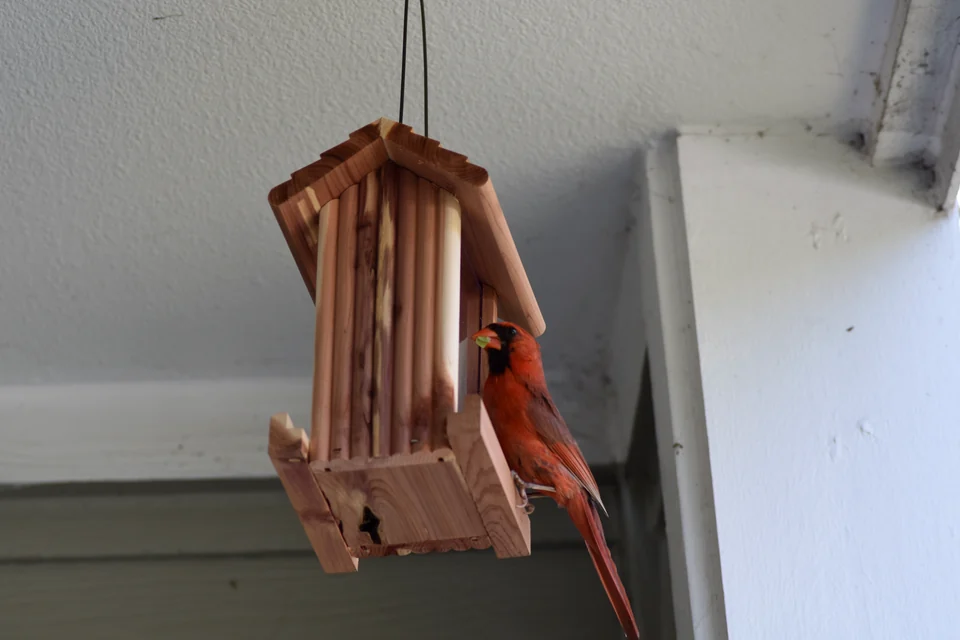
Photo: Slakshmin · Backyard seed feeder. · CC BY-SA 4.0. Cropped, gently adjusted, and resized for this guide.
The short answer
Start with a feeder you can open, clean, and refill comfortably. Decide what birds and food you are planning for, then choose a simple model that fits your location.
Begin with a manageable feeding routine
Your first feeder does not need to serve every bird, hold a huge supply, or record video. It needs to present suitable food in a place you can maintain. A modest setup makes it easier to learn what visits, how the food moves through the dispenser, and what cleaning the area requires.
Start by choosing one useful goal. You might want to watch small seed-eating birds from a window, offer a broad landing surface for local cardinals, or begin a hummingbird-care routine during the appropriate season. Those goals lead to different equipment. Decide which one matters now and leave room to learn before expanding.
Check the yard before shopping
Look for a stable support, comfortable refilling access, and a quiet viewing position. Notice nearby glass, pets, busy paths, and potential squirrel routes. Consider the surface below the feeder and how you will remove debris from it. These observations belong before checkout because mounting and cleanup are part of the purchase.
Also check local expectations and rules for the setting, particularly in shared buildings or places with wildlife-feeding restrictions. Do not assume a balcony installation is acceptable simply because the feeder is small. The practical starting point is a location you are allowed and able to maintain responsibly.
Choose between a simple tube and hopper
For a general seed station, compare an accessible tube with an accessible hopper. A tube usually provides individual ports; a hopper usually provides a broader ledge. The actual perch arrangement and cleaning access matter more than the category name alone.
Ask to see the base or floor removed. Read the recommended food list. Check whether the filled feeder will be comfortable to lift and whether the mount is included. If you cannot explain how to empty and clean the model, keep comparing. A decorative feature is not a reason to accept an inaccessible food chamber.
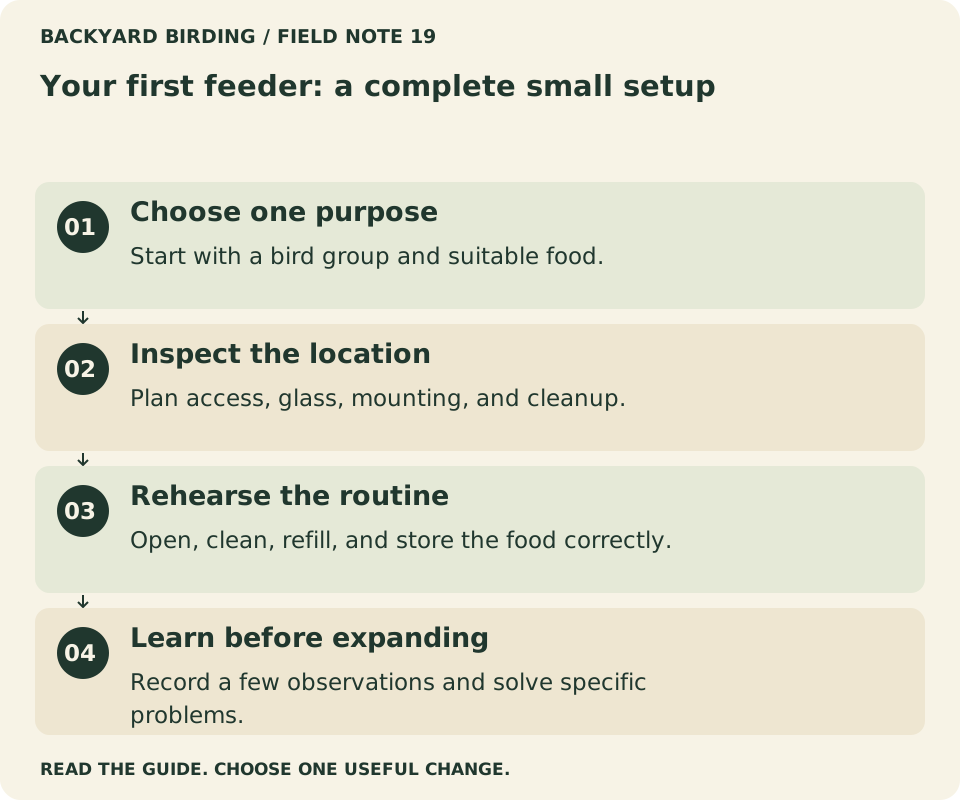
Your visual action map

Read the visual as text
- Choose one purpose. Start with a bird group and suitable food.
- Inspect the location. Plan access, glass, mounting, and cleanup.
- Rehearse the routine. Open, clean, refill, and store the food correctly.
- Learn before expanding. Record a few observations and solve specific problems.
Know when a specialty feeder is the better first choice
If your specific goal is hummingbirds, choose a nectar feeder and commit to its frequent care routine. If you intend to offer tiny nyjer seed, use an appropriate dispenser. A suet cage has its own food and closure requirements. There is no obligation to start with mixed seed when another defined purpose fits your situation better.
However, do not buy several specialty feeders simply to cover every possibility. Each adds a different supply and care task. Begin with the routine you can do consistently, then add a second type when you understand why it would be useful and how you will maintain it.
| Beginner situation | A sensible starting comparison | Main caution |
|---|---|---|
| General seed-feeding interest | Simple tube or hopper | Inspect cleaning access and food compatibility |
| A broad landing ledge is important | Hopper or platform | Plan drainage and surface cleanup |
| Small finches with nyjer | Dedicated nyjer dispenser | Standard large ports may spill the seed |
| Hummingbird interest | Easy-open nectar feeder | Frequent nectar replacement and cleaning |
| Persistent squirrel access | Suitable mounting and baffle or mechanism | Installation conditions matter |
| Interest mainly in photos | First assess feeding care, then camera needs | Electronics add responsibilities |
Buy the food that belongs in the feeder
Read the manual before choosing a bag. A broad wild-bird mixture may include ingredients that do not dispense well through the selected ports. Begin with an appropriate food in a manageable quantity, keeping the label and purchase details.
Inspect the supply when it arrives and store it dry and protected. Do not buy the largest bag simply because the unit price is lower. You are still learning the rate of use and the storage conditions. A small successful purchase gives you a better basis for buying more than a large supply that becomes difficult to handle.
Budget for the complete setup
Include mounting hardware, a suitable support if needed, food, a dedicated brush, and a clean storage arrangement. If squirrel resistance is part of the goal, account for compatible equipment and the space its instructions require. A low feeder price can be misleading when essential parts are sold separately.
Keep optional items separate. A camera, decorative roof, extra tray, and additional feeding station may be enjoyable, but they should not crowd out basic care supplies. Write the complete list before comparing prices. This helps you choose a sustainable first routine rather than spending the budget on the most visible object.
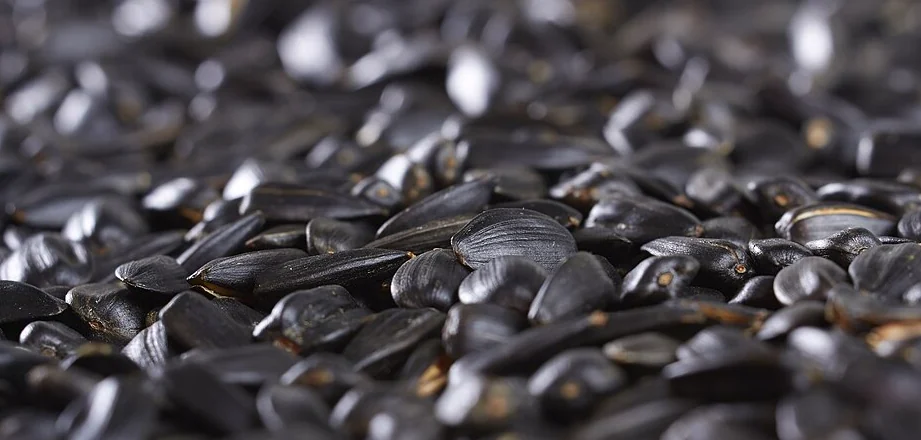
Photo: Dmitry Makeev · Sunflower seeds. img 001.jpg · CC BY-SA 4.0. Cropped, gently adjusted, and resized for this guide.
Perform an empty-feeder rehearsal
Assemble the feeder according to the instructions, then take it apart again before adding food. Check how the roof or lid opens, how the base releases, and whether small parts can be kept together. Try the brush against the corners and feeding openings.
Practice taking it down from the intended mounting point. If that requires a strained reach or balancing on an unstable object, change the arrangement now. Safe, comfortable access is not a minor convenience: it determines whether regular inspection remains something you can do on an ordinary busy day.
Make nearby windows visible to birds
Look at the glass from outside, where reflected vegetation or sky may look like a flight route. Current Cornell guidance recommends addressing the glass itself rather than relying on a feeder-distance rule as the complete solution. Use suitable exterior treatments following current bird-safe guidance.
Do not assume that one decorative silhouette makes a large pane safe. The coverage and spacing of a treatment matter. If you are unsure which windows pose a concern, inspect the view at different times and consult the linked guidance. A better view of the feeder should not come at the expense of a thoughtful window assessment.
Begin with a modest fill
Offer enough food for the dispenser to work as designed without automatically filling its maximum capacity. Watch how it moves through the ports or onto the ledge. Inspect the area beneath after visits and after wind or rain. Identify whether the remains are shells or intact food.
Use that information to adjust the amount and routine. A larger fill is not a remedy for incompatible ports or wet food. If the feeder empties, check whether birds used the supply or another route caused the loss. Learning these distinctions early makes later purchases more deliberate.
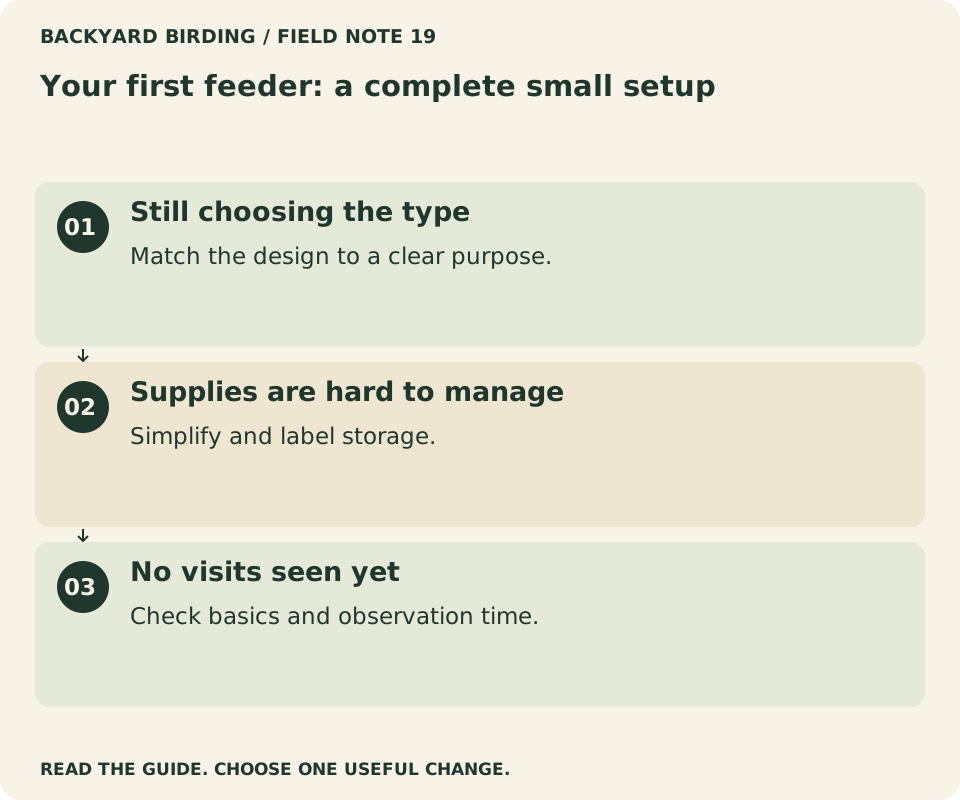
Find your situation

Read the visual as text
- Still choosing the type. Match the design to a clear purpose.
- Supplies are hard to manage. Simplify and label storage.
- No visits seen yet. Check basics and observation time.
Build cleaning into the week from the start
Choose a regular inspection time and keep the tools accessible. Follow the feeder's material-specific instructions and current safe-feeding guidance. Clean more promptly when conditions require it, rather than waiting for a reminder while damp or spoiled material remains outside.
Remember the ground or tray below. A clean reservoir above a growing pile of waste is an incomplete routine. Keep fresh-food handling separate from dirty equipment, let seed-feeder parts dry before refilling, and do not pour swept-up material back into storage. A simple system is easier to keep consistent.
Use your first month to learn, not to assign ratings
Keep a small notebook with the installation date, food, cleaning, observation time, and visitors you can identify. Record the largest group seen together rather than assuming every visit is a different bird. Add a photograph when it helps resolve an identification or mechanical question.
Record equipment problems as specifically as bird sightings. A base that sticks after washing, a port that clogs with the chosen seed, or a tray that holds rainwater gives you something to address with the instructions or the seller. Note weather and observation time beside visit counts so you can compare similar watches without confusing a busier day with a better feeder.
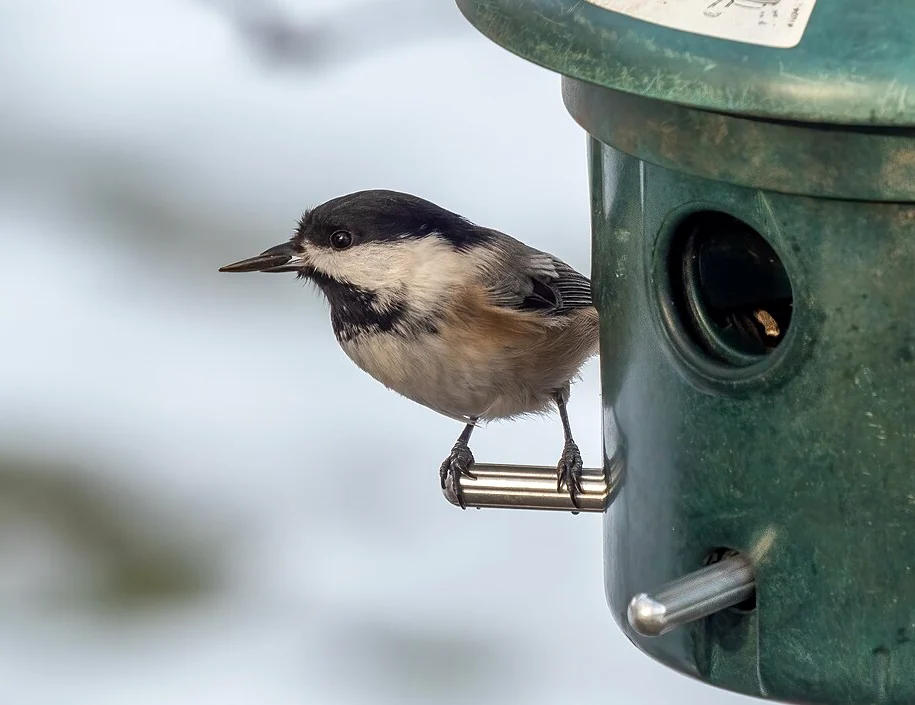
Photo: Rhododendrites · Black-capped chickadee (31171).jpg · CC BY-SA 4.0. Cropped, gently adjusted, and resized for this guide.
What to do when nothing seems to happen
First confirm that the feeder is assembled correctly, the food is suitable and in good condition, and the ports are accessible. Then check the location and the birds present nearby. There is no guaranteed waiting period that applies to every new installation.
Keep the setup reasonably stable once the basics are sound. Constantly moving it or changing several foods at once makes the next observation harder to interpret. Watch at comparable times and notice activity beyond the feeder. A bird using a shrub or bath still offers something to learn while the station establishes its pattern.
Avoid the most common upgrade trap
When a problem appears, name it before buying. Shells on a deck, squirrels reaching the seed, a hard-to-clean base, and missed camera events are different problems. Each has a different investigation. A more expensive feeder is not a universal response.
Finish the sentence I need this because with a concrete reason. If the answer is only that another model might bring more birds, review the existing setup first. Good upgrades solve observed limitations: compatible dispensing, easier cleaning, better mounting, or a clearly defined additional food source.
Two research examples, two different purposes
Our product records include the Brome Squirrel Buster Standard as a weight-sensitive seed-feeder example and the Aspects HummZinger HighView as a nectar-feeder example. They are not competing for a single best-beginner score because they serve different routines.
These entries are based on manufacturer information, not hands-on testing by this publication. Read the current instructions and verify the exact model and included parts. Use them to practice evaluating requirements: installation for the seed mechanism, cleaning and nectar care for the hummingbird feeder. Choose the purpose before the product.
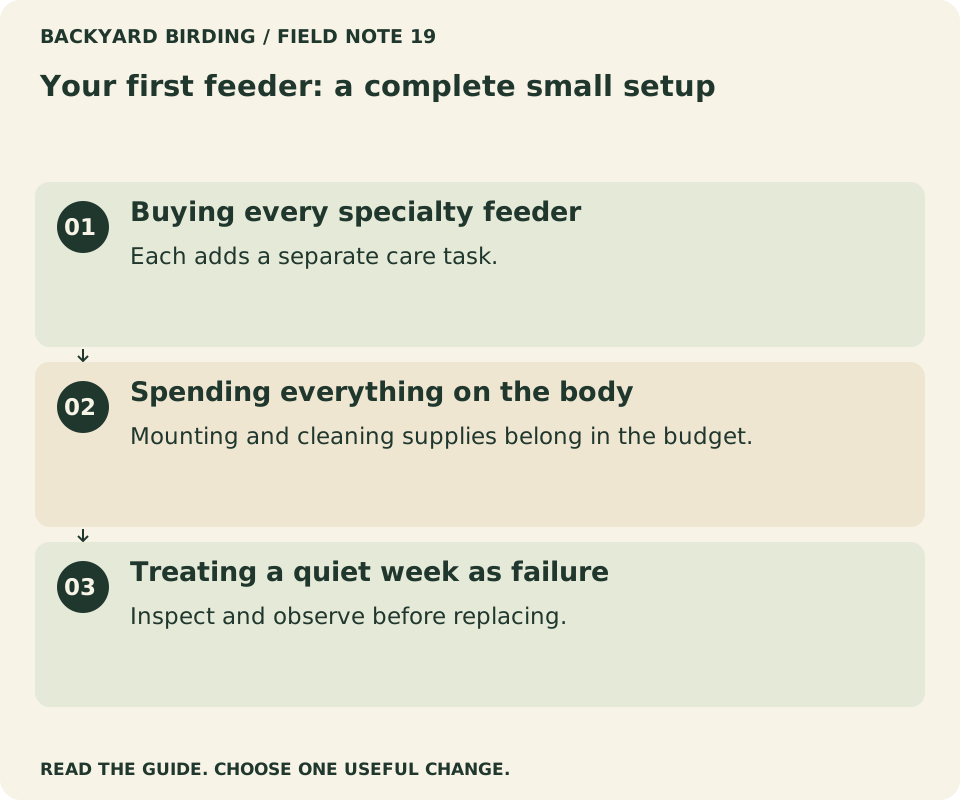
Small mistakes. Better moves.

Read the visual as text
- Buying every specialty feeder. Each adds a separate care task.
- Spending everything on the body. Mounting and cleaning supplies belong in the budget.
- Treating a quiet week as failure. Inspect and observe before replacing.
A first-week checklist
Before filling, confirm the mount, cleaning access, food compatibility, and storage. During the first few days, inspect the ports and the area below, and watch several visits if possible. Keep the amount manageable and record any problem precisely.
At the end of the week, review what made the routine easy or awkward. Did the lid open comfortably? Was the refill height sensible? Did the food stay in suitable condition? These are useful findings even if the bird list is short. Make a practical adjustment before expanding the station.
A caretaker plan is part of a good beginner setup
If someone else may refill the feeder, label the food and show them the cleaning routine. Explain that full does not mean add new food on top of an old damp layer. Keep the manual and spare parts where they can be found.
Before travel, decide whether reliable care is available. A large reservoir is not a substitute for inspection, particularly for nectar. It is reasonable to simplify or pause feeding when you cannot maintain the equipment. A responsible routine includes knowing when not to leave a setup unattended.
Keep the first setup understandable to someone else
Try explaining the routine in a few sentences: this food belongs in this feeder, the base opens this way, and the waste below is cleared with these tools. If the explanation requires several exceptions and improvised fixes, simplify before adding equipment.
That exercise is useful even if you usually provide all the care. It reveals unlabeled supplies, missing instructions, and awkward steps that you have learned to work around. A clear routine is easier to maintain during a busy week and easier to hand over when you travel.
Review the first purchase after several cleaning cycles
Initial appearance is only one part of ownership. After using and cleaning the feeder several times, ask whether the parts still fit well, whether the brush reaches the important surfaces, and whether taking it down remains comfortable. Keep notes on concrete issues while the model and purchase details are available.
Use those findings to improve the current setup or guide a future replacement. You may discover that a simpler lid matters more to you than extra capacity, or that a different support would solve an awkward reach. The experience becomes valuable when it produces a specific requirement rather than a vague desire for something better.
Spend the next increment on the weakest part of the routine
If storage is damp, another feeder is not the priority. If a reflective window needs attention, a decorative accessory does not address it. If cleaning tools are worn or unsuitable, replacing them may improve care more than buying a larger reservoir.
Look at the whole station and choose the next action that solves a real limitation. Some improvements are small and inexpensive; others justify waiting until a suitable installation is possible. Keeping the purpose clear helps the hobby remain enjoyable and prevents shopping from replacing observation.
Give yourself permission to stay small
A single well-maintained feeder can remain the right setup for years. Expansion is optional, not a measure of commitment or success. You can deepen the experience by learning calls, comparing seasonal plumage, observing plants, or keeping better notes without adding another piece of equipment.
Choose complexity only when it serves an interest you want to pursue and a routine you can support. That makes the first feeder a durable beginning rather than the first item in an increasingly difficult collection.
Frequently asked questions
How many feeders should I start with?
One is enough to learn the routine. Add another for a defined purpose once the first is manageable. More equipment can mean more cleaning without a corresponding improvement in your experience.
Do I need a camera immediately?
No. Binoculars, a quiet viewing position, and a notebook can provide useful observations. Add a camera when you understand which function you want and are ready for its power, network, account, and cleaning requirements.
Is a cheap feeder a mistake?
Price alone does not determine suitability. Inspect the food chamber, mounting, materials, and replacement parts. A simple model with good access can be a sensible start; a low price does not excuse an unsafe or uncleanable design.
What should count as success?
You can keep the equipment clean, offer appropriate food, recognize some visitors, and enjoy watching without constant troubleshooting. A small, reliable feeding station is a successful beginning even before you decide whether to expand it.
For the next part of your setup, read Binoculars for Backyard Birding: Choose by Fit, Focus, and View.
For a camera-equipped setup, read How to Choose a Smart Bird Feeder: Camera, Care, and Real Costs.
Watch it. Then try it.
Review the steps and common mistakes in two short, silent animations. Each has a complete text transcript below.
Your four-step action map
Read the complete video transcript
Your first feeder: a complete small setup.
- Choose one purpose. Start with a bird group and suitable food.
- Inspect the location. Plan access, glass, mounting, and cleanup.
- Rehearse the routine. Open, clean, refill, and store the food correctly.
- Learn before expanding. Record a few observations and solve specific problems.
Try the steps, then note any problem that still needs attention.
Three mistakes to avoid
Read the complete video transcript
Your first feeder: a complete small setup.
- Buying every specialty feeder. Each adds a separate care task.
- Spending everything on the body. Mounting and cleaning supplies belong in the budget.
- Treating a quiet week as failure. Inspect and observe before replacing.
Try the steps, then note any problem that still needs attention.
Both animations use this real photograph by Slakshmin. Photo source · CC BY-SA 4.0. The photo is adapted into original educational animations, not recordings of a field test.
At a glance
| Before checkout | Your answer |
|---|---|
| Who is the feeder for? | A bird group you can identify locally |
| Where will it go? | A safe, accessible location |
| How does it open? | A cleaning process you understand |
| What is the total setup? | Feeder, mounting, food, care supplies |
Products to compare
Compare the features and current manufacturer instructions for your intended setup. These are research-based comparisons, not hands-on tests.
Squirrel Buster Standard
Readers researching a seed feeder for squirrel pressure
- Brand
- Brome
- Type
- Weight-activated seed feeder
- Capacity
- 1.3 lb seed; 4 ports (manufacturer specification)
- Price
- Check the current offer with the seller
Why consider it
- Published capacity and port count
- Designed around a weight-activated feeding mechanism
What remains uncertain
- Placement remains important
- No independent performance or durability test published here
Who should skip: A nectar feeder buyer or anyone needing proven performance data from this publication
See manufacturer specifications ↗HummZinger HighView 12 oz.
Readers comparing a conventional nectar feeder
- Brand
- Aspects
- Type
- Nectar feeder
- Capacity
- 12 oz. (manufacturer specification)
- Price
- Check the current offer with the seller
Why consider it
- Clearly identified model: Aspects #429
- Modest, published nectar capacity
What remains uncertain
- No hands-on leak or cleaning test published here
- Capacity does not determine a safe refill schedule
Who should skip: A seed-feeder buyer or anyone seeking camera features
See manufacturer specifications ↗Sources & evidence
- Project FeederWatch: Feeder types
- Cornell Lab: How to clean your bird feeder
- Cornell Lab: Preventing window collisions
- Aspects: HummZinger HighView 12 oz.
- Brome: Squirrel Buster Standard
Our standard: real evidence before ratings. Corrections follow our editorial process.
Our verdict & your next actions
Choose the row that describes your setup, then follow the suggested check or adjustment.
| Your situation | Our verdict | Your next action |
|---|---|---|
| Still choosing the type | Match the design to a clear purpose. | Explore feeder styles. |
| Supplies are hard to manage | Simplify and label storage. | Build the storage routine. |
| No visits seen yet | Check basics and observation time. | Follow the troubleshooting guide. |
Your pocket field checklist
Tick off the steps as you go.
0 of 4 steps completed
Keep building your knowledge in buying guides, or search the full backyard library.