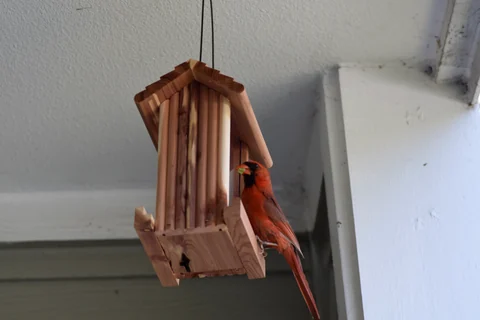
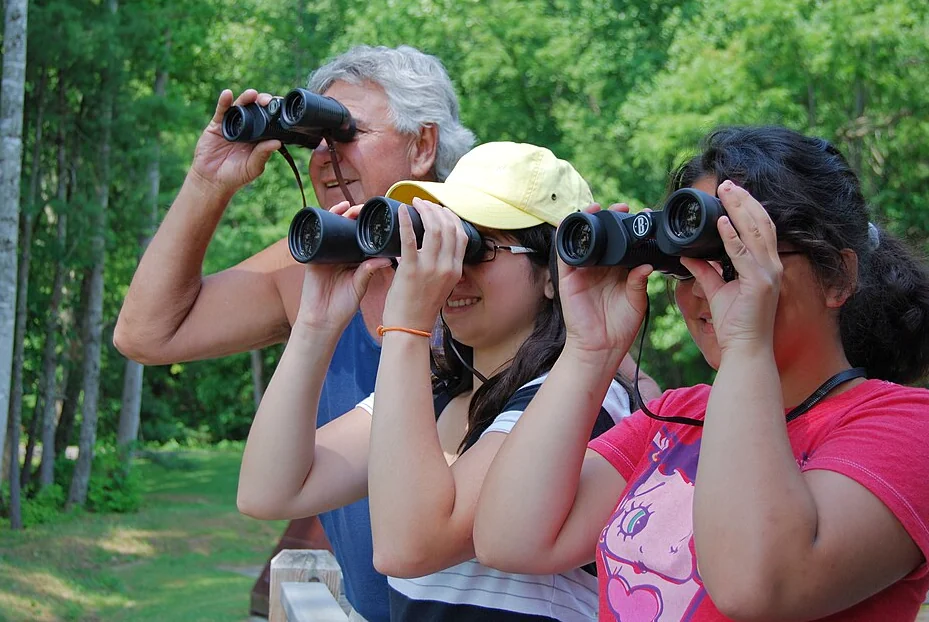
Photo: vastateparksstaff · Birdwatching with grandpa Claytor Lake State Park Virginia (16589750059).jpg · CC BY 2.0. Cropped, gently adjusted, and resized for this guide.
The short answer
Measure your nearest viewing distance, test with your own glasses, and compare steady viewing and easy focus before maximum power. Use specifications to shortlist, then verify personal fit.
Choose the binoculars you can use comfortably
For backyard birding, the most useful binoculars are the ones that let you find a bird quickly, focus at your actual viewing distance, and keep a comfortable, steady view. Maximum magnification is not the same as maximum useful detail. A powerful pair that shakes, crops the view, or cannot focus on your nearby feeder can be less helpful than a modest pair that fits your eyes and hands.
Before shopping, measure the distance from your usual viewing position to the nearest place you want to watch. Note whether you wear glasses and whether the binoculars will stay by the window or travel with you. Those details give you a practical tryout: can the pair focus on that nearby perch, show the full view through your glasses, and feel comfortable to hold? The comparisons here use specifications, not hands-on testing. Try the shortlisted pairs where possible before choosing.
Decode the two main numbers
A specification such as 8x42 describes magnification and objective-lens diameter. The first number means the image is magnified eight times; the second describes the front lenses in millimeters. These numbers do not, by themselves, establish sharpness, color quality, comfort, or durability. Two binoculars with the same configuration can feel and perform differently because their optical and mechanical designs differ.
For a first comparison, 8x32 and 8x42 are useful categories to investigate, alongside alternatives that fit your needs. Audubon's guidance emphasizes usable magnification, field of view, and handling rather than simply buying the highest power. Try comparable configurations in the same conditions. If one pair seems better, ask what specifically improved: finding the target, reading fine detail, holding steady, or maintaining the full view. A concrete answer is more useful than deciding that the larger number must represent an upgrade.
Match magnification to your hands and viewing distance
Higher magnification enlarges apparent movement as well as the bird. If your hands shake or you watch while standing without support, additional power may make the view harder to interpret. Nearby backyard birds often provide enough detail at moderate magnification, especially when you can sit comfortably and follow them for more than a second.
Try locating a small fixed target, then move to another nearby target as if a bird had changed branches. Compare how quickly you recover the view and focus. Repeat the exercise several times rather than judging only one perfectly steady moment. If you prefer higher power for distant viewing, make sure that preference still works for the close feeder you use most often. Buying for an occasional imagined trip while compromising daily backyard use may leave an expensive instrument sitting in its case.
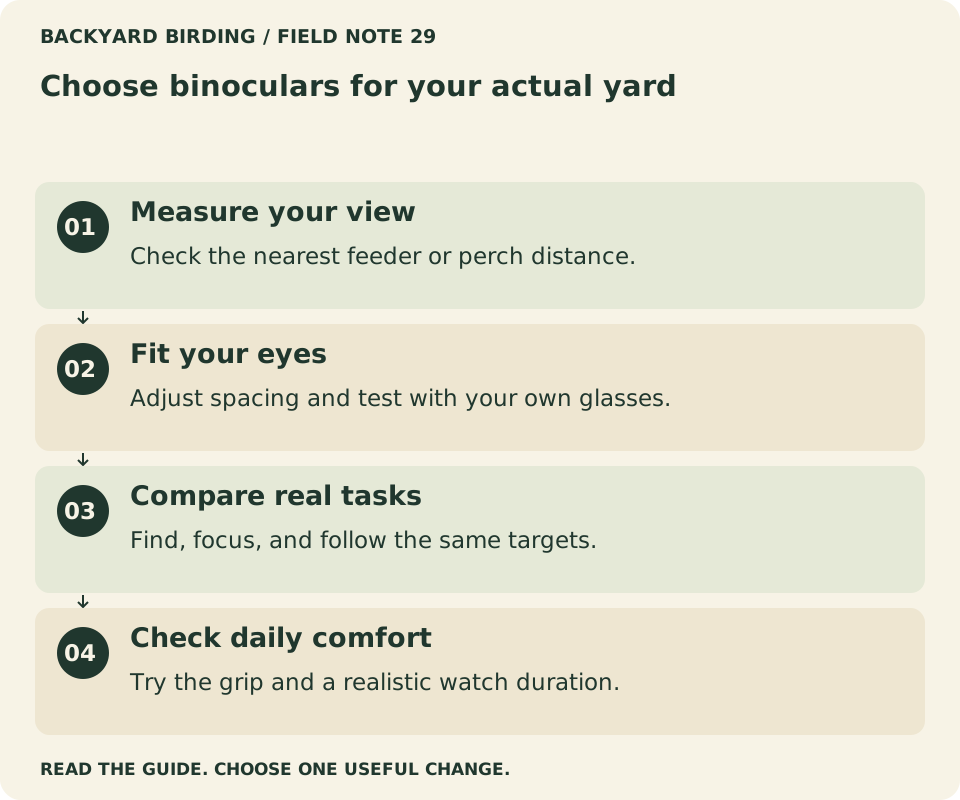
Your visual action map

Read the visual as text
- Measure your view. Check the nearest feeder or perch distance.
- Fit your eyes. Adjust spacing and test with your own glasses.
- Compare real tasks. Find, focus, and follow the same targets.
- Check daily comfort. Try the grip and a realistic watch duration.
Measure the closest useful focus distance
Close focus is especially important in a small yard. Measure from your eyes at the usual viewing position to the nearest perch, bath, or feeder you want to study. Compare that distance with the manufacturer's stated minimum focus, leaving practical room for variation and comfortable use. A pair that cannot focus on the closest feature will not become suitable because its distant image is excellent.
Try the actual distance when possible. A label may tell you the nominal limit, but the experience of viewing nearby with both eyes also matters. If you regularly observe from several positions, identify the shortest distance that is genuinely important rather than chasing an extreme specification you will never use. This simple measurement can eliminate unsuitable models early. It also prevents an unnecessary feeder move toward unsafe glass just to compensate for binoculars chosen without considering the yard.
Understand field of view as finding room
Field of view describes how much of the scene you can see through the binoculars. A wider usable view can make it easier to locate a bird and follow movement between branches. Manufacturers may express it as an angle or as a width at a stated distance, so compare like units and the same reference distance. Do not confuse real field of view with an apparent-field specification calculated differently.
In a tryout, look for a target with nearby branches or signs on either side and compare how much context remains visible. Then lower the binoculars and raise them again without moving your gaze from the target. A view that you can enter quickly is valuable for active birds. A narrow but impressive-looking central image may be less practical if you repeatedly lose the subject. The specification should explain your experience, not override it.
Use exit pupil as one clue, not a brightness score
Exit pupil is calculated by dividing objective diameter by magnification. An 8x42 configuration has a 5.25 mm exit pupil, while 8x32 gives 4 mm and 10x42 gives 4.2 mm. These are straightforward optical calculations, not test results. They help describe the light beam leaving the eyepiece, but they do not supply a complete ranking of image quality or perceived brightness.
Your eye, ambient light, coatings, transmission, and other design factors affect the experience. Compare binoculars under the conditions in which you will actually watch. A bright showroom is a poor substitute for a shaded garden if that is where you spend most of your time. Avoid buying solely because one calculated number is larger. Use it to understand trade-offs, then check whether the view is comfortable and useful for your own eyes in a realistic setting.
Photo: King of Hearts · Man with binoculars birdwatching at Higbee Beach Cape May October 2020 (cropped).jpg · CC BY-SA 4.0. Cropped, gently adjusted, and resized for this guide.
“The best view is the one you can find, focus, and hold comfortably.”
Backyard Birding — editorial takeaway
Test eye relief with your own glasses
Eye relief describes the distance from the eyepiece at which your eye can see the intended view. Glasses hold your eyes farther from the lenses, making usable eye relief and eyecup adjustment important. Nikon's guidance discusses longer eye relief for eyeglass wearers, but a published number cannot account for every frame shape, facial fit, or eyecup design.
Bring the glasses you normally wear and test the binoculars with them. Adjust the eyecups according to the instructions and look for a full, stable view without needing to press uncomfortably against the frames. Check whether black crescents appear when you move slightly. If you must hold the binoculars at an awkward position to maintain the image, try another model. Comfortable fit is a valid reason to reject a technically impressive pair. You should not need to fight the instrument during every brief bird visit.
Set the barrel spacing before judging the image
Adjust the hinge so the two barrels match the spacing of your eyes and the view becomes a single comfortable circle. This interpupillary adjustment is separate from focus. If the spacing is wrong, a good pair can seem frustrating or difficult to use. People with narrower or wider eye spacing should check the model's adjustment range rather than assuming every adult binocular fits everyone.
Take a moment to establish the fit before comparing sharpness. Then lower and raise the instrument several times to see whether the hinge holds the setting. If the binoculars will be shared, consider how easy it is to reset the spacing and eyecups. Marking a personal setting in your notes can help without modifying the equipment. A repeatable setup matters in a household where one person watches with glasses and another uses a different eye position.
Adjust focus and diopter in the correct sequence
Many binoculars have a central focus wheel and a diopter adjustment to account for differences between your eyes. Follow the manufacturer's sequence for that model. Do not keep turning both controls randomly until a temporary image seems acceptable. Once the diopter is set for you, ordinary distance changes should usually be handled with the main focus control.
Use a detailed fixed target at a comfortable distance while learning the procedure. Read the instructions with the binoculars in hand so you can identify which adjustment affects which part of the view. Avoid touching the lens surface when covering an objective during setup. If the image remains difficult or causes discomfort after correct adjustment, stop and seek advice rather than compensating by straining. A short setup rehearsal can reveal whether a model is easy to use before you depend on it for a fast-moving bird.
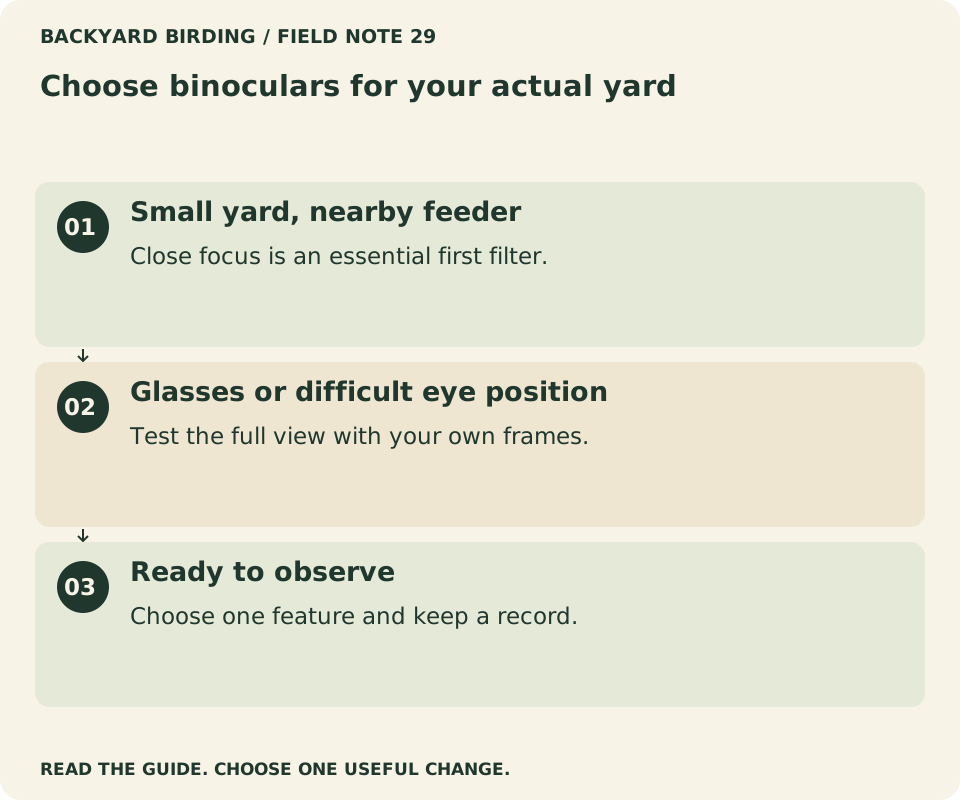
Find your situation

Read the visual as text
- Small yard, nearby feeder. Close focus is an essential first filter.
- Glasses or difficult eye position. Test the full view with your own frames.
- Ready to observe. Choose one feature and keep a record.
Evaluate the focus wheel as a working control
Move focus from a nearby object to a more distant one and back. Notice resistance, reach, precision, and whether you overshoot repeatedly. Try the motion with the gloves you might wear in winter. A wheel that feels pleasantly firm in a warm shop may be awkward with cold hands or limited finger movement. A very loose wheel may also be easy to disturb accidentally.
You are looking for a control that lets you acquire the image without thinking about the mechanism. Test it while holding the binoculars normally, not only while resting them on a counter. If the wheel sits beyond a comfortable finger reach, the optical specifications will not solve that ergonomic problem. Keep a note comparing actual tasks: close feeder to distant branch, then back again. A useful buying decision describes which pair makes those movements easiest for you.
Consider weight over a real watch
Hold each candidate for several minutes, then lower and raise it repeatedly. Weight on a specification sheet does not reveal balance, grip shape, or how the barrels fit your hands. A heavier pair may feel stable briefly but tiring during a longer watch. A very compact pair may be easy to carry yet less comfortable to align or focus.
Consider where the binoculars will live. A pair kept beside a chair has different portability needs from one carried on walks. Try the supplied strap and investigate a suitable alternative if necessary, without assuming accessories can correct a fundamentally poor fit. For children or shared family use, check size and adjustment with the actual user rather than buying solely by age labels. The practical goal is an instrument someone can hold, align, and enjoy without constant help or discomfort.
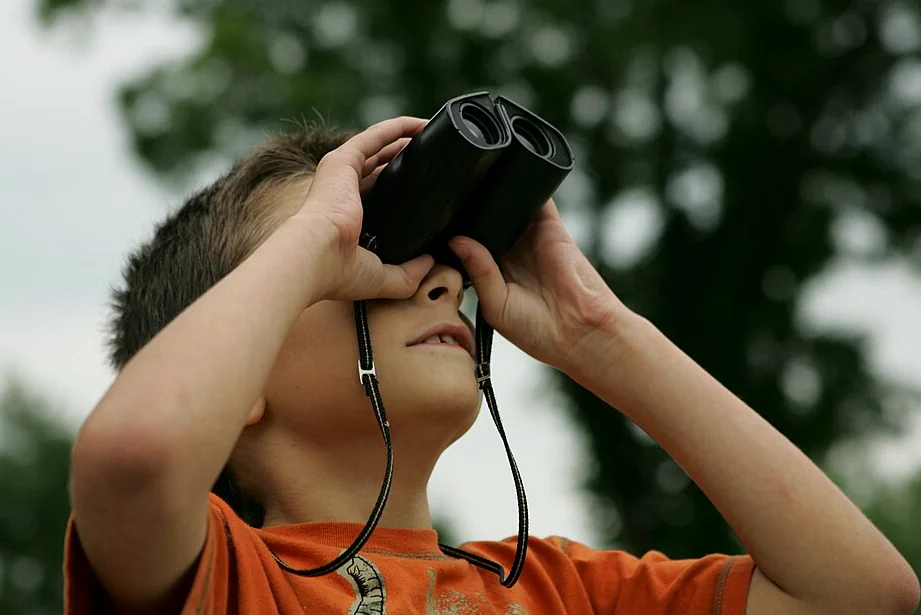
Photo: USFWS Headquarters · Boy birdwatching by Steve Hillebrand USFWS (54180800037).jpg · Public domain. Cropped, gently adjusted, and resized for this guide.
Read weather claims and warranty terms carefully
Water resistance, waterproofing, and internal fog protection are not interchangeable claims. Read the manufacturer's exact specification and care instructions for the model. An outdoor instrument may tolerate ordinary weather while still requiring careful drying and storage. Do not test a claim by immersing equipment or exposing it beyond the stated conditions.
Review warranty coverage, service availability, and the return policy before purchasing. A comfortable tryout at home can be valuable if the retailer permits it under clear terms. Keep the receipt and serial information in a private record. Avoid assuming a famous brand name guarantees identical service for every market or seller. These practical details matter because binoculars are often a long-term purchase. A slightly less glamorous model with a suitable fit and understandable support can be a more satisfying choice than one bought on reputation alone.
Compare three candidates with the same tasks
Use a short comparison sheet and the same targets for every pair. Adjust each correctly before scoring your experience. Keep the categories descriptive rather than inventing a laboratory precision you cannot support. If a pair fails an essential requirement such as close focus or eyeglass fit, do not let a high total elsewhere hide that problem.
| Task | What you should notice | Your note |
|---|---|---|
| Find a nearby target | Speed and usable field | Easy, hesitant, or repeatedly lost |
| Focus at feeder distance | Clear detail without strain | Works comfortably or does not |
| Use with glasses | Full view and stable eye position | Comfortable or cropped |
| Follow a moving target | Recovery and steadiness | Consistent or tiring |
| Hold through a short watch | Grip and balance | Sustainable or uncomfortable |
Write down which pair was easiest to focus and hold, and which gave you the clearest comfortable view. Keep the viewing conditions beside those notes. A bright shop display and a shaded garden are different settings, so use the tryout to compare fit and handling as well as the image.
Practice finding birds before blaming the optics
Locate the bird with your unaided eyes, keep your gaze on that point, and raise the binoculars into the line of sight. Searching randomly through the binoculars first can make a small bird much harder to find. Practice with fixed objects such as a leaf cluster or a feeder latch before trying a restless chickadee.
Once the target is in view, adjust focus and keep movements modest. Resting your elbows comfortably can help during a seated watch, provided the position is safe and does not force a strained posture. Never look at the sun through binoculars. A few minutes of practice can improve the experience substantially, but training should not be used to excuse equipment that cannot fit your eyes or focus where needed. Separate a technique problem from a genuine specification or comfort mismatch.
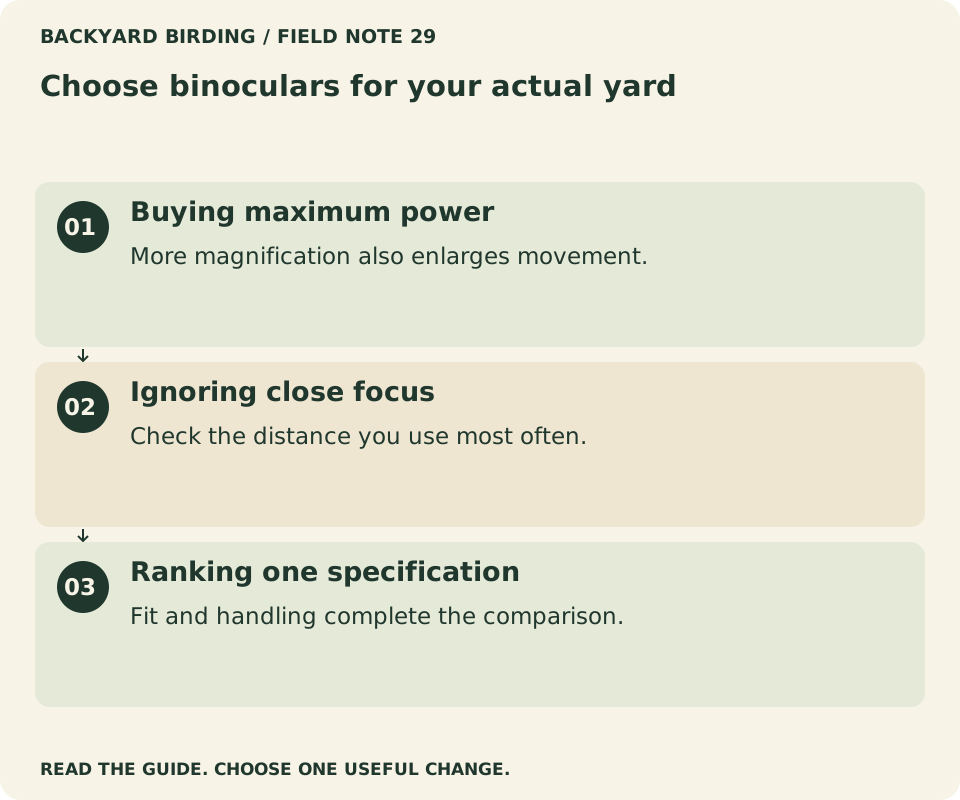
Small mistakes. Better moves.

Read the visual as text
- Buying maximum power. More magnification also enlarges movement.
- Ignoring close focus. Check the distance you use most often.
- Ranking one specification. Fit and handling complete the comparison.
Care for the lenses without grinding in dirt
Follow the manufacturer's cleaning instructions and use suitable lens-care materials. Remove loose grit before wiping; rubbing a dusty surface can create damage. Keep fingers away from the glass and avoid using a shirt sleeve as a default cleaning cloth. A clean case and properly used caps can reduce the amount of cleaning needed in the first place.
After damp use, dry and store the binoculars as directed rather than sealing wet equipment into a case. Inspect the strap attachments periodically, especially if the binoculars are shared or carried frequently. Keep a small care kit together so cleaning does not become an improvisation with whatever tissue is nearby. The aim is ordinary preservation, not constant polishing. Good optics do not need aggressive handling to remain useful, and preventive habits are easier than trying to repair a scratched coating later.
Make the purchase around your daily view
Before checkout, return to the original requirements: nearest viewing distance, glasses, hand comfort, typical light, portability, and budget. Confirm that the chosen pair works for those conditions rather than for an imagined specification contest. If possible, use a permitted home trial to check the actual feeder and neighboring branches, then decide within the stated return period.
Once the binoculars are set up, keep them accessible and use them for a specific observation question. Study a woodpecker's bill profile, compare a finch's seasonal plumage, or watch how a jay handles food. Our bird journal guide helps turn the closer view into a useful record. Note the eye-cup and diopter settings that work for you, especially if another person shares the pair, so you can restore a comfortable view quickly when a bird arrives.
Watch it. Then try it.
Review the steps and common mistakes in two short, silent animations. Each has a complete text transcript below.
Your four-step action map
Read the complete video transcript
Choose binoculars for your actual yard.
- Measure your view. Check the nearest feeder or perch distance.
- Fit your eyes. Adjust spacing and test with your own glasses.
- Compare real tasks. Find, focus, and follow the same targets.
- Check daily comfort. Try the grip and a realistic watch duration.
Try the steps, then note any problem that still needs attention.
Three mistakes to avoid
Read the complete video transcript
Choose binoculars for your actual yard.
- Buying maximum power. More magnification also enlarges movement.
- Ignoring close focus. Check the distance you use most often.
- Ranking one specification. Fit and handling complete the comparison.
Try the steps, then note any problem that still needs attention.
Both animations use this real photograph by vastateparksstaff. Photo source · CC BY 2.0. The photo is adapted into original educational animations, not recordings of a field test.
At a glance
| Before your next step | Your practical check |
|---|---|
| Small yard, nearby feeder | Close focus is an essential first filter. |
| Glasses or difficult eye position | Test the full view with your own frames. |
| Ready to observe | Choose one feature and keep a record. |
Sources & evidence
- Audubon: How to choose binoculars
- Nikon: Choosing binoculars by specifications
- Nikon: Eye relief explained
- Nikon: Glossary of binocular terms
Our standard: real evidence before ratings. Corrections follow our editorial process.
Our verdict & your next actions
Choose the row that describes your setup, then follow the suggested check or adjustment.
| Your situation | Our verdict | Your next action |
|---|---|---|
| Small yard, nearby feeder | Close focus is an essential first filter. | Use the distance and fit checks. |
| Glasses or difficult eye position | Test the full view with your own frames. | Follow the tryout worksheet. |
| Ready to observe | Choose one feature and keep a record. | Start a bird journal. |
Your pocket field checklist
Tick off the steps as you go.
0 of 4 steps completed
Keep building your knowledge in buying guides, or search the full backyard library.